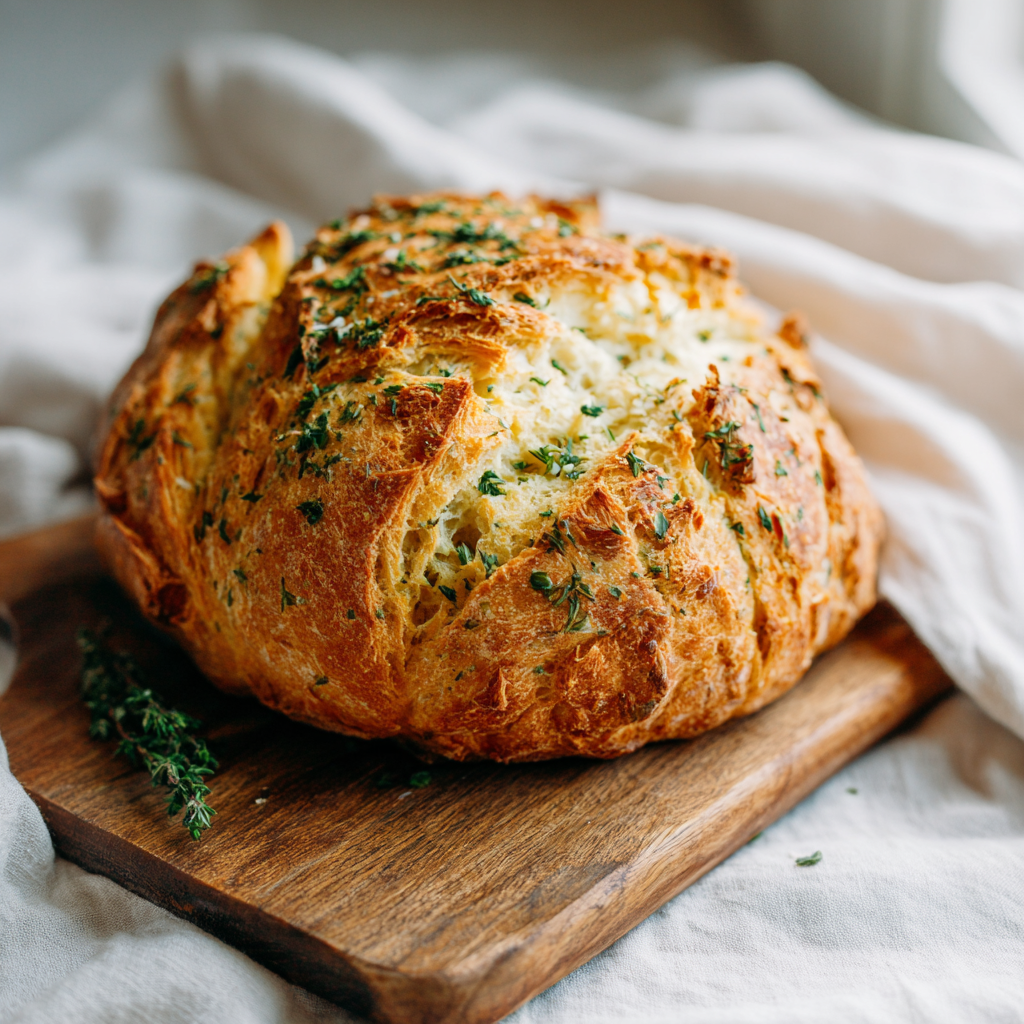
California Garlic Herb Dutch Oven Bread
Ingredients
Method
- In a large bowl, whisk together the all-purpose flour, salt, and instant yeast.
- Pour in the warm water, minced garlic, and chopped fresh herbs. Stir with a wooden spoon until a shaggy dough forms and no dry flour remains.
- Cover the bowl tightly with plastic wrap and let it rest at room temperature for 12 to 18 hours, until the surface is dotted with bubbles.
- When the dough is ready, preheat your oven to 450°F. Place a covered Dutch oven inside the oven to heat up for at least 30 minutes.
- Carefully remove the hot Dutch oven from the oven. Drizzle the olive oil into the bottom of the pot.
- Turn the dough out onto a lightly floured surface. Gently shape it into a round ball by folding the edges toward the center.
- Drop the dough into the hot Dutch oven, seam side up. Cover with the lid and bake for 30 minutes.
- Remove the lid and continue baking for 15 to 20 minutes, until the crust is deep golden brown and the loaf sounds hollow when tapped.
- Transfer the bread to a wire rack and let it cool completely before slicing.
Nutrition
Notes
Tried this recipe?
Let us know how it was!Why This Garlic Herb Dutch Oven Bread Belongs on Your Table
I’ll tell you what, there’s nothing quite like pulling a loaf of garlic herb dutch oven bread from the oven. The smell alone that warm, savory aroma of garlic and fresh herbs mixing with the yeasty scent of freshly baked bread it takes me right back to Saturday mornings at my grandmother Eunice’s house. She’d have her pound cakes going, sure, but every now and then she’d surprise us with a crusty loaf that disappeared before it even cooled.
Here’s the thing about this dutch oven garlic herb bread. It looks like you spent hours tending a sourdough starter and perfecting your technique. But the truth? It’s a no-knead recipe. You mix it, let time do the work, and bake it in a Dutch oven. That’s it. The Dutch oven creates the perfect steamy environment for an incredible crust and a soft, airy crumb. I promise it’s worth the wait.
This garlic herb dutch oven bread is perfect for summer. Your herb garden is probably overflowing with rosemary and thyme right about now. And what better way to show off those fresh flavors than tucked into a beautiful, artisan-style loaf? Serve it alongside grilled meats, dip it in olive oil, or just eat it warm with butter. That’s just how it’s done.
What You’ll Need for This Dutch Oven Bread Recipe
Let me walk you through the ingredients. They’re simple, but each one plays a role. And I’ll share a few things I’ve learned the hard way over the years.
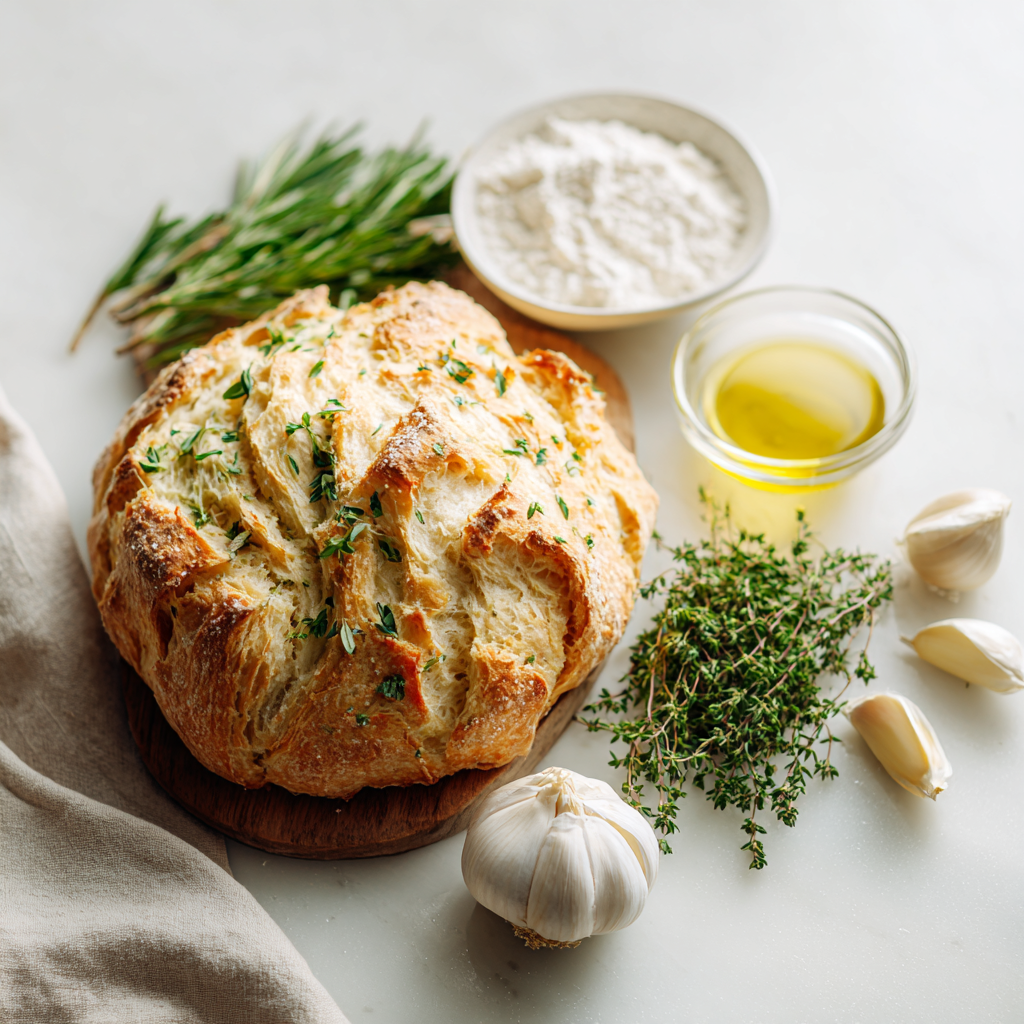
All-purpose flour. This is what I use for this recipe. It has a protein content around 11 to 11.7 percent, which gives the bread a tender, light crumb while still providing enough structure for a good rise. You can use bread flour if you want a chewier texture, but all-purpose works beautifully here.
Salt. Just fine sea salt. It strengthens the gluten and deepens the flavor. Don’t skip it.
Instant yeast. This is my preference for this recipe because you don’t need to proof it. Just mix it right in with the flour. Make sure it’s not expired that’s a mistake I made once, and the bread didn’t rise at all. Bless your heart, it was a flat, dense disc.
Warm water. About 110°F. Too hot and you’ll kill the yeast. Too cold and it won’t activate properly. I use a kitchen thermometer, but if you don’t have one, the water should feel like a warm bath not hot, not cold.
Garlic. Four cloves, minced fine. You want the flavor distributed evenly throughout the dough, not big chunks that can burn during baking.
Fresh herbs. I use a mix of rosemary and thyme. Two tablespoons, chopped. Fresh is best, but if all you have is dried, use about two teaspoons total. Just know the flavor will be a bit more subtle.
Olive oil. A tablespoon, preferably California-grown. It adds a little richness and helps the crust brown beautifully.
Step-by-Step: Making Your Garlic Herb Dutch Oven Bread
Now for the fun part. I’ll break this into four stages so you can see the progress. The way I learned, it’s all about understanding what the dough should look and feel like at each step.
Stage 1: Mixing the Dough
In a large bowl, whisk together the flour, salt, and instant yeast. This distributes everything evenly. Then pour in the warm water, the minced garlic, and the chopped herbs. Stir with a wooden spoon until you have a shaggy, sticky dough with no dry flour remaining. It’ll look rough that’s exactly right. Don’t be tempted to add more flour. The high hydration is what gives you those beautiful air pockets in the final loaf.
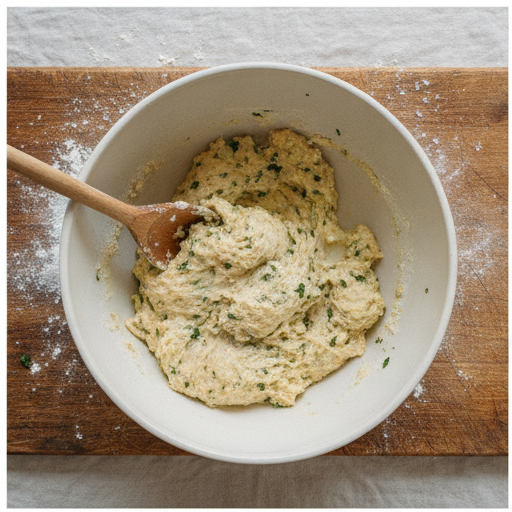
Stage 2: The Long, Slow Rise
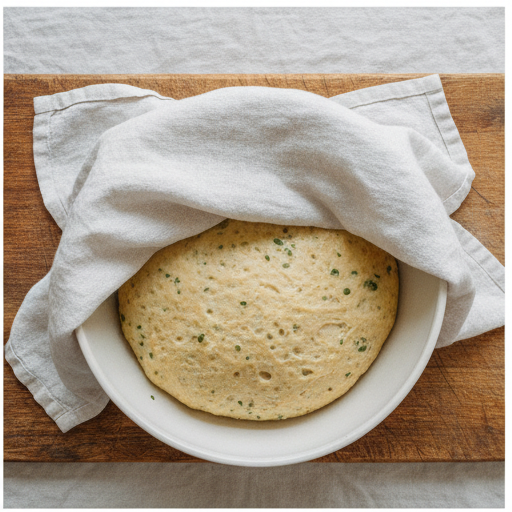
Cover the bowl tightly with plastic wrap and let it rest at room temperature for 12 to 18 hours. I know, that sounds like a long time. But here’s the thing: this is where the magic happens. The yeast slowly works its way through the dough, developing flavor and structure. You’ll know it’s ready when the surface is dotted with bubbles and the dough has doubled in size. In the summer heat, it might be ready closer to 12 hours. In cooler weather, it might take the full 18. Trust your eyes, not the clock.
Stage 3: Shaping the Boule
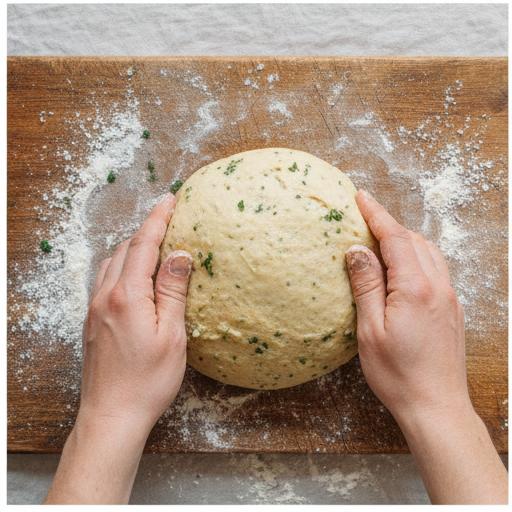
When the dough is ready, preheat your oven to 450°F. Place your covered Dutch oven inside to heat up for at least 30 minutes. This is critical a hot Dutch oven creates the steam you need for that crispy crust.
Carefully remove the hot Dutch oven from the oven. Drizzle the olive oil into the bottom. Then turn the dough out onto a lightly floured surface. It’ll be sticky, so work gently. Fold the edges toward the center to form a round ball. Don’t knead it just shape it. Drop the dough into the hot Dutch oven, seam side up. Cover with the lid.
Stage 4: Baking to Golden Perfection
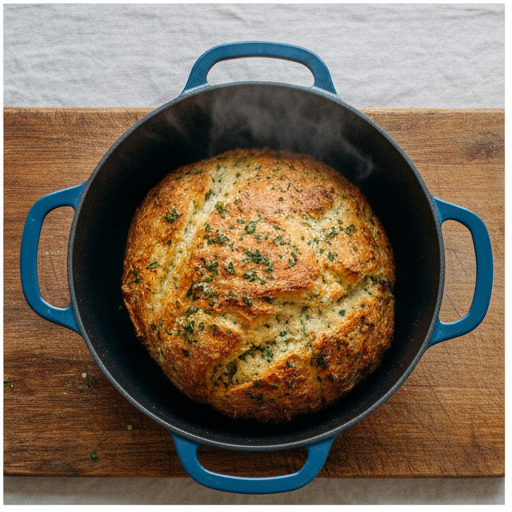
Bake covered for 30 minutes. Then remove the lid and bake for another 15 to 20 minutes. The crust should be deep golden brown, and the loaf should sound hollow when you tap it on the bottom. If you have an instant-read thermometer, the internal temperature should be around 200°F to 210°F.
Transfer the bread to a wire rack and let it cool completely before slicing. I know it’s tempting to cut into it right away, but the steam inside needs to finish cooking the crumb. Patience, friend. It’s worth it.
Tips for the Best Crust and Flavor
Over the years, I’ve picked up a few tricks that make this garlic herb dutch oven bread even better. Let me share them with you.
- Preheat your Dutch oven thoroughly. That 30-minute preheat is non-negotiable. It creates the burst of steam that gives you that crackling crust.
- Finely chop your herbs and garlic. You want the flavor distributed evenly, not in big pockets that can burn or taste overwhelming.
- Check your water temperature. If it’s too hot, you’ll kill the yeast. Too cold, and the rise will take forever.
- Use fresh herbs if you can. The flavor is brighter and more aromatic. But dried work in a pinch.
- Let the bread cool completely. I know I said it before, but it bears repeating. A warm loaf is gummy inside. A cooled loaf has that perfect, airy crumb.
One thing I’ve learned is that if you’re worried about the garlic burning, you can add it halfway through the baking process. But with this recipe, the garlic is mixed into the dough and baked covered for the first 30 minutes, so it steams rather than burns. Makes good sense, doesn’t it?
Storing and Reheating Your Bread
This garlic herb dutch oven bread is best the day it’s made, but it’ll keep for a couple of days if stored properly.
To store: Keep the bread in a paper bag at room temperature for up to two days. A plastic bag will make the crust soft, which isn’t what you want. If the bread gets a little firm, wrap it in aluminum foil and it’ll stay good for another day or two.
To reheat: The best way to bring back that crispy crust is to pop it in a 350°F oven for about 5 to 10 minutes. You can also slice it and toast it. Avoid the microwave it’ll turn your beautiful crust into rubber.
To freeze: Let the bread cool completely, wrap it tightly in plastic wrap, then place it in a freezer-safe bag. It’ll keep for up to three months. Thaw at room temperature and reheat in the oven.
Frequently Asked Questions
Serving Suggestions
This garlic herb dutch oven bread is incredibly versatile. Here are a few of my favorite ways to enjoy it:
- With olive oil for dipping. A little bowl of good California olive oil, maybe a sprinkle of flaky salt. That’s all you need.
- Alongside soups and stews. It’s perfect for sopping up every last drop of broth.
- As a base for bruschetta. Toast slices, rub with garlic, top with diced tomatoes and basil. Beautiful work.
- With grilled meats. Serve it alongside steaks, chicken, or fish for a complete summer meal.
- For breakfast. Toast a slice and slather it with butter. Tastes like Sunday mornings after church.
The best part is the smell. When that bread is baking, your whole house fills with the aroma of garlic and herbs. It’s the kind of smell that makes people gather in the kitchen, asking what’s for dinner. And when you pull that golden loaf out of the Dutch oven and tap the bottom, hearing that hollow sound well, that’s a proper loaf of bread.
I hope you try this recipe. I hope it becomes a tradition in your home, the way it has in mine. And if you want more inspiration, come find me over on Pinterest. I’m always sharing new ideas and old favorites.
Source: Nutritional Information
How long does this garlic herb dutch oven bread need to rise?
The dough needs to rest at room temperature for 12 to 18 hours. In the summer, it might be ready closer to 12 hours. In cooler weather, it could take the full 18. Look for a bubbly, doubled-in-size surface as your cue.
Can you use regular active dry yeast instead of instant yeast?
Yes, you can. Use the same amount, but dissolve it in the warm water first and let it sit for about 5 minutes until it’s foamy. Then add it to the flour mixture. The rise time might be slightly longer, so watch for the visual cues.