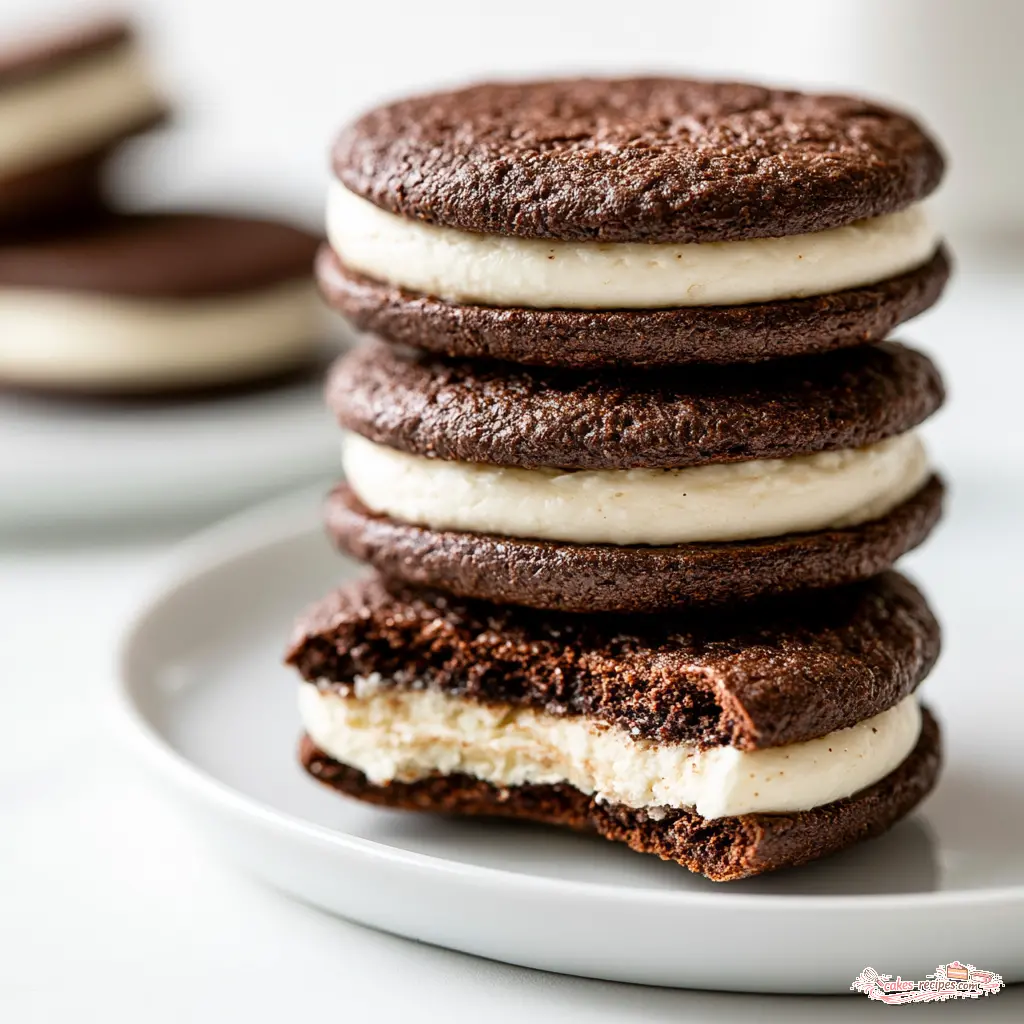
Why Make Homemade Oreo Cookies?
You know the ritual. Twist the top, lick the cream, dunk the chocolate wafer cookie into a cold glass of milk. But have you ever tried homemade Oreo cookies from scratch? The kind where the wafers snap cleanly and the vanilla cream filling tastes impossibly fresh?
I’ll be honest with you, my first batch of homemade Oreo cookies was a disaster. I skipped the dough-chilling step because I was in a hurry (bad idea), and my cookies spread into sad, flat blobs. My family ate them anyway, because chocolate. But I knew I could do better.
After many rounds of testing, this is the recipe I trust for homemade Oreo cookies. It gives you the signature dark color, the crisp snap, and the cool, creamy center. Without leaving your kitchen.
Ingredients You Need
The full ingredient list is in the recipe card at the end of this post, but let me walk you through what makes these homemade Oreo cookies work. The magic starts with unsweetened dark cocoa powder. That’s the most important ingredient in this whole project, and I’ll explain why in a second.
The rest is simple: all-purpose flour, baking soda, a pinch of baking powder, fine salt, granulated sugar, softened unsalted butter, and one room-temperature egg. For the cream filling, you need softened butter, sifted confectioners’ sugar, vanilla bean paste (or pure vanilla extract), and a little salt.
Most of these are probably already in your pantry. That dark cocoa powder is the one thing worth a special trip. I’ve found it at Whole Foods and Trader Joe’s, and you can always order it online if your local Ralphs doesn’t carry it.
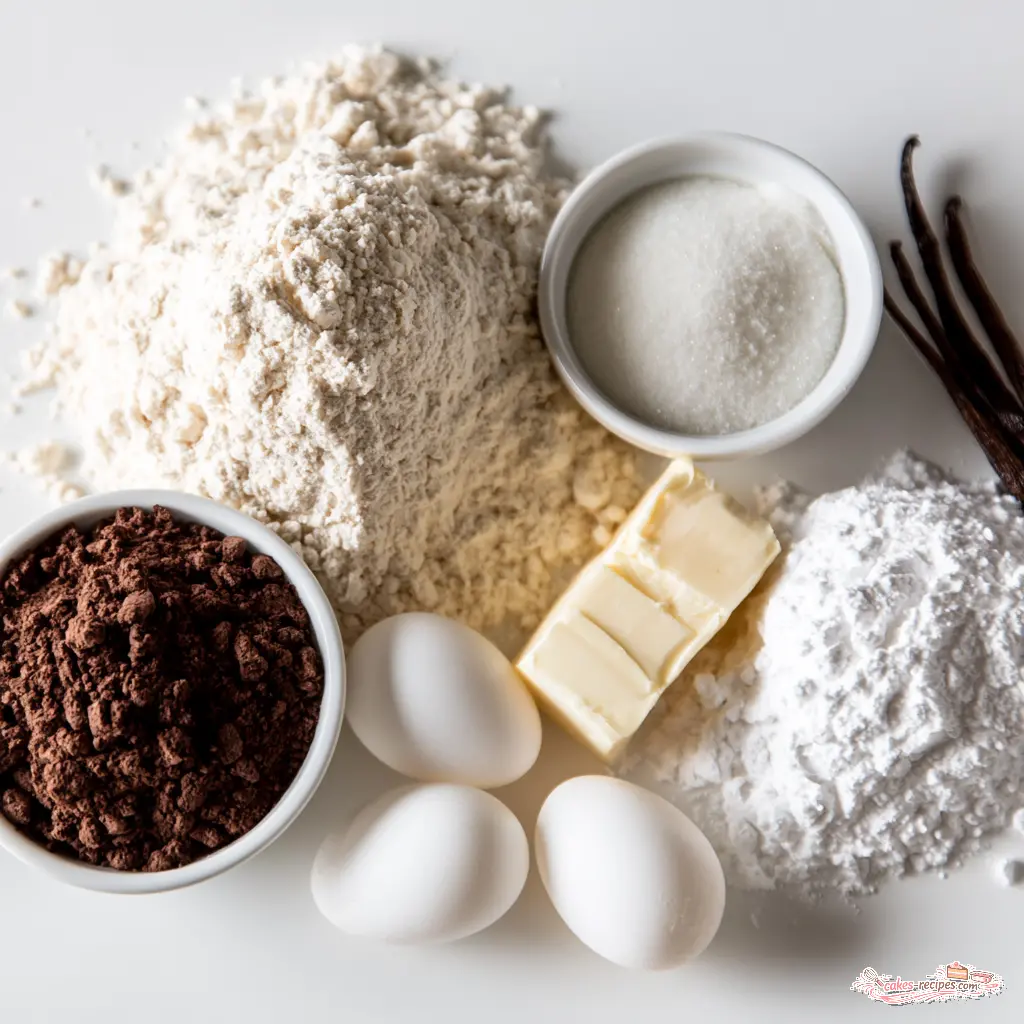
The Best Cocoa for Homemade Oreo Cookies
Here’s where the copycat magic happens. Store-bought Oreo cookies get that nearly black color and deep, mellow flavor from black cocoa powder. Black cocoa is a heavily Dutch-processed cocoa, which means it’s been treated to reduce acidity. If you can find it, perfect. If not, unsweetened dark cocoa powder or Dutch-process cocoa will give you the same rich color and smooth flavor.
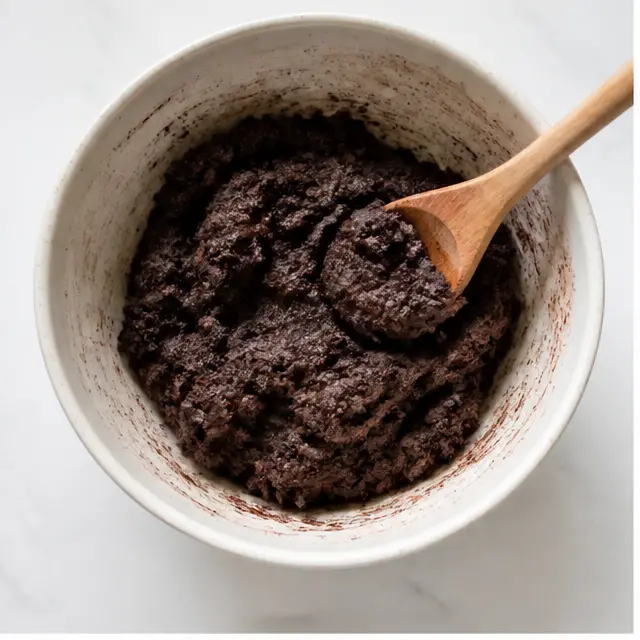
Regular natural cocoa still makes a tasty cookie. But the color will come out lighter brown, and the flavor will be a bit sharper. Generally I find the dark cocoa is worth the extra effort. It turns the dough into something that looks like damp dark sand before it’s even baked. That’s exactly what we want to see.
How to Make Homemade Oreo Cookies
Making homemade Oreo cookies really comes down to four simple stages. Each one has a small trick that separates a perfect wafer from a flat disappointment.
Make the Chocolate Cookie Dough
Whisk your dry ingredients first. Actually whisk them, for a good 30 seconds. Cocoa powder loves to clump, so if yours looks lumpy, sift it before measuring. Then beat in the softened butter and the egg until the dough pulls together into a single solid mass. It should look like dark, slightly crumbly sand, then come together as the mixer runs.
This is also where I learned my lesson. If the dough feels sticky or too warm, pop it in the fridge for 15 to 20 minutes before rolling. That small pause keeps the butter from melting too fast in the oven. It’s the exact fix for my famous first batch of blobs.
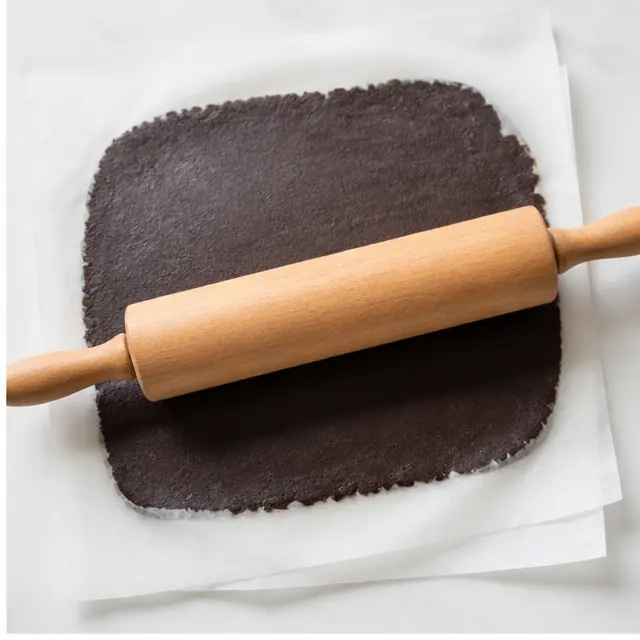
Bake the Cookies
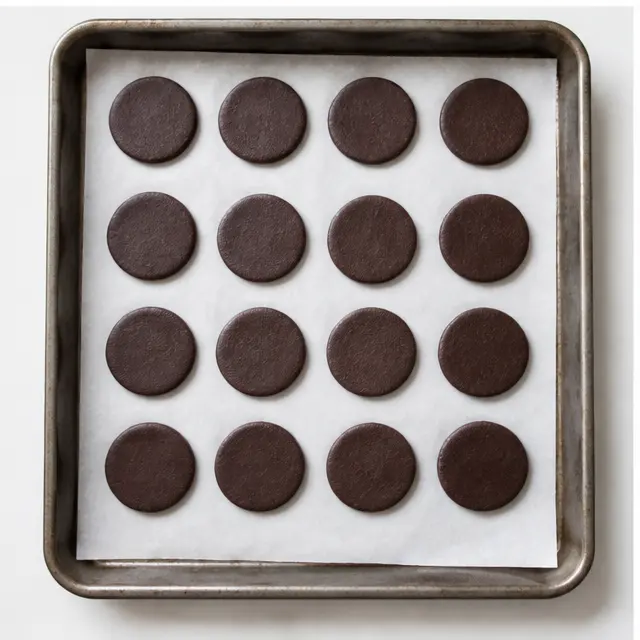
Roll the dough between two large sheets of parchment paper to about 1/8 inch thick. That thinness is what creates the crunchy cookie texture you’re after, not a cakey one. Use a 1.5-inch round cutter, a biscuit cutter, or the rim of a small glass dipped in flour. When I make homemade Oreo cookies, I like to keep a bench scraper nearby to lift the rounds without stretching them.
Bake at 375°F for 9 minutes, until the cookies are set. Important warning: don’t use color to judge doneness here. These wafers start out red-brown, even before they hit the oven. Trust the timer. And let them cool completely before you even think about the filling. Hot wafers and buttercream are not friends.
Make the Vanilla Filling
The filling is simple, but it needs time. Beat your softened butter for about 3 minutes, until it’s light, pale, and airy. That sounds fussy, I know. But it’s what gives you that smooth, fluffy cream instead of a greasy paste. Worth the extra step, every single time.
Then add the sifted confectioners’ sugar a little at a time, mixing well after each addition. Stir in the vanilla bean paste and salt, and keep beating for one more minute. When you lift the whisk, the filling should hold a soft ribbon for a second before melting back. That tracks as the perfect consistency.
Assemble the Sandwich Cookies
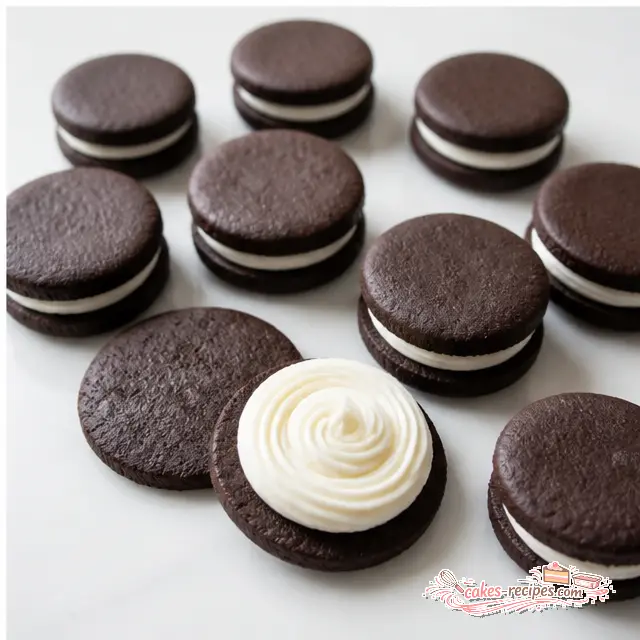
Pipe a dollop of filling onto the center of one wafer using a pastry bag fitted with a 1/2-inch round tip. Don’t have a pastry bag? Snip the corner off a plastic food bag, or simply spread the filling with a butter knife. Then place a second cookie on top and press down very gently so the filling works its way to the edges.
That gentle press is the whole trick. Press too hard and the filling squirts out the sides, or the wafer cracks. Press too little and you get a lopsided middle. You’ll find the feel after the first two or three. Before you know it, you’ll have a whole tray of perfect chocolate sandwich cookies.
Tips for Perfect Homemade Oreo Cookies
I’ve made these more times than I can count, and these are the mistakes I see most often with homemade Oreo cookies. Good news: most of them are totally fixable.
- ❌ Adding too much flour → ✅ Spoon-and-level your flour, or weigh it. Too much gives chewy, flavorless wafers.
- ❌ Cutting back on sugar → ✅ Don’t do it. The sugar is essential for spreading and that crisp snap. It’s not just sweetness, it’s structure.
- ❌ Stale baking soda or baking powder → ✅ Fresh leaveners are a must. Old ones stop the cookies from spreading and crisping correctly.
- ❌ Rolling the dough too thick → ✅ Aim for 1/8 inch. Thicker dough makes fewer, less delicate homemade cookies.
- ❌ Using the wrong cocoa → ✅ Use dark cocoa powder or Dutch-process cocoa for the classic dark color and flavor.
- ❌ Cold butter or lazy mixing → ✅ Softened butter and proper creaming give you a dough that holds together, not a crumbly mess.
- ❌ Warm butter in a warm kitchen → ✅ In hot summer weather, your kitchen works against you. Chill the dough for 15 to 20 minutes, and you’re back in business.
Flavor Variations
Once you’ve mastered the base, homemade Oreo cookies become a blank canvas. My kids request a mint version constantly: add 1/4 teaspoon of peppermint extract and a drop or two of green food coloring to the cream filling. Boom. Homemade mint Oreo cookies, no special trip required.
Want double-stuffed? Just double the filling and pipe a bigger dollop. Want minis for a lunchbox? Use a smaller cutter and shave about a minute off the bake time. You can also swap the vanilla bean paste for almond extract or a little orange zest. Every version has been a hit in my house.
Gluten-Free Adaptations
For a gluten-free version, swap the all-purpose flour for a good 1:1 gluten-free flour blend that includes xanthan gum. The wafers will be slightly more tender, but that deep chocolate flavor stays strong. I’ve served these to guests who never guessed they were gluten-free.
How to Serve Homemade Oreo Cookies
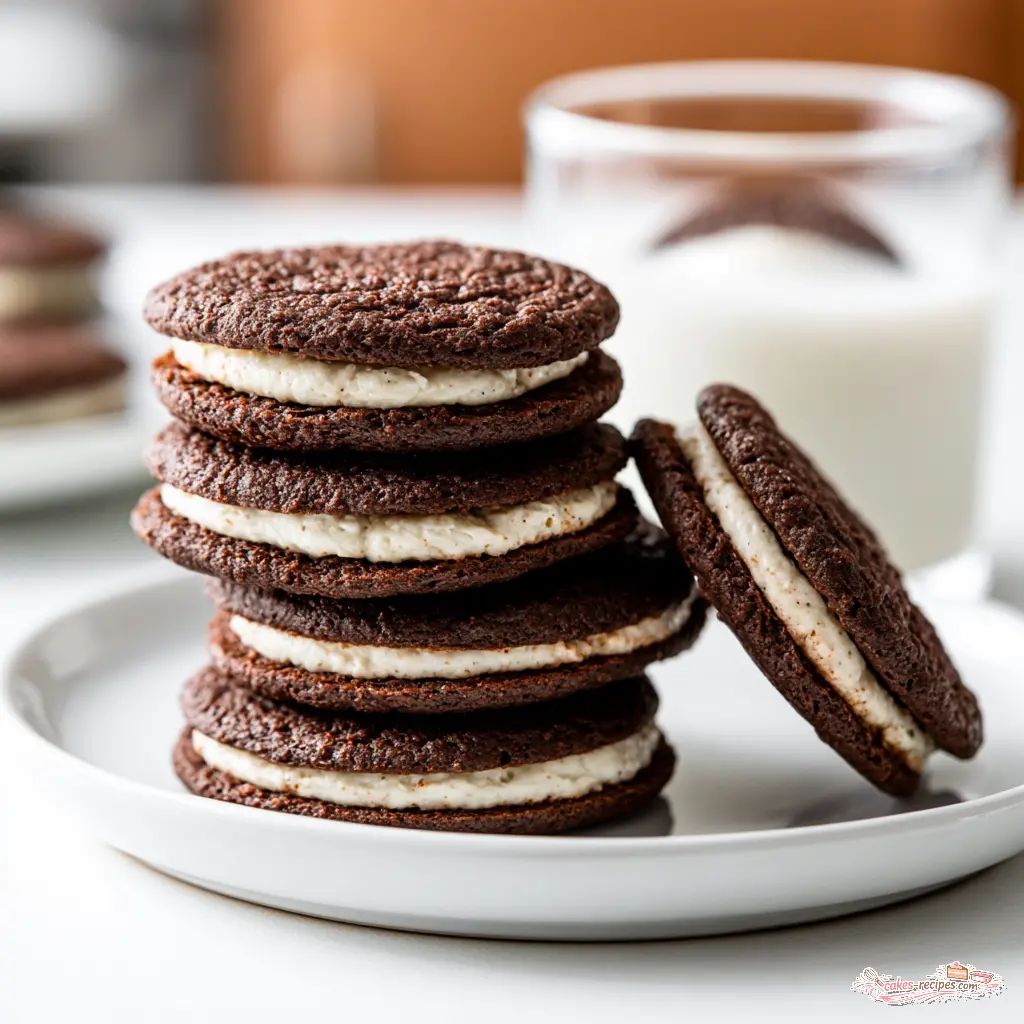
The classic move, of course, is a tall glass of cold milk. These homemade Oreo cookies were built for dunking. They’re also perfect lunchbox treats as the back-to-school season creeps in, and they vanish fast as an after-school snack.
Want to get fancy? Crumble them over vanilla ice cream for a quick cookies and cream dessert. Crush them into a cheesecake crust, or stir crushed pieces into brownie batter. They even make amazing Oreo truffles: crushed wafers mixed with cream cheese, rolled into balls, and dipped in melted chocolate.
How to Store and Freeze Homemade Oreo Cookies
Store filled homemade Oreo cookies in an airtight container at room temperature for up to 2 weeks. Just layer them with wax paper so the cream filling doesn’t stick to its neighbor. That’s the same trick my Oma used for her stacked cakes, and it works perfectly here.
These cookies freeze beautifully too. You can freeze them baked but unfilled, or fully assembled, for up to 3 months. Thaw at room temperature before serving. Nobody will believe they weren’t baked that same afternoon.
One Last Note
Making homemade Oreo cookies from scratch takes about 20 minutes of hands-on time, and the payoff is enormous. You get the nostalgia of a classic American cookie, plus the pride of handing someone a tin and watching them twist it open, lick the cream, and grin. That’s the good stuff.
If you make a batch, I’d love to see it. Come share your photos with me on Pinterest and let me know how they turned out. Happy baking!
Better Than Store-Bought Homemade Oreo Cookies
Ingredients
Method
- Heat your oven to 375 degrees F and line two baking sheets with parchment paper or silicone mats.
- In a medium bowl, whisk the flour, dark cocoa powder, baking soda, baking powder, salt, and granulated sugar until thoroughly combined.
- Beat in the softened butter and the egg using an electric mixer on high speed. Keep mixing until the dough comes together into one solid mass.
- Place the dough between two large sheets of parchment paper or two silicone mats and roll it out to about 1/8 inch thick.
- Cut the dough into 1 1/2-inch rounds using a cookie cutter, biscuit cutter, or a small glass rim dipped in flour. Gather the scraps, reroll, and cut again.
- Arrange the rounds on the prepared baking sheets, spacing them about 1 inch apart. Bake for 9 minutes, until the cookies are set. Transfer them to a wire rack and let cool completely before assembling.
- Using an electric mixer on high speed, beat the softened butter for about 3 minutes, until light, pale, and airy.
- Add the confectioners' sugar a little at a time, mixing well after each addition, until the frosting is smooth.
- Stir in the vanilla bean paste and salt and continue beating for 1 minute, until the filling is fluffy.
- Fit a pastry bag with a 1/2-inch round tip, fill it with frosting, and pipe a dollop of filling toward the center of one cookie. If you don't have a pastry bag, spread the filling with a butter knife or snip the corner off a plastic bag and pipe from that.
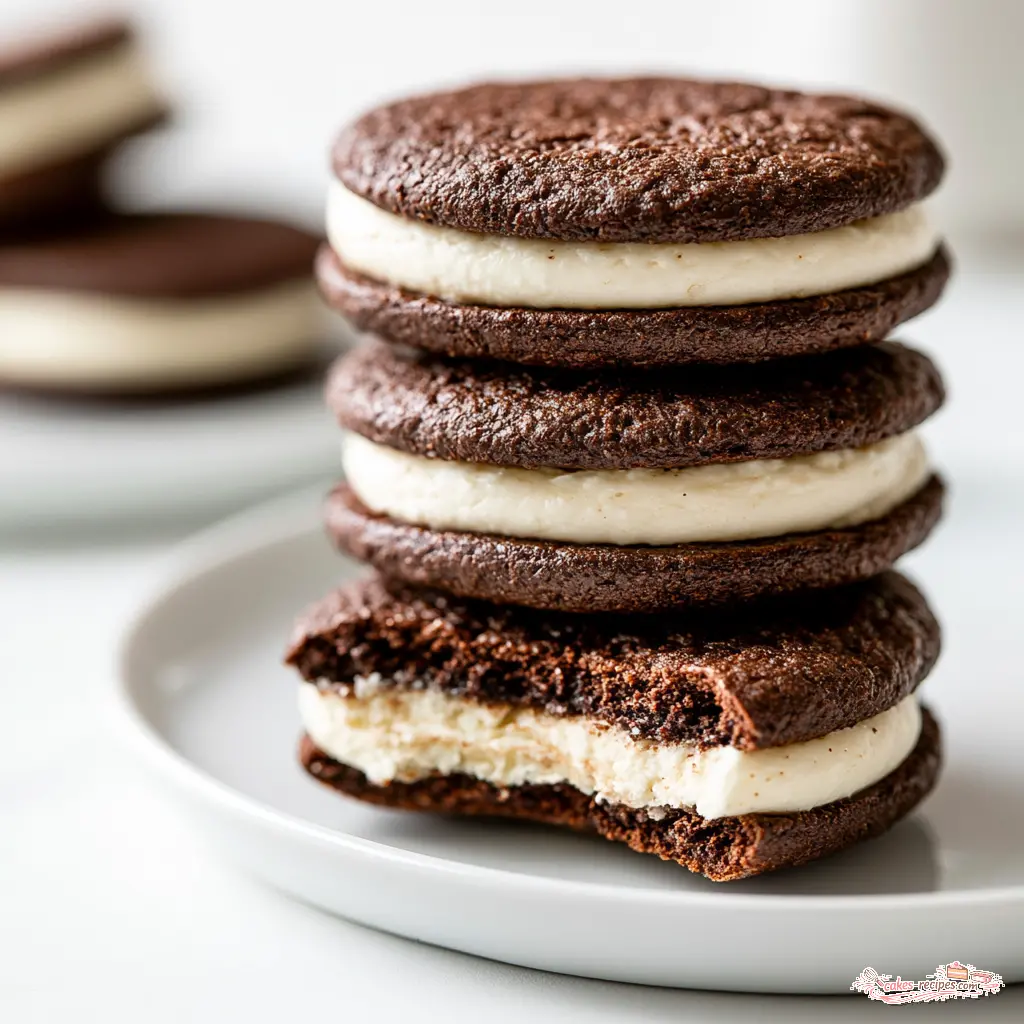
- Place a second cookie, the same size as the first, over the frosting. Press down very gently so the filling works its way to the edges. Continue filling and sandwiching the remaining cookies.
- Serve the cookies however you like; for a classic twist, pull them apart, lick the cream, and then enjoy the chocolate cookie.
Nutrition
Notes
Tried this recipe?
Let us know how it was!Frequently Asked Questions
Source: Learn More About This Dish
Can I make double stuf Oreos using this recipe?
Absolutely. Just double the filling recipe and pipe a bigger dollop onto each wafer. The cookie itself stays exactly the same. For an even easier approach, spread the filling a little thicker with a butter knife. My kids insist this is the only acceptable way now.
Can I do a different flavor filling?
Yes, and it’s so simple. Swap the vanilla bean paste for mint extract, almond extract, or a teaspoon of orange zest. For mint Oreo cookies, add a drop or two of green food coloring to the cream. Every variation uses the same base filling, so it’s really easy to experiment.
How should homemade Oreo cookies be stored?
Keep filled cookies in an airtight container at room temperature for up to 2 weeks, with wax paper between layers so they don’t stick together. They also freeze well for up to 3 months. Just thaw at room temperature before serving.