
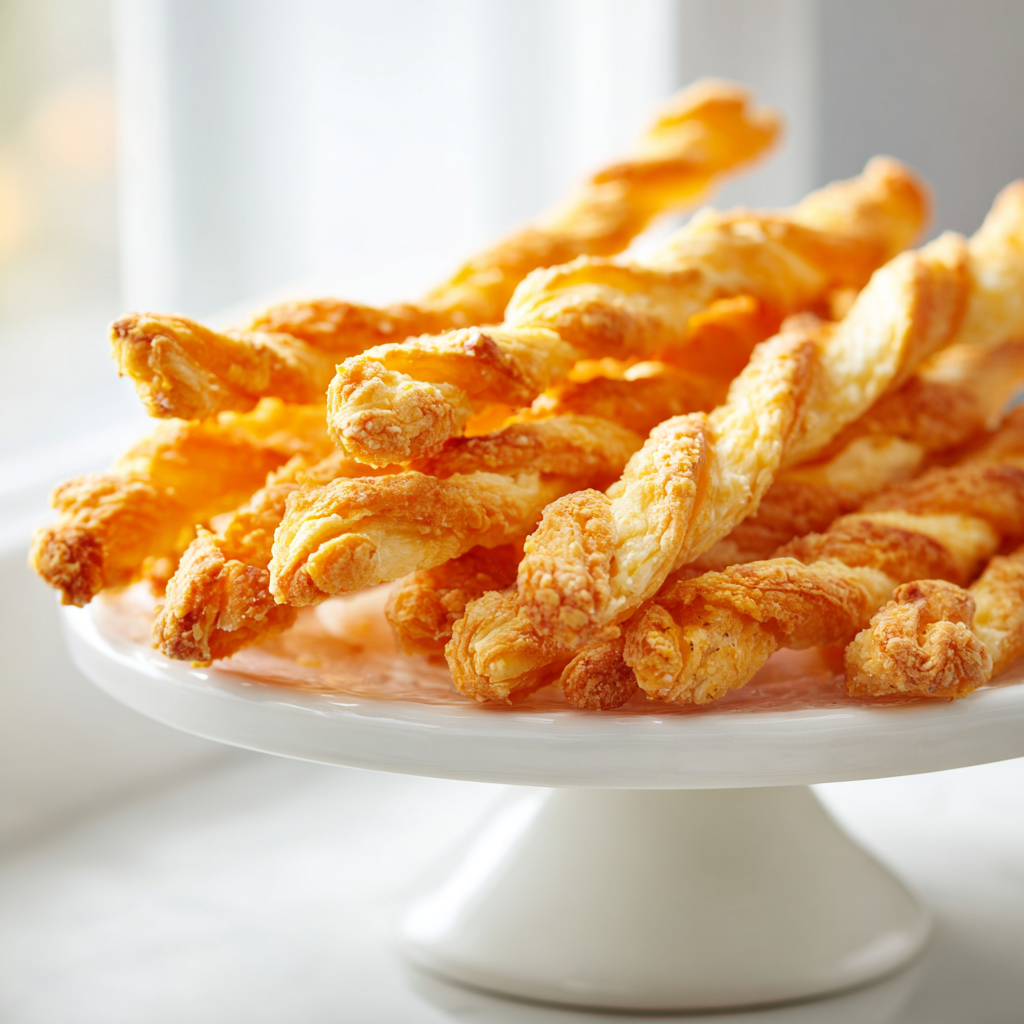
California-Style Kentucky Cheese Straws
Ingredients
Method
- Preheat your oven to 350°F (175°C). Line a baking sheet with parchment paper.
- In a large bowl, beat the softened butter with a hand mixer until smooth and creamy.
- Add the shredded cheddar cheese and mix well until fully combined.
- In a separate bowl, whisk together the flour, cayenne pepper, salt, baking powder, and paprika (if using).
- Gradually add the dry ingredients to the butter and cheese mixture, stirring with a wooden spoon until a stiff dough forms.
- Shape the dough into a log about 2 inches in diameter, wrap it tightly in plastic wrap, and refrigerate for at least 30 minutes until firm.
- Slice the chilled dough into 1/4-inch-thick rounds and place them on the prepared baking sheet, spacing them about 1 inch apart.
- Bake for 15 to 18 minutes, until the cheese straws are golden brown and crisp around the edges.
- Remove from the oven and let cool on a wire rack before serving.
Nutrition
Notes
Tried this recipe?
Let us know how it was!What Are Kentucky Cheese Straws?
I still remember the first time I had a real Kentucky cheese straw. I was at a friend’s Derby party, and his grandmother had brought a tray of them. They looked simple, just these thin, golden-brown sticks with a slight orange tint. But one bite, and I was hooked. That first crunch, the way the sharp cheddar hit your tongue, followed by a gentle warmth from the cayenne. It was like a flavor explosion in a tiny package.
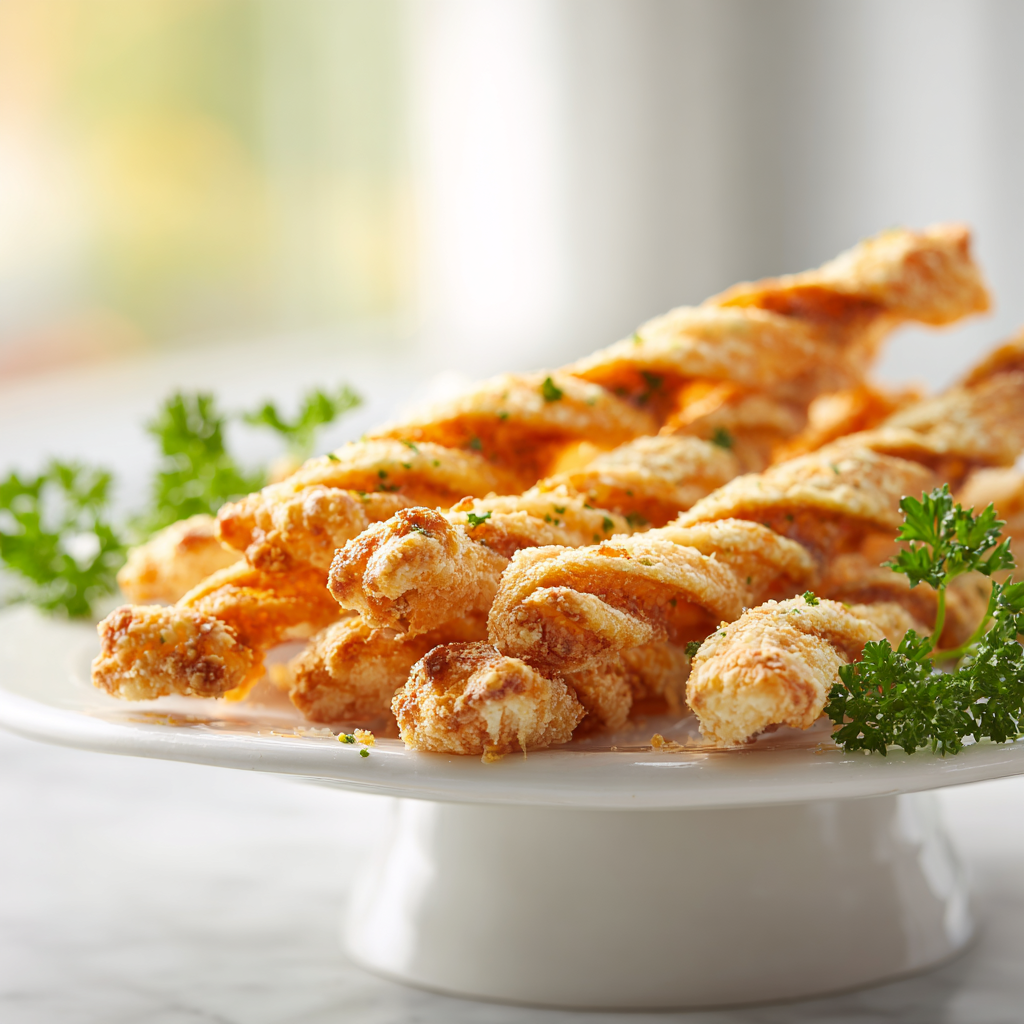
Kentucky cheese straws are basically the ultimate Southern snack. They’re a savory, buttery, crispy cheese cracker that’s piped or shaped into thin sticks. They’re not sweet, they’re not overly complicated, but they are absolutely addictive. Think of them as the grown-up, homemade version of a cheese cracker, but so much better. They’re a staple at Derby parties, summer cookouts, and pretty much any gathering where people want to stand around and talk with a drink in one hand and a snack in the other.
Here’s the deal, though. Not all cheese straws are created equal. Some are dense and greasy, some are too soft, and some just don’t have enough flavor. The good ones, the ones that disappear from the platter in minutes, have a few things in common. They’re made with real, sharp cheddar. They have just the right amount of heat. And they’re baked until they’re crisp all the way through.
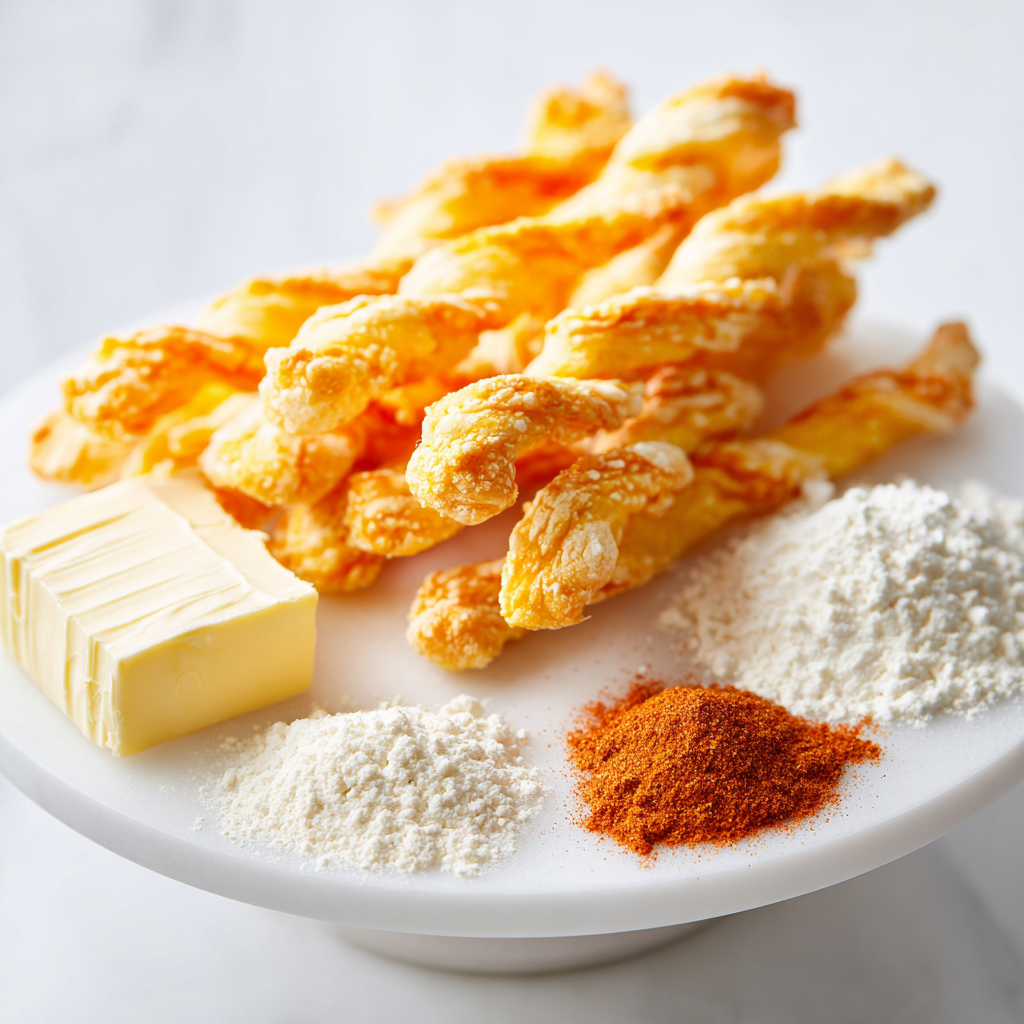
Ingredients for Kentucky Cheese Straws
This recipe is pretty straightforward, and that’s the beauty of it. You only need a handful of ingredients, and you probably have most of them in your kitchen right now. The key is using good quality stuff. No question about it, the cheese is the star here.
- Sharp Cheddar Cheese: This is non-negotiable. Don’t use mild cheddar, and for the love of all things crispy, don’t use pre-shredded cheese. It has anti-caking agents that mess with the texture. Buy a block of sharp or extra-sharp cheddar and shred it yourself. It makes a huge difference.
- Unsalted Butter: One stick, softened. Not melted, not cold from the fridge. Softened. Makes sense, right? You need it to cream with the cheese.
- All-Purpose Flour: Just regular AP flour. Nothing fancy.
- Cayenne Pepper: This is what gives the straws their signature warmth. 1/2 teaspoon is a good starting point. If you’re sensitive to heat, you can cut it back to 1/4 teaspoon. If you like things spicy, go ahead and bump it up. That’s the move.
- Salt: Just a half teaspoon to balance everything out.
- Baking Powder: A tiny amount, just 1/4 teaspoon. It helps the straws get a little bit of lift and stay light.
- Paprika: This is optional, but I like it. It adds a little color and a subtle smoky flavor.
That’s it. Seven ingredients. That’s what you need to make a batch of these addictive little snacks.
How to Make Kentucky Cheese Straws
This is where the magic happens. The process is simple, but there are a few things you want to get right. I’ve made this recipe dozens of times, and I’ve learned a few tricks along the way. Fair enough, let’s break it down into four stages.
Stage 1: Cream the Butter and Cheese
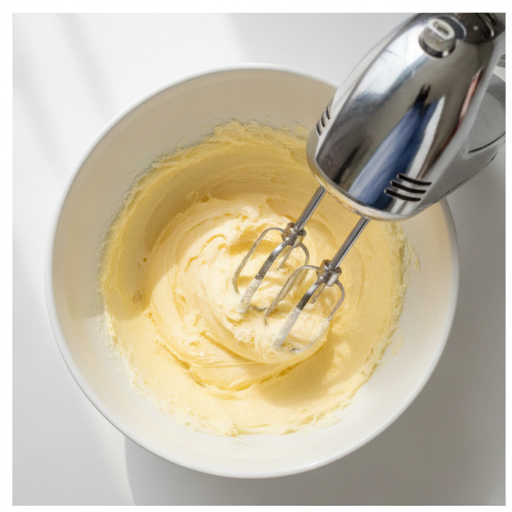
Start by beating the softened butter with a hand mixer until it’s smooth and creamy. You want it to be light and fluffy, not just melted. Then, add the shredded cheddar cheese and mix until it’s fully combined. The mixture will look like a thick, orange paste. That’s what you want.
Stage 2: Add the Dry Ingredients
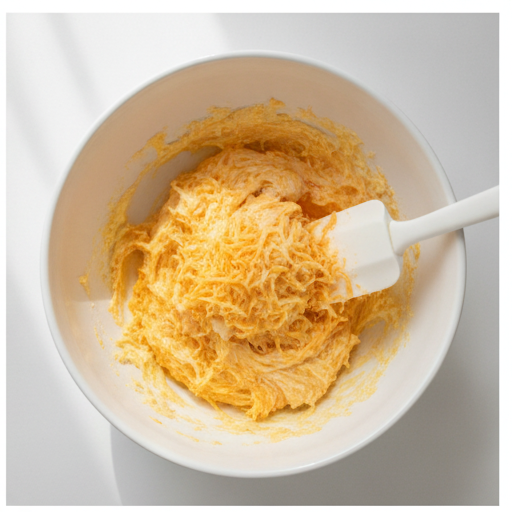
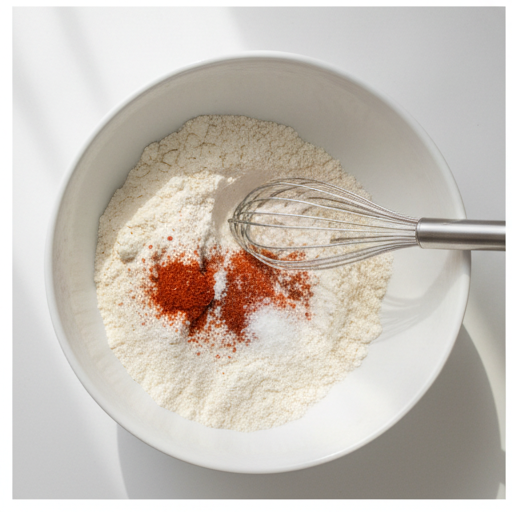
In a separate bowl, whisk together the flour, cayenne pepper, salt, baking powder, and paprika (if you’re using it). This is important. You want to make sure the spices are evenly distributed. Then, gradually add the dry ingredients to the butter and cheese mixture. Stir with a wooden spoon until a stiff dough forms. It will look a little crumbly at first, but keep working it. It will come together.
Stage 3: Shape and Chill the Dough
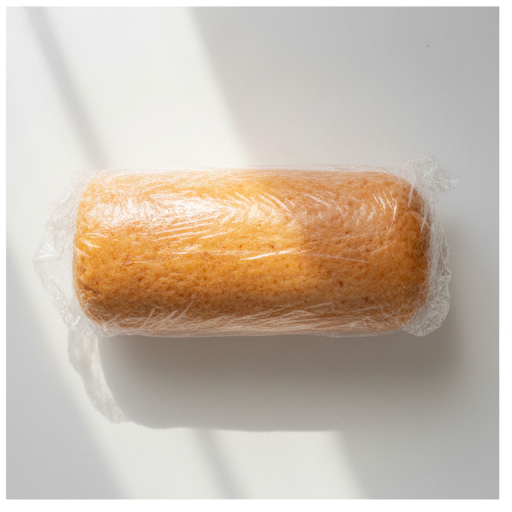
This is the part that trips some people up. The dough will be soft and a little sticky. That’s normal. Don’t add more flour. Instead, turn the dough out onto a piece of plastic wrap and shape it into a log about 2 inches in diameter. Wrap it tightly and refrigerate it for at least 30 minutes. I once forgot to chill my dough and ended up with cheese blobs instead of straws. Lesson learned. Chilling firms up the butter, which prevents the straws from spreading too much in the oven.
Stage 4: Slice and Bake
Once the dough is firm, preheat your oven to 350°F (175°C) and line a baking sheet with parchment paper. Slice the chilled dough into 1/4-inch-thick rounds. Place them on the prepared baking sheet, spacing them about 1 inch apart. They won’t spread a ton, but you want a little room for air to circulate. Bake for 15 to 18 minutes, until the cheese straws are golden brown and crisp around the edges. The golden rule: they’re done when they just start to brown at the edges. They’ll crisp up as they cool.
Variations: Cheese Coins & More
This recipe is a great base, and you can play around with it a bit. The most common variation is to shape the dough into coins instead of straws. Just roll the dough into a log, slice it, and you’ve got small, round crackers. They bake the same way.
You can also add some optional extras. A handful of finely chopped pecans mixed into the dough gives it a nice crunch and a slightly nutty flavor. That’s a classic Kentucky variation. Or, you can sprinkle the tops of the straws with a little extra cayenne or some poppy seeds before baking for a different look and flavor. Just remember, those are additions, not part of the base recipe.
Tips for Perfect Cheese Straws
Over the years, I’ve picked up a few tips that make a real difference. Here’s the deal, these are the things that separate good cheese straws from great ones.
- Don’t overmix the dough. Once you add the flour, just mix until it comes together. Overworking the dough develops the gluten, which will make the straws tough instead of tender.
- Chill the dough thoroughly. This is not optional. It keeps the butter solid, which prevents the straws from spreading into flat, greasy disks. Thirty minutes is the minimum. An hour is better.
- Use a sharp knife. When slicing the log, use a sharp, clean knife. A dull knife will squish the dough and make the slices uneven.
- Adjust the spice level. Start with 1/2 teaspoon of cayenne. If you want more heat, add another 1/4 teaspoon. For a milder version, cut it back to 1/4 teaspoon.
- Let them cool completely. The straws will be a little soft when they come out of the oven. That’s normal. Let them cool on the baking sheet for a few minutes, then transfer them to a wire rack. They’ll crisp up as they cool.
Storage & Make-Ahead Tips
This is where these cheese straws really shine. They are incredibly make-ahead friendly. You can store the baked straws in an airtight container at room temperature for up to 5 days. If they start to lose their crunch, just pop them in a 325°F oven for 3-4 minutes to re-crisp them. That’s the move.
You can also freeze the unbaked dough. Wrap the log tightly in plastic wrap, then in foil, and freeze for up to a month. When you’re ready to bake, just slice the frozen dough and add 2-3 minutes to the bake time. No need to thaw. This makes them perfect for parties. You can have a log of dough in the freezer, ready to go whenever you need a quick, impressive snack.
Frequently Asked Questions
More Southern Snack Recipes
If you’re planning a Southern-themed spread, these cheese straws are just the beginning. They pair perfectly with deviled eggs, pimento cheese, and a good bowl of boiled peanuts. They’re also great alongside a platter of smoked sausage or grilled chicken. Basically, any time you need a crunchy, savory snack, these are your go-to.
Now go make a batch and pretend you’re at a derby party. Don’t forget the sweet tea.
If you loved this recipe, I’d love to see your creations. Share them on Pinterest and tag me! You can find me here on Pinterest.
Source: USDA Nutritional Data









5 Responses
Made these for a Derby party last weekend and they were gone in 10 minutes! The cayenne gives just the right amount of warmth without being overwhelming. I used extra sharp cheddar and it really made a difference. Will definitely make again!
Good recipe, but mine came out a bit greasy. I think I might have overworked the dough. Any tips on getting them perfectly crisp without the oiliness? Also, can I use pre-shredded cheese in a pinch?
Hey Mike, thanks for the feedback! For less greasy straws, make sure your butter is just softened, not too warm, and handle the dough as little as possible. I always recommend shredding your own cheese since pre-shredded has anti-caking agents that can affect texture. Try chilling the dough for 15 minutes before piping too!
I added a pinch of smoked paprika to the mix and it gave them a lovely smoky depth. Perfect with a cold beer. The texture was spot on—crisp but not too hard. This is going into my regular rotation for game days.
First time making cheese straws and these turned out great! The only thing is I found the cayenne a bit too subtle for my taste—next time I’ll double it. But the crunch was perfect and the cheddar flavor really shines. My kids even liked them!