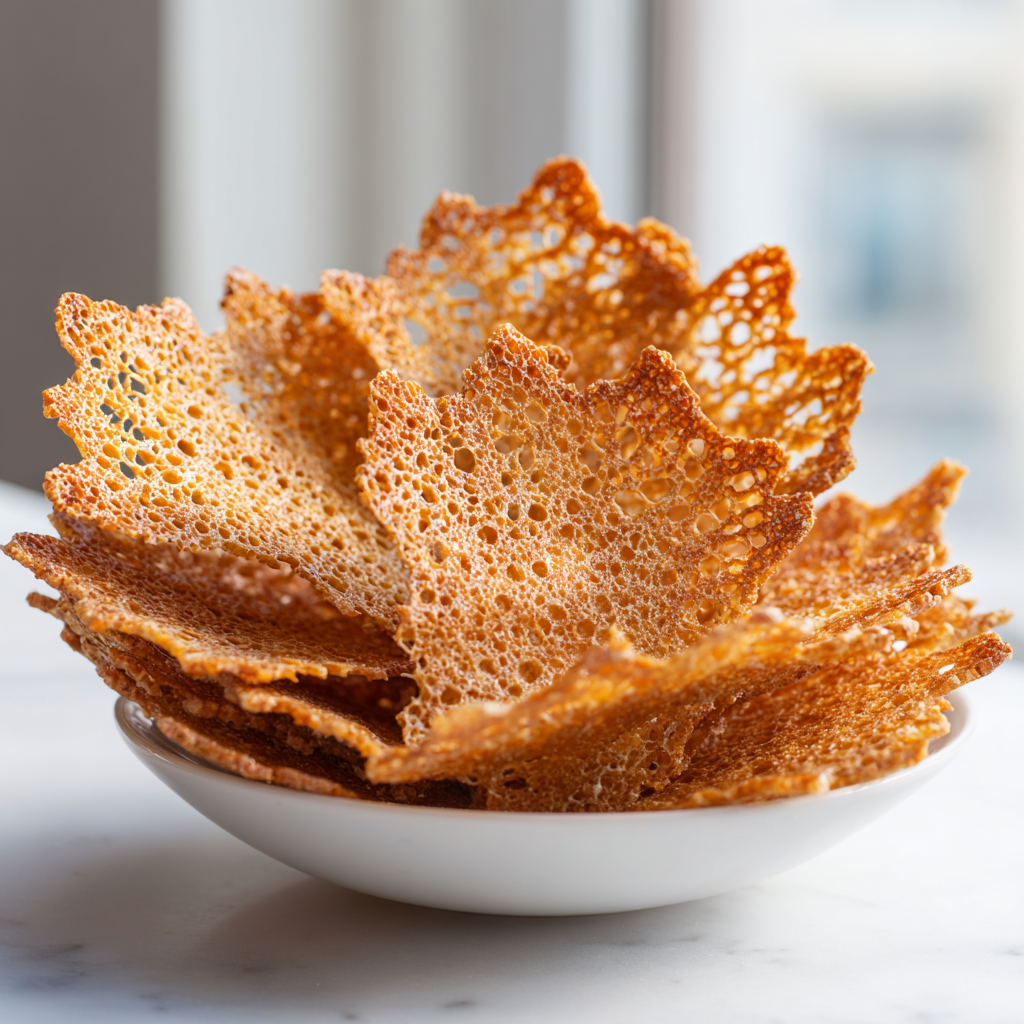
What Are Lace Almond Tuiles?
Let me walk you through this. Lace almond tuiles are those impossibly thin, crispy cookies that look like delicate pieces of edible lace. They’re a classic French pastry, but this version has a little American twist with brown sugar and corn syrup. The result? A cookie-candy hybrid that shatters when you bite into it.
I remember the first time I tried making them. I was fifteen, standing in my Oma’s kitchen in Milwaukee, and I thought I’d nailed it. But when I tried to lift one off the baking sheet, it crumbled into a million pieces. Oma just smiled and said, “Now you understand.”
That’s exactly right these cookies demand patience. But once you get the hang of them, they’re absolutely worth the effort. They’re perfect for summer desserts, especially if you want something that looks bakery-quality without spending hours in the kitchen.
Ingredients for Lace Almond Tuiles
You don’t need anything fancy for this lace almond tuiles recipe. In fact, you probably have most of these in your pantry right now. Let me break down what you need and why each ingredient matters.
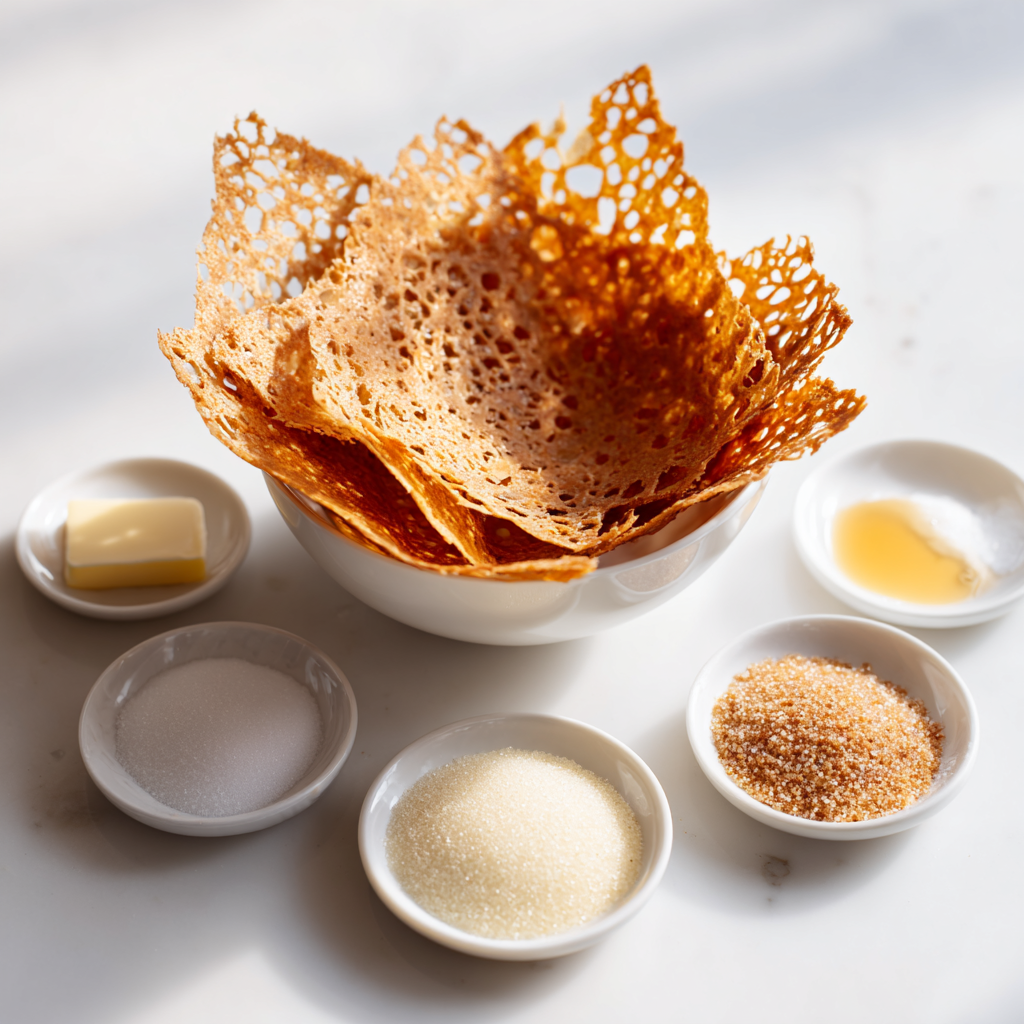
- Unsalted butter (4 tablespoons) The base of the cookie. Butter gives richness and helps the tuiles get that golden color. I prefer unsalted so I control the salt level.
- Light brown sugar (1/2 cup, packed) This is where the caramel flavor comes from. Pack it firmly into the measuring cup. Don’t skip this step.
- Granulated sugar (1/4 cup) Adds sweetness and helps with the crisp texture. The combination of both sugars is what makes these so good.
- Light corn syrup (1/4 cup) This is the secret ingredient. Corn syrup prevents the sugar from crystallizing and gives the tuiles that signature lacy, bubbly pattern. Don’t substitute it.
- Vanilla extract (1 teaspoon) Pure vanilla adds warmth. I use the real stuff, but imitation works fine.
- Salt (1/4 teaspoon) Just enough to balance the sweetness. You won’t taste it, but you’ll miss it if it’s not there.
- All-purpose flour (1/4 cup) A small amount helps bind everything together. For a gluten-free version, substitute with your favorite gluten-free flour blend.
- Finely chopped almonds (2/3 cup) The star of the show. I use California-grown almonds because they’re fresh and flavorful. Chop them finely in a food processor you want small pieces, not almond flour.
That’s it. Eight ingredients, and you’re ready to go. I like to buy my almonds from Costco or Trader Joe’s they have good quality at reasonable prices.
How to Make Lace Almond Tuiles
This is where the magic happens. The process is straightforward, but there are a few tricks that make all the difference. Let me walk you through each stage.
Stage 1: Make the Batter
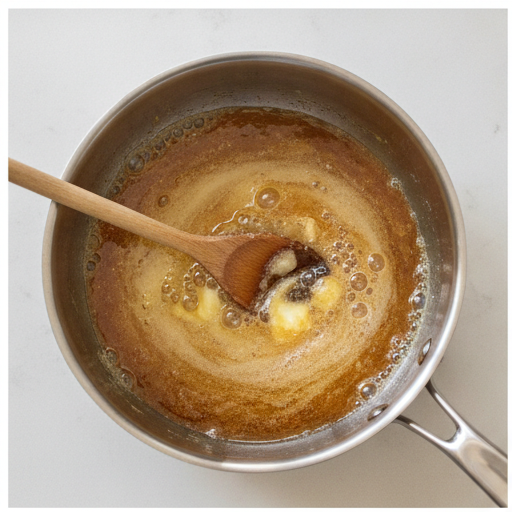
Start by combining the butter, both sugars, and corn syrup in a medium saucepan. Cook over medium heat, stirring constantly. You’ll see the mixture start to melt and bubble. That bubbling is what you’re looking for it means the sugar has dissolved and the butter has melted completely. Once it’s bubbling, remove it from the heat immediately.
Then stir in the vanilla, salt, flour, and chopped almonds. Mix until everything is well combined. The batter will look a little thin at first, but don’t worry about that. Let it cool for about 5 minutes. This cooling step is important it lets the batter thicken slightly so it doesn’t spread too much on the baking sheet.
Stage 2: Drop the Batter
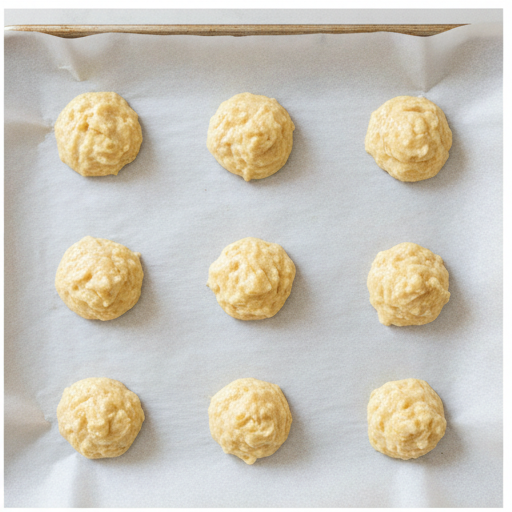
Line a cookie sheet with parchment paper. Drop the batter by heaping 1 ½ teaspoonfuls onto the prepared sheet. Space them at least 3 inches apart I’m serious about this. These cookies spread a lot. I learned this the hard way when my first batch all merged into one giant lace sheet.
If the batter thickens too much as it sits, that’s totally normal. Just give it a stir and keep going. The texture won’t be affected.
Stage 3: Bake to Perfection
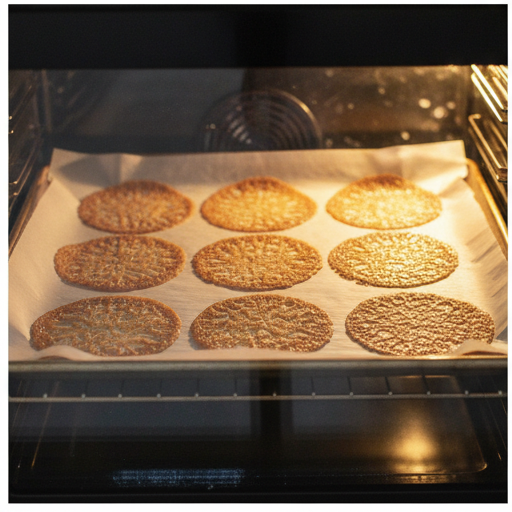
Bake at 350°F for 9 minutes. Rotate the pan halfway through for even baking. Watch them carefully these cookies go from golden to burnt in about 30 seconds. They’re done when they stop bubbling and turn light golden brown. The edges should be slightly darker than the center.
The smell is incredible. That nutty, caramelized aroma filling your kitchen? That’s exactly right. You’ll know they’re ready when you see the lacy pattern forming across the surface.
Stage 4: Cool and Set
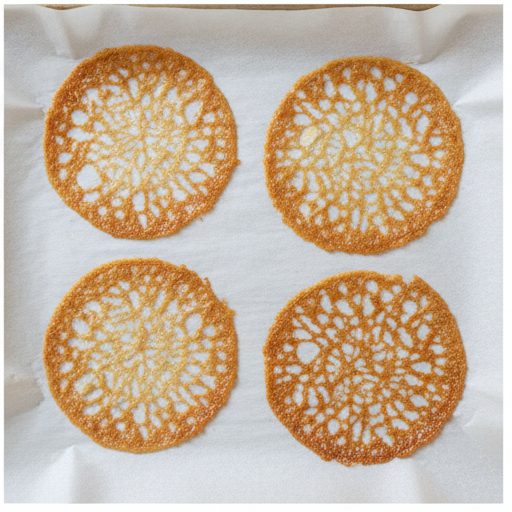
This is the hardest part patience. Let the cookies cool completely on the baking sheet. They will not be crisp until fully cooled. Don’t try to move them while they’re warm, or they’ll fall apart.
Once cool, they should lift easily off the parchment. If they stick, you might need to bake them a minute longer next time. The texture should be shatteringly crisp, with that beautiful lacy pattern visible throughout.
Tips for Perfect Tuiles
Here’s what I’ve learned from countless batches of these almond lace tuiles. These tips will save you from the mistakes I made.
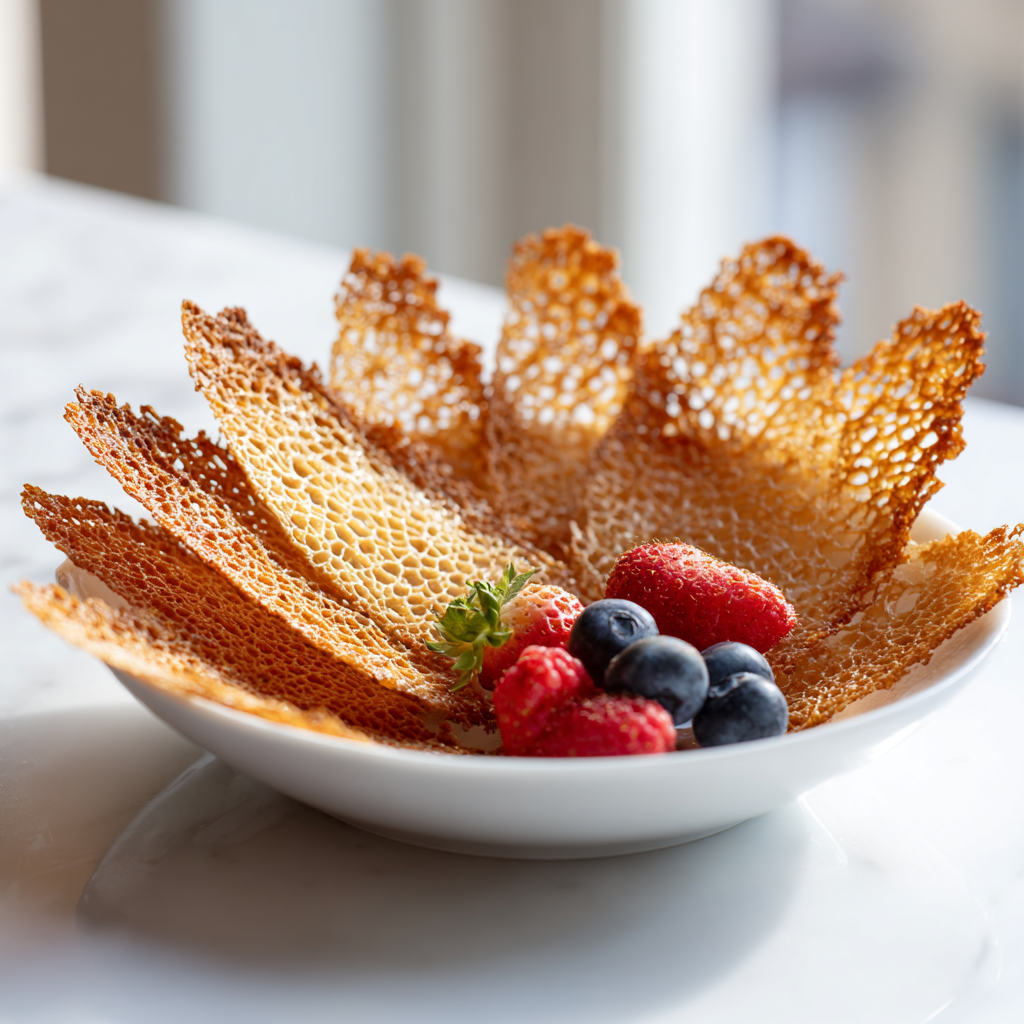
- Work quickly when shaping. If you want to shape your tuiles into bowls or cones, you have about 30 seconds after they come out of the oven. Use a rolling pin or the back of a spoon to mold them while they’re still warm and pliable.
- Don’t over-bake. The difference between perfect and burnt is just seconds. Start checking at 8 minutes. They should be light golden brown, not dark amber.
- Use a silicone baking mat. I prefer parchment paper, but a silicone mat works great too. Just make sure whatever you use is non-stick.
- Let them cool completely. I know it’s tempting to try one right away, but they need to cool fully to get that crisp texture. Patience pays off.
- If they harden before you shape them, return the tray to the oven for a couple of minutes to soften them again. This trick works every time.
How to Store Lace Almond Tuiles
Storage is where most people go wrong. These cookies are sensitive to humidity, so you need to treat them right.
Store your homemade tuiles in an airtight container at room temperature. They’ll stay crisp for up to 2 days, but honestly, they’re best eaten within 24 hours. If you live in a humid climate (like I do in Milwaukee during summer), add a silica gel packet or a piece of bread to the container to absorb moisture.
Don’t refrigerate them the moisture will make them soft. If they do lose their crispness, you can re-crisp them in a 300°F oven for 3-4 minutes. Let them cool again before serving.
For make-ahead convenience, you can prepare the batter and refrigerate it for up to 3 days. Then just bake fresh when you’re ready to serve. This is perfect for summer parties or 4th of July celebrations.
Common Mistakes and How to Fix Them
I’ve made every mistake in the book, so you don’t have to. Here are the most common issues and how to avoid them.
- ❌ Tuiles spread too much and merge together. ✅ Space them at least 3 inches apart. Use a smaller teaspoon measure if needed.
- ❌ Tuiles are too thick and not lacy. ✅ Make sure your almonds are finely chopped. Large pieces prevent the batter from spreading evenly.
- ❌ Tuiles burn before they’re done. ✅ Check at 8 minutes and rotate the pan. Every oven runs differently.
- ❌ Tuiles stick to the parchment. ✅ Let them cool completely before trying to lift them. If they still stick, bake them a minute longer next time.
- ❌ Tuiles are soft and not crisp. ✅ They need to cool completely. If they’re still soft after cooling, return them to the oven for 2 minutes at 300°F.
Variations to Try
Once you’ve mastered the basic lace almond tuiles recipe, you can start experimenting. Here are some of my favorite variations.
- Citrus zest tuiles: Add 1 teaspoon of orange or lemon zest to the batter. The citrus cuts through the sweetness beautifully.
- Chocolate drizzled tuiles: Once the tuiles are cool, drizzle melted chocolate over them. Let it set before serving. White chocolate is especially pretty.
- Gluten-free tuiles: Substitute the all-purpose flour with a gluten-free flour blend. I’ve tested this with Bob’s Red Mill 1-to-1 Baking Flour, and it works perfectly.
- Nut variations: Swap the almonds for finely chopped pecans, walnuts, or hazelnuts. Each nut gives a different flavor profile.
- Oatmeal tuiles: For a nut-free version, substitute 2/3 cup of whole oats for the almonds. Process them in a food processor first.
Frequently Asked Questions
I hope this lace almond tuiles recipe brings you as much joy as it’s brought me. These cookies are a labor of love, but the payoff is absolutely worth it. Whether you serve them with ice cream at a summer barbecue or present them as an elegant dessert at a dinner party, they never fail to impress.
You’ve got this make your tuiles and watch them disappear. And if you’re looking for more inspiration, check out my Pinterest board for more elegant dessert ideas. Happy baking!

California Lace Almond Tuiles Recipe
Ingredients
Method
- Preheat your oven to 350°F and line a cookie sheet with parchment paper.
- In a medium saucepan, combine the butter, both sugars, and corn syrup.
- Cook over medium heat, stirring constantly, until the sugar dissolves and the mixture just begins to bubble.
- Once bubbling, remove from heat and stir in the vanilla, salt, flour, and finely chopped almonds until everything is well combined.
- Let the batter cool for 5 minutes, then drop by heaping 1 ½ teaspoonfuls onto the prepared sheet, spacing them at least 3 inches apart—they spread a lot.
- Bake at 350°F for 9 minutes, rotating the pan halfway through. The cookies are done when they stop bubbling and turn light golden brown; watch carefully to prevent burning.
- Allow the cookies to cool completely on the baking sheet—they will not be crisp until fully cooled.
- Note that the batter will thicken as it cools; this is normal and won't affect the final texture.
Nutrition
Notes
Tried this recipe?
Let us know how it was!Source: Nutritional Information
What is an almond lace tuile?
An almond lace tuile is a thin, crispy cookie that looks like delicate lace. Made with butter, sugar, and finely chopped almonds, these French-inspired cookies caramelize during baking, creating a beautiful lacy pattern. They shatter when you bite into them and have a rich, nutty flavor.
What kind of nuts are good in tuiles?
Almonds are the classic choice for tuiles, but you can use pecans, walnuts, or hazelnuts too. Finely chop them in a food processor for the best texture. For a nut-free version, substitute whole oats processed into small pieces.
Can I make lace almond tuiles ahead of time?
Yes! You can prepare the batter up to 3 days ahead and refrigerate it. When you’re ready to bake, just drop the batter onto parchment and bake as directed. The baked tuiles are best within 24 hours, but they’ll stay crisp in an airtight container for up to 2 days.
How do I shape tuiles into bowls or cones?
Work quickly while the tuiles are still warm. You have about 30 seconds after they come out of the oven. For bowls, drape them over the back of a muffin tin. For cones, roll them around the handle of a wooden spoon. If they harden, return them to the oven for 2 minutes to soften.
Why did my tuiles turn out soft instead of crisp?
Most likely they didn’t cool completely, or they were stored in a humid environment. Let them cool fully on the baking sheet before moving. If they’re still soft, re-crisp them in a 300°F oven for 3-4 minutes. Store in an airtight container with a silica gel packet if humidity is an issue.