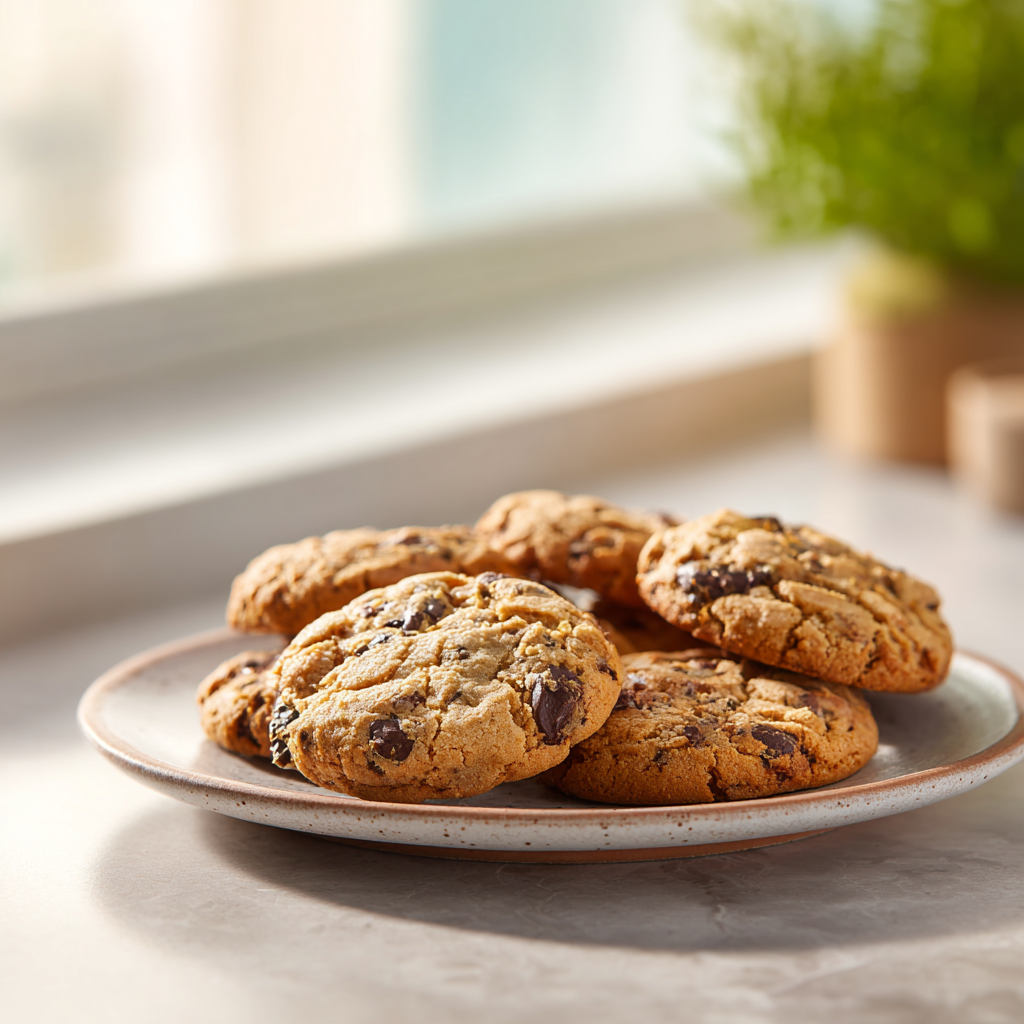
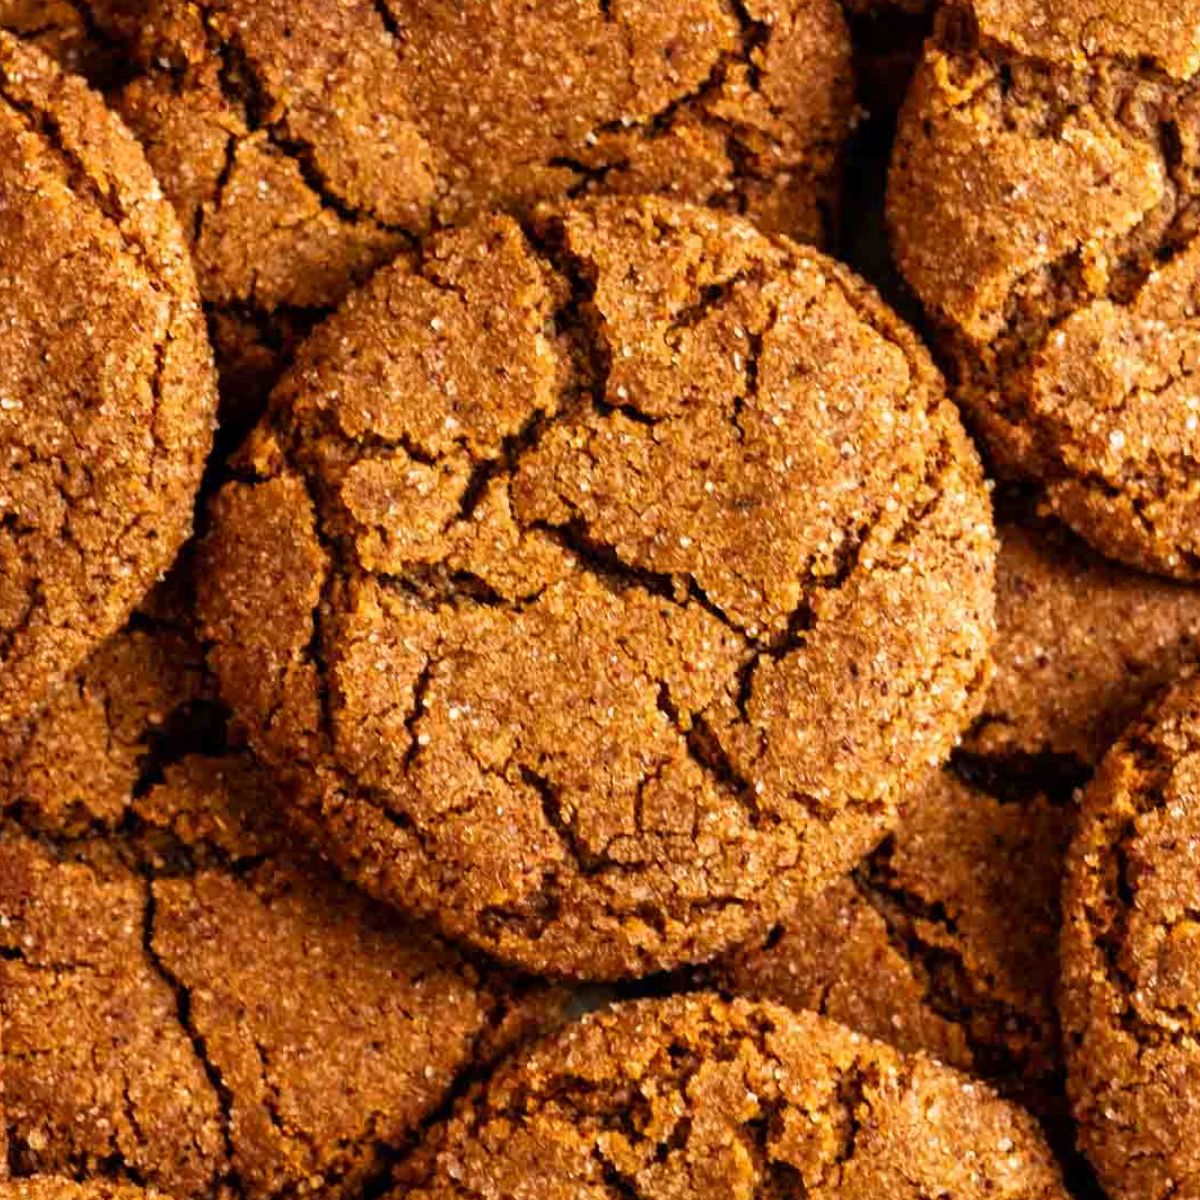
Chewy Martian Cookies Recipe with Cinnamon Sugar Crunch
Ingredients
Method
- Preheat your oven to 350 degrees Fahrenheit (175 degrees Celsius). Line a baking sheet with parchment paper or a silicone baking mat.
- In a large mixing bowl, combine the softened butter, kosher salt, vanilla extract, molasses, cinnamon, ginger, nutmeg, and granulated sugar. Beat with an electric hand mixer on medium speed until light and creamy, about 1 to 2 minutes.
- Add the egg and mix until fully incorporated, scraping down the sides of the bowl as needed.
- Add the flour and baking soda, then mix on low speed until just combined. Do not overmix.
- In a small bowl, whisk together the 1/4 cup granulated sugar and 1 teaspoon cinnamon for the coating.
- Using a cookie scoop (about 1 1/2 tablespoons each), portion the dough and roll each portion into a smooth ball. Roll each ball in the cinnamon sugar mixture until evenly coated.
- Place the coated dough balls on the prepared baking sheet, spacing them about 2 inches apart. Bake in the preheated oven for 11 to 12 minutes for chewy cookies, or 13 to 14 minutes for crispier cookies.
- Let the cookies cool on the baking sheet for 5 minutes, then transfer them to a wire rack to cool completely. The cookies will firm up as they cool.
Nutrition
Notes
Tried this recipe?
Let us know how it was!Why You’ll Love This Martian Cookies Recipe
I remember my grandma pulling these out of the oven on hot July afternoons. The whole house would fill with this warm, spicy smell – cinnamon, ginger, a little something deeper from the molasses. She’d set the tray on the counter, and my cousins and I would hover, waiting for them to cool just enough so we could grab one without burning our fingers. They were always the first thing to disappear at family barbecues.
That’s the thing about this martian cookies recipe. It’s not just a cookie. It’s a time machine. One bite and you’re back in the 1950s, or at your own grandma’s kitchen table. These are old-fashioned cookies through and through – soft in the middle, slightly crisp on the edges, and rolled in cinnamon sugar for that extra little crunch. No green food coloring required, unless you want to go full alien. I usually skip it. The flavor is the star here.
What I love most? It’s a one bowl cookie situation. No chilling the dough, no complicated steps. You mix, you scoop, you roll, you bake. In about 22 minutes you’ve got a batch of vintage martian cookies that look like they came straight from a 1950s recipe card. They’re perfect for summer parties, picnic treats, or just a Tuesday afternoon when you need something sweet. Trust me on this.
Essential Ingredient Guide
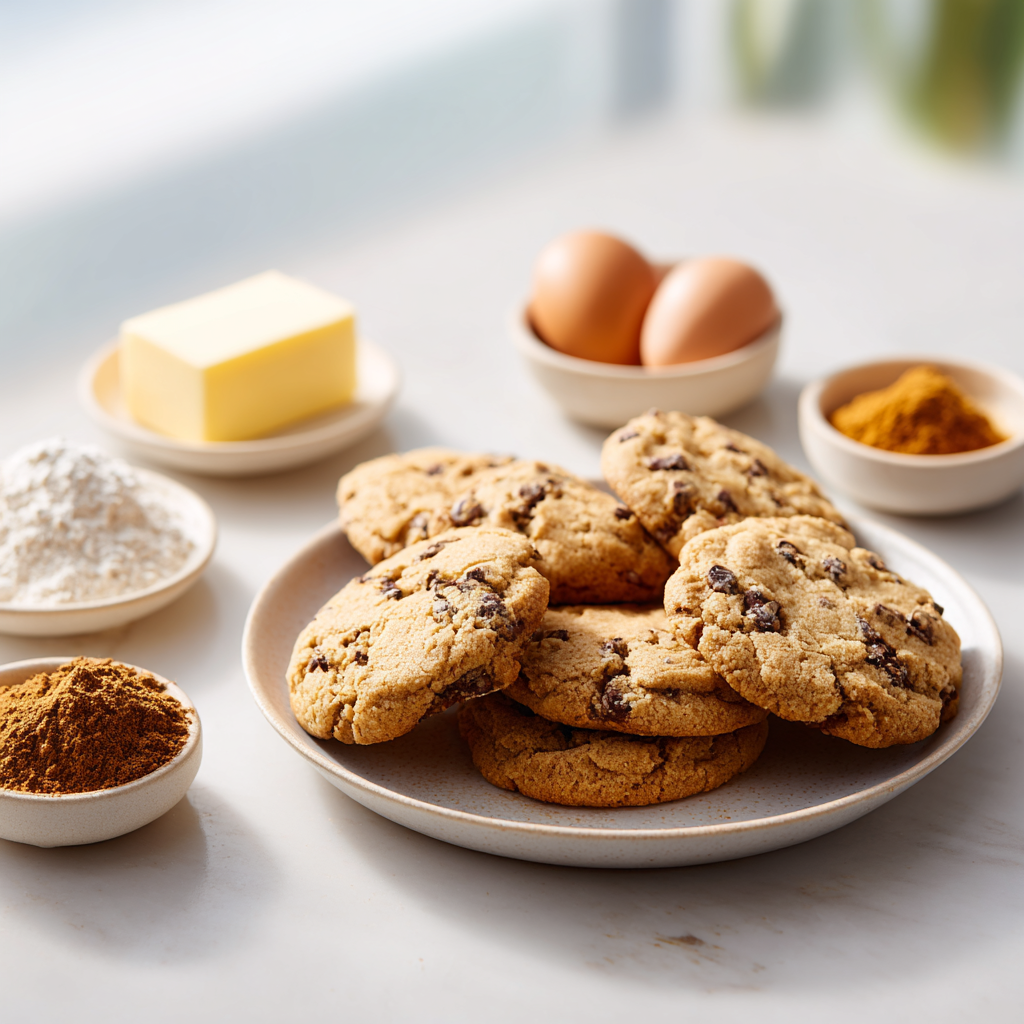
Before we get into the nitty-gritty, let’s talk about what goes into these cookies. The ingredient list is short, but each one plays a role. Get these right, and you’re golden.
- Unsalted butter, softened: This is your fat base. Room temperature butter creams properly with the sugar, which gives you that light, tender texture. Don’t microwave it to soften – just leave it on the counter for an hour. I find it makes a difference.
- Molasses: This is the secret weapon. It adds a deep, almost smoky sweetness and keeps the cookies chewy. Make sure you’re using regular molasses, not blackstrap. Blackstrap is too bitter and intense. Trust me on this – I learned the hard way.
- Ground cinnamon and ground ginger: These two are the flavor backbone. The cinnamon is warm and familiar, the ginger adds a little zing. Together they create that signature spiced flavor that makes these vintage martian cookies so addictive.
- Ground nutmeg: Just a quarter teaspoon, but it rounds everything out. It’s subtle – you won’t taste it directly, but you’ll notice if it’s missing.
- Granulated sugar: You’ll use it in the dough and in the coating. The coating is what gives these cookies their signature crackly, sugary crust.
- All-purpose flour: Spoon and level it. Scooping directly from the bag packs the flour and makes your cookies dense. A light hand is key here.
- Baking soda: Two teaspoons might seem like a lot, but that’s what gives these cookies their spread and crackly tops. It’s the leavening power that makes them work.
- Egg: Room temperature, same as the butter. It emulsifies better and gives you a smoother dough.
That’s it. No fancy extracts, no weird ingredients. Just retro baking at its finest.
Step-by-Step Instructions
Alright, let’s do this. The process is straightforward, but I’ll walk you through each stage so you know exactly what to look for. No stress.
Stage 1: Cream the Butter and Sugar
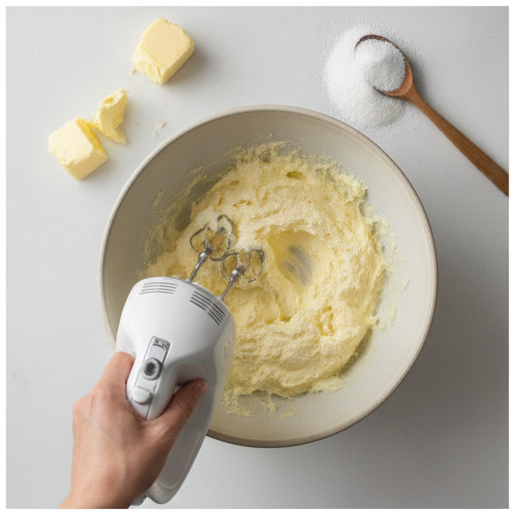
Start by preheating your oven to 350°F. Line a baking sheet with parchment paper or a silicone mat. In a large bowl, combine the softened butter, salt, vanilla, molasses, cinnamon, ginger, nutmeg, and the cup of sugar. Beat with an electric hand mixer on medium speed until it’s light and creamy – about 1 to 2 minutes. You’ll see it change color slightly and get fluffy. That’s the air you’re incorporating, and it’s what makes the cookies tender.
Add the egg and mix until it’s fully incorporated. Scrape down the sides of the bowl with a spatula. I always do this – you don’t want streaks of unmixed butter hiding in there.
Stage 2: Add the Dry Ingredients
Add the flour and baking soda to the bowl. Mix on low speed until just combined. This is where people mess up – they keep mixing until it’s perfectly smooth, and that develops the gluten too much. You want to stop when you don’t see any more streaks of flour. A few lumps are totally fine. Honestly, they’ll bake out.
The dough will be soft and a little sticky. That’s normal. Don’t be tempted to add more flour.
Stage 3: Shape and Coat
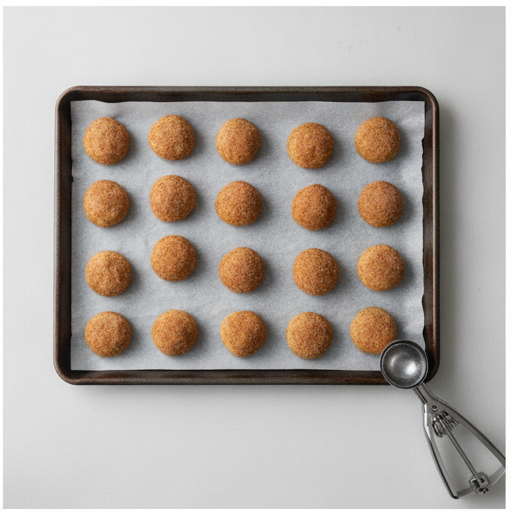
In a small bowl, whisk together the 1/4 cup sugar and 1 teaspoon cinnamon for the coating. Using a cookie scoop (about 1 1/2 tablespoons each), portion the dough and roll each portion into a smooth ball. Roll each ball in the cinnamon sugar mixture until it’s evenly coated. This is the fun part – you’ll see the sugar clinging to the dough, promising that crunchy exterior.
Place the coated dough balls on the prepared baking sheet, spacing them about 2 inches apart. They’ll spread, so give them room.
Stage 4: Bake and Cool
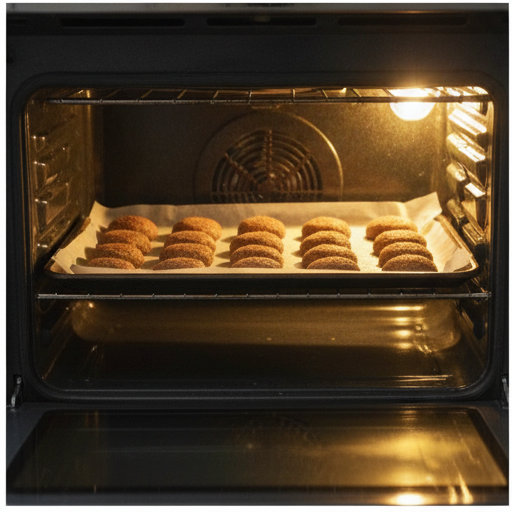
Bake for 11 to 12 minutes for chewy cookies, or 13 to 14 minutes for crispier ones. The edges will be set and lightly golden, but the centers will still look soft and slightly puffy. That’s exactly what you want. They’ll continue to set as they cool.
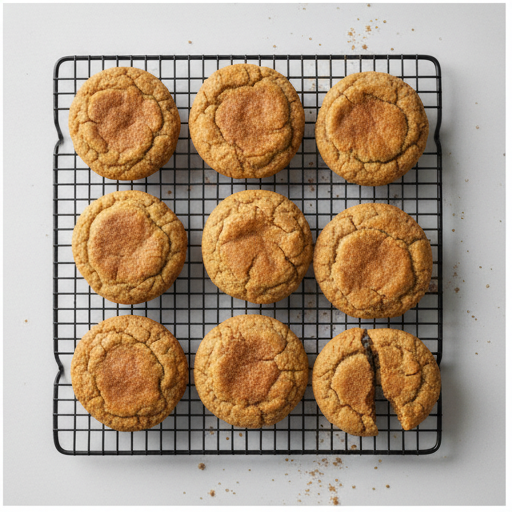
Let the cookies cool on the baking sheet for 5 minutes. This is crucial – if you try to move them immediately, they’ll fall apart. After 5 minutes, transfer them to a wire rack to cool completely. They’ll firm up as they cool, and the crackly tops will become perfectly crisp.
Tips for the Best Martian Cookies
I’ve tested this martian cookies recipe more times than I can count. Here’s what I’ve learned.
- Measure your flour correctly. Stir the flour first, then spoon it into your measuring cup and level it with a knife. Scooping directly from the bag packs the flour and gives you dense cookies. This is the #1 mistake people make.
- Use room temperature ingredients. Cold butter doesn’t cream properly. Cold egg doesn’t emulsify. Take them out of the fridge an hour before you start baking. Your cookies will thank you.
- Don’t overmix the dough. Once the flour is in, mix only until no streaks remain. Overmixing develops gluten and makes tough cookies. We want tender, soft cookies here.
- Use a cookie scoop. It gives you uniform balls, which means even baking. If you don’t have one, just roll into balls with your hands. Rustic is charming, right?
- Watch the bake time. Ovens vary. Start checking at 10 minutes. The cookies are done when the edges are set and the centers are still soft. They’ll look underdone, but trust the process.
If they spread a little, no worries – they’ll still taste out-of-this-world. That’s the beauty of vintage cookie recipes. They’re forgiving.
Common Mistakes to Avoid
Even experienced bakers run into issues. Here’s how to troubleshoot the most common problems with this martian cookies recipe.
Troubleshooting Guide
❌ Cookies spread too much: Your butter was too soft or your oven wasn’t hot enough. Next time, chill the dough balls for 15 minutes before baking. Also, make sure your baking soda is fresh – old baking soda loses its oomph.
❌ Cookies are dry and crumbly: You overmixed the dough or added too much flour. Remember to spoon and level your flour. And stop mixing as soon as the flour disappears.
❌ Cookies are too flat: Your butter was too warm. Room temperature is cool to the touch, not melty. If your kitchen is hot (hello, summer), chill the dough for 20 minutes before baking.
❌ Bottoms are burning: Your baking sheet might be too dark. Dark sheets absorb more heat. Use a light-colored sheet or line with parchment paper.
Honestly, even if your first batch isn’t perfect, they’ll still taste amazing. Old-fashioned cookies are forgiving like that.
Storage and Freezing Instructions
These vintage martian cookies store beautifully, which makes them perfect for make-ahead baking.
- Room temperature storage: Store cooled cookies in an airtight container at room temperature for up to 5 days. They’ll stay soft and chewy. If you want to keep them extra soft, add a slice of bread to the container – it absorbs excess air and keeps the cookies moist.
- Freezing baked cookies: Place cooled cookies in a single layer in a freezer-safe container or bag. They’ll keep for up to 3 months. To serve, let them thaw at room temperature for about 30 minutes. Or microwave a frozen cookie for 10 seconds for that fresh-from-the-oven warmth.
- Freezing dough: This is my favorite trick. Scoop the dough into balls, roll them in cinnamon sugar, and place them on a tray. Freeze until solid, then transfer to a freezer bag. When you’re ready to bake, place frozen dough balls on a baking sheet and bake for 12 to 14 minutes (add 1 to 2 minutes to the bake time). Fresh cookies in minutes, anytime you want.
This makes them perfect for summer parties, July 4th barbecues, or any time you need a kid-friendly cookie in a hurry.
Frequently Asked Questions
I hope you love this martian cookies recipe as much as I do. They’re nostalgic, delicious, and surprisingly easy to make. Whether you’re baking for a summer party, a space-themed party, or just because you want a taste of the past, these cookies deliver. Made these? Tag me – I’d love to see your Martian batch! And if you’re looking for more vintage inspiration, I share all my favorites over on Pinterest.
Source: Nutritional Information
What makes a martian cookies recipe chewy and crispy at the same time?
The molasses keeps the centers soft and tender, while the cinnamon sugar coating creates a slightly crisp exterior. Baking at 350°F for 11 to 12 minutes gives you that perfect contrast – set edges with a soft, almost gooey middle.
Can I substitute molasses in vintage martian cookies?
You can, but the flavor will change. Molasses adds a deep, rich sweetness that’s hard to replicate. Honey or maple syrup will make the cookies sweeter and less complex. If you’re in a pinch, use dark corn syrup, but the cookies won’t have that same signature taste.
How do you store chewy martian cookies to keep them soft?
Store them in an airtight container at room temperature. Add a slice of bread to the container – it absorbs excess air and keeps the cookies soft for up to 5 days. Just replace the bread slice every couple of days if it gets stale.
What is the purpose of rolling martian cookies in cinnamon sugar?
The cinnamon sugar coating creates a slightly crunchy exterior that contrasts with the soft, chewy center. It also adds a warm, sweet flavor that complements the ginger and molasses. Plus, it gives the cookies that classic crackled look.
Are vintage martian cookies the same as snickerdoodles?
Not quite. Both are rolled in cinnamon sugar, but snickerdoodles use cream of tartar for tanginess and don’t include molasses or ginger. Martian cookies have a deeper, spicier flavor from the molasses, ginger, and nutmeg. They’re related, but definitely distinct.
Can I make the dough ahead of time?
Yes! You can refrigerate the dough for up to 3 days. Just wrap it tightly in plastic wrap. When you’re ready to bake, let it sit at room temperature for 10 minutes so it’s soft enough to scoop. You can also freeze the dough balls for up to 3 months.