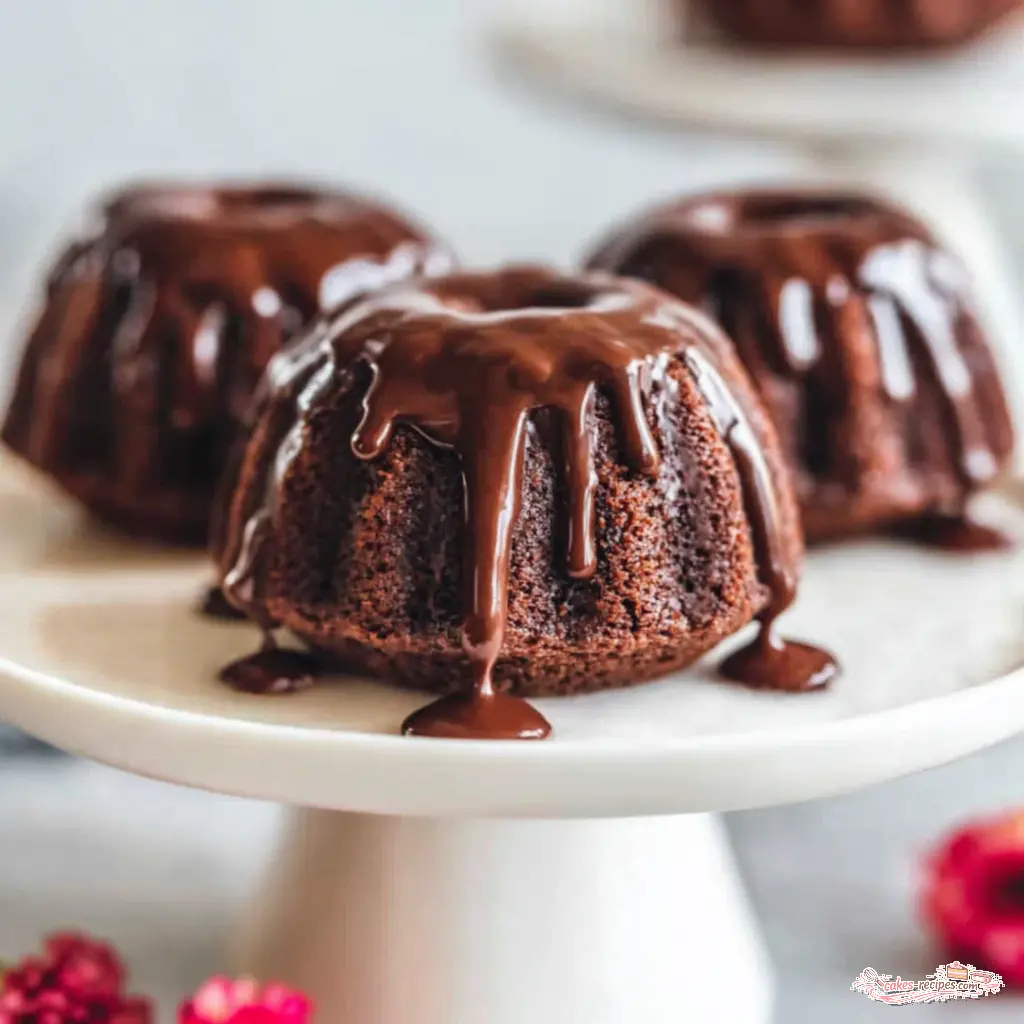
Why You’ll Love These Mini Chocolate Bundt Cakes
I have a confession to make. My very first attempt at mini chocolate bundt cakes was a disaster. I mean, a full-on, cake-stuck-to-the-pan, dig-it-out-with-a-spoon kind of disaster. I was twelve, using one of my Oma’s ornate pans from Bavaria, and I thought I knew better than her butter-and-flour method. I sprayed that pan with regular cooking spray and crossed my fingers. Half the cake stayed in the pan. We ate it as “Bundt crumble” with ice cream that night. Oma didn’t say a word, but her look said everything.
That’s why I’m so excited to share this recipe with you. These mini chocolate bundt cakes are everything you want in a summer dessert: rich, fudgy, incredibly moist, and perfectly portioned for parties. Each little cake comes out with a beautiful dome and releases from the pan like a dream. No crumbling, no sticking, no tears. Just pure chocolate bliss.
What makes these individual bundt cakes so special? It’s the combination of hot brewed coffee and sour cream (well, in this case, whole milk and oil) that creates the most tender crumb you’ve ever tasted. The coffee doesn’t make them taste like coffee it just deepens the chocolate flavor in a way that water never could. And the mini size means they bake up in under 25 minutes, which is perfect for summer when you don’t want the oven on for hours.
Let me walk you through everything you need to know to make these beauties. I promise, by the end of this article, you’ll feel confident enough to bake a batch for your next barbecue or potluck. And your friends will think you bought them from a bakery.
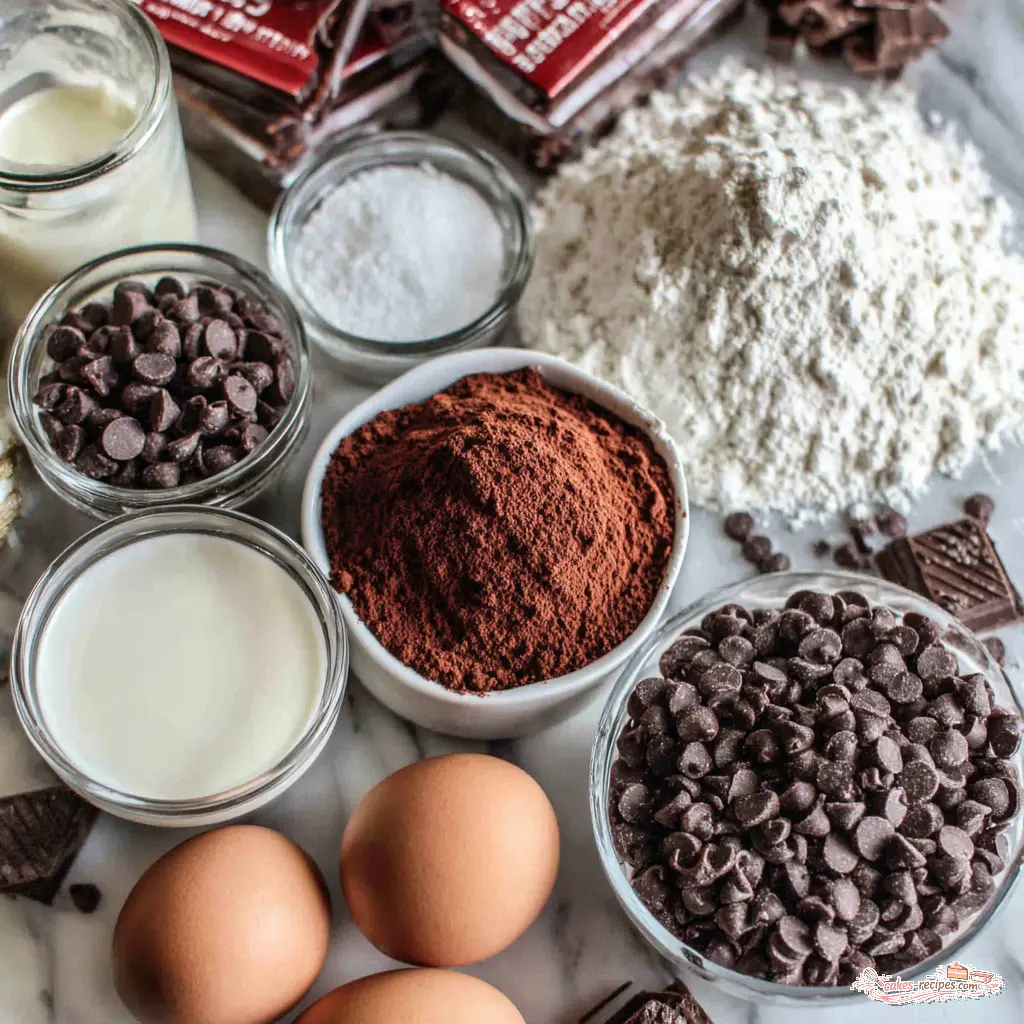
Ingredients for Mini Chocolate Bundt Cakes
The ingredient list for this moist chocolate bundt cake recipe is pretty straightforward, and you probably have most of it in your pantry right now. That’s one of the things I love about it no special trips to the store for obscure ingredients.
For the cakes themselves, you’ll need:
- All-purpose flour 2 cups, measured correctly (fluff, spoon, level). Don’t scoop directly from the bag or you’ll end up with dry cakes.
- Granulated sugar 1 3/4 cups. This gives the cakes sweetness and helps with that tender texture.
- Unsweetened cocoa powder 3/4 cup. I use natural cocoa powder here, not Dutch-process. The baking soda reacts with the natural acidity in the cocoa to help the cakes rise.
- Baking soda and baking powder 2 teaspoons and 1 teaspoon respectively. Yes, both. They work together for the perfect lift.
- Salt 1 teaspoon. Don’t skip it. Salt makes chocolate taste more chocolatey.
- Whole milk 1 cup. You can use any milk you have on hand, but whole milk gives the richest result.
- Vegetable oil 1/2 cup. Oil keeps these cakes moist longer than butter would. That’s the secret.
- Eggs 2 large, at room temperature. Cold eggs can seize up the batter, so let them sit out for 30 minutes first.
- Vanilla extract 1 teaspoon. Pure, not imitation, if you can swing it.
- Hot brewed coffee 3/4 cup. Freshly brewed and hot. This is the magic ingredient that makes the cocoa bloom.
- Mini chocolate chips 1/2 cup. Totally optional, but I love the little pockets of melted chocolate you get in every bite.
For the ganache topping:
- Sweetened condensed milk 1 can (14 oz). This makes the silkiest, easiest ganache you’ll ever make.
- Semi-sweet chocolate chips 1 cup. Use good quality chips here. It makes a difference.
- Sprinkles, fresh berries, or whipped cream optional, but highly recommended for that wow factor.
Ingredient Substitutions
I hear you sometimes you’re in the middle of baking and realize you’re out of something. That’s okay. Here are some swaps that work:
- Milk: You can use 2%, oat milk, or almond milk. The cakes will be slightly less rich, but still delicious.
- Vegetable oil: Melted coconut oil works beautifully here. Just make sure it’s cooled slightly before adding.
- Coffee: If you don’t drink coffee, you can substitute hot water. The cakes won’t have quite the same depth of flavor, but they’ll still be good. Or use decaf the caffeine bakes off anyway.
- Mini chocolate chips: Leave them out entirely, or use regular-sized chips chopped a bit.
How to Make Mini Chocolate Bundt Cakes
Now let’s get to the good part. I’m going to walk you through the process in four major stages. Each stage has its own little tips that make all the difference. Trust me on this I’ve tested this recipe more times than I can count, and every tweak matters.
Stage 1: Prep Your Pan Perfectly
This is the most important step. I cannot stress this enough. If you skip proper pan preparation, your beautiful mini chocolate bundt cakes will stick, and you’ll be heartbroken. Start by preheating your oven to 350 degrees F. Then grab your mini bundt cake pan. I use a 12-cavity non-stick mini bundt pan, and even though it says non-stick, I still grease it thoroughly.
My preferred method? Baker’s Joy spray. It’s a baking spray that already has flour in it, so you get both grease and flour in one step. If you don’t have that, use melted shortening and a pastry brush to paint every single groove and crevice, then dust with cocoa powder (not flour cocoa won’t leave white marks on your dark cakes). Tap out the excess. Take your time here. Think of it as a meditation. My Oma spent ten minutes on this step, and she never lost a cake.
Stage 2: Mix the Batter
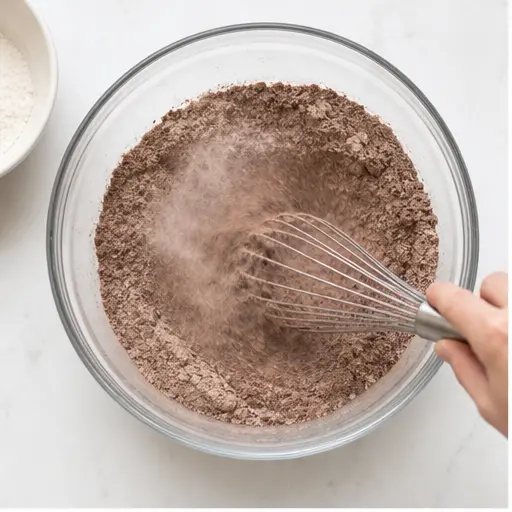
In a large mixing bowl, whisk together the flour, sugar, cocoa powder, baking soda, baking powder, and salt. Get all those dry ingredients well combined. In a separate bowl, whisk the milk, oil, eggs, and vanilla until smooth. Gradually pour the wet ingredients into the dry, stirring until just combined. Don’t overmix here a few streaks of flour are fine at this point.
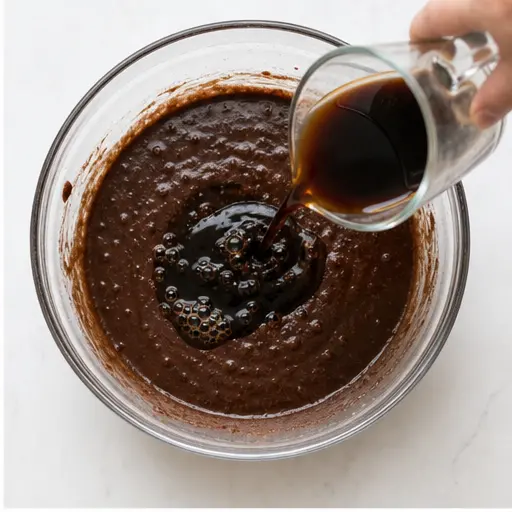
Here comes the fun part. With your mixer on low, slowly add the hot brewed coffee. The batter will suddenly become very thin and liquidy. That’s exactly what we want. This thin batter is what creates that tender, moist crumb. Fold in the mini chocolate chips if you’re using them. The batter will be thin enough to pour easily.
Stage 3: Fill and Bake
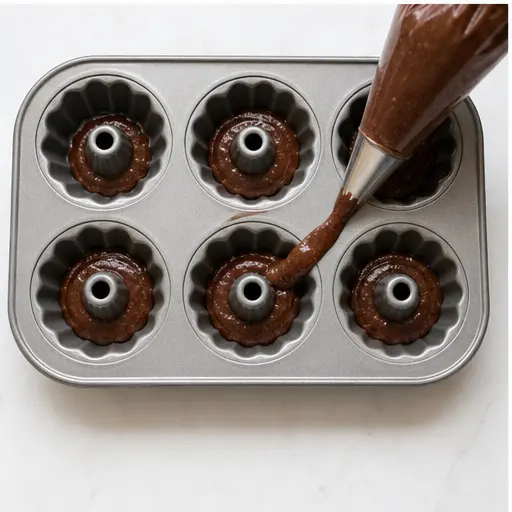
Transfer the batter into a piping bag or a large measuring cup with a spout. A piping bag makes this so much easier and less messy I learned that the hard way after spilling batter all over my counter. Fill each bundt cavity about two-thirds full. Don’t overfill, or the cakes will overflow and lose their shape.
Bake for 22 to 26 minutes. This is where the mini bundt cake baking time gets specific. Start checking at 22 minutes. Insert a toothpick into the center of one cake it should come out clean or with a few moist crumbs. The cakes will have puffed up with a slight crackle on top, and the edges will have pulled away from the pan slightly. The aroma of chocolate will fill your entire kitchen. It’s intoxicating.
Stage 4: Cool and Unmold
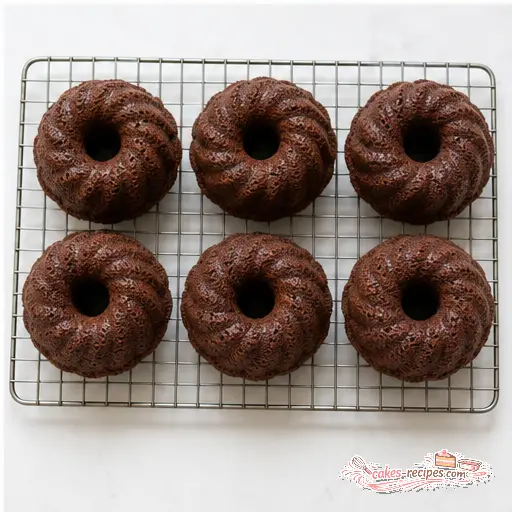
Let the cakes cool in the pan for exactly 10 minutes. Set a timer. If you try to remove them too soon, they’ll fall apart. If you wait too long, they’ll stick as steam condenses inside the pan. After 10 minutes, place a wire rack on top of the pan and flip it over. Give it a gentle tap. The cakes should release with a satisfying plop. If any stick, gently coax them out with a small spatula.
Let the cakes cool completely on the wire rack before glazing. This usually takes about 30 minutes. I know it’s tempting to glaze them while they’re warm, but the ganache will just slide right off. Patience, friend.
Pro Tips for Perfect Mini Bundts
After dozens of batches (and a few failures), I’ve gathered some tips that make all the difference. These are the little things that separate good mini chocolate bundt cakes from great ones.
- Room temperature ingredients matter. Cold eggs and cold milk can make the batter seize up. Set everything out 30 minutes before you start.
- Measure flour correctly. Fluff it with a spoon, spoon it into your measuring cup, and level it off with a knife. Scooping directly from the bag packs in too much flour and makes dry cakes.
- Don’t overbake. Check at 22 minutes. The cakes are done when a toothpick comes out with moist crumbs, not wet batter. Overbaked mini bundts are dry mini bundts.
- Use a piping bag for filling. The batter is thin, and pouring it directly from a bowl is messy. A piping bag gives you control and keeps your pan clean.
- Grease every crevice. I use a pastry brush to get into all the little grooves of my mini bundt cake pan. Non-stick doesn’t mean no-stick.
Troubleshooting Common Issues
❌ Cakes stuck to the pan: You didn’t grease thoroughly enough, or you let them cool too long in the pan. Next time, use Baker’s Joy and set a timer for the 10-minute cooling window.
❌ Cakes are dry: You overbaked them or overmeasured the flour. Check your oven temperature with an oven thermometer and measure flour correctly.
❌ Cakes sank in the middle: The batter was too cold when it went into the oven, or you opened the oven door too early. Make sure your ingredients are room temperature and resist peeking until the 22-minute mark.
❌ Cakes have cracks on top: That’s actually normal for bundt cakes! The crackly top is part of the charm. If you want a smoother top, reduce the oven temperature by 25 degrees and bake a few minutes longer.
Storage & Make-Ahead Tips
One of the best things about this recipe is how well the cakes keep. You can make them ahead of time and still have them taste fresh for your summer party.
At room temperature: Store the cooled, unglazed mini chocolate bundt cakes in an airtight container for up to 3 days. If you’ve already glazed them, they’ll still keep well, but the ganache might get a bit sticky. No one will complain.
In the refrigerator: Keep in a sealed container for up to a week. Let them come to room temperature before serving for the best texture.
In the freezer: Freeze unglazed cakes for up to 3 months. Wrap each cake individually in plastic wrap, then place them in a freezer bag. To thaw, let them sit at room temperature for about an hour. Then glaze and serve.
Make-ahead ganache: The ganache can be made up to 3 days in advance. Store it in the refrigerator in an airtight container. When you’re ready to use it, microwave it in 15-second bursts, stirring between each, until it’s smooth and pourable again.
Serving Suggestions
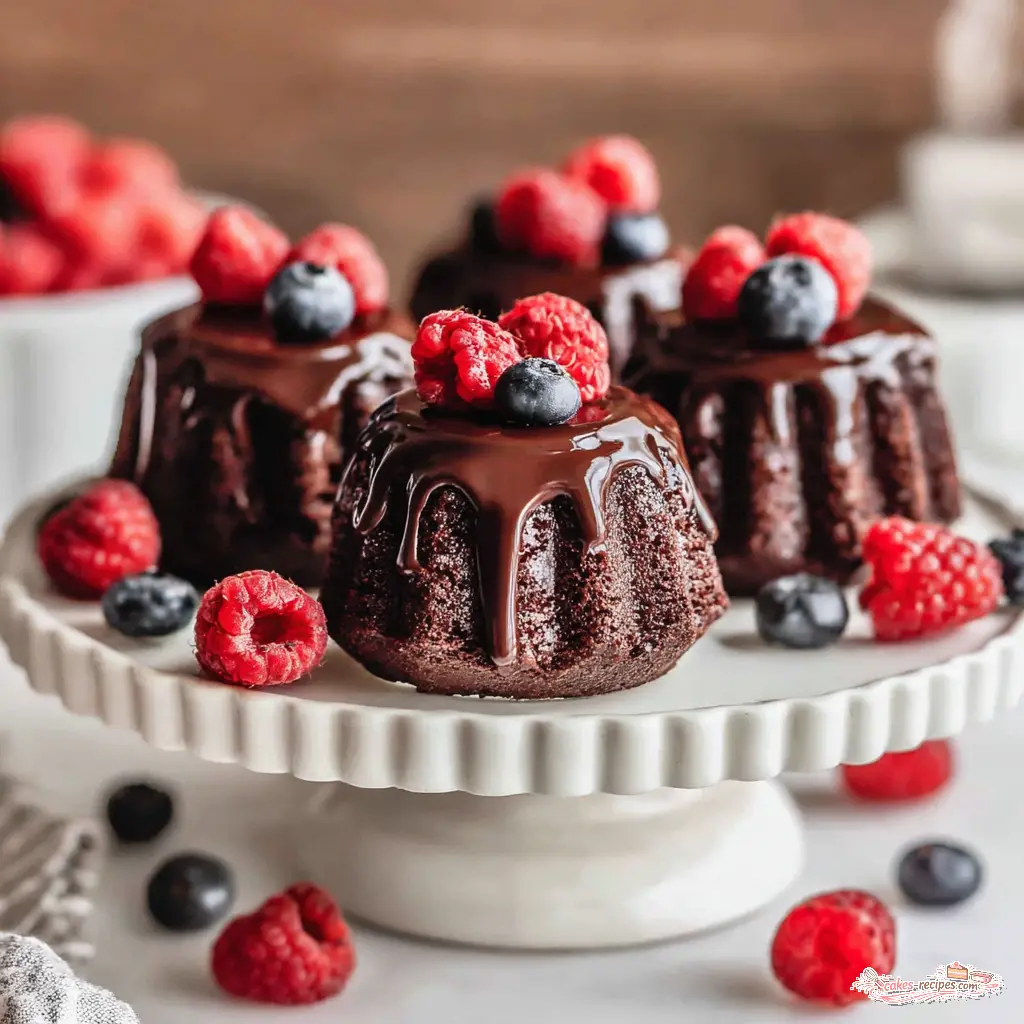
These mini chocolate bundt cakes are perfect for summer gatherings. Since each guest gets their own, there’s no slicing or serving involved just grab and go. Here are some of my favorite ways to dress them up:
- For a Fourth of July barbecue: Top with the chocolate ganache, then add fresh blueberries and raspberries in a patriotic pattern. A dusting of powdered sugar on top looks like fireworks.
- For a summer dessert table: Arrange the cakes on a tiered stand with fresh berries, mint leaves, and a bowl of whipped cream for dipping.
- For an everyday treat: Just a simple drizzle of ganache and a sprinkle of sea salt. Sometimes simple is best.
- For a birthday celebration: Add colorful sprinkles on top of the ganache while it’s still wet. The kids (and adults) will love it.
Frequently Asked Questions
I hope you love these mini chocolate bundt cakes as much as I do. They’ve come a long way from that crumbled disaster I made as a kid. Now, every time I pull a perfect, glossy cake out of the pan, I think of my Oma and her sixteen Gugelhupf pans. She’d be proud.
If you make these, I’d love to see them! Tag me on Pinterest or share your photos it makes my day to see your beautiful creations. You can find me on Pinterest here. Happy baking, friends!
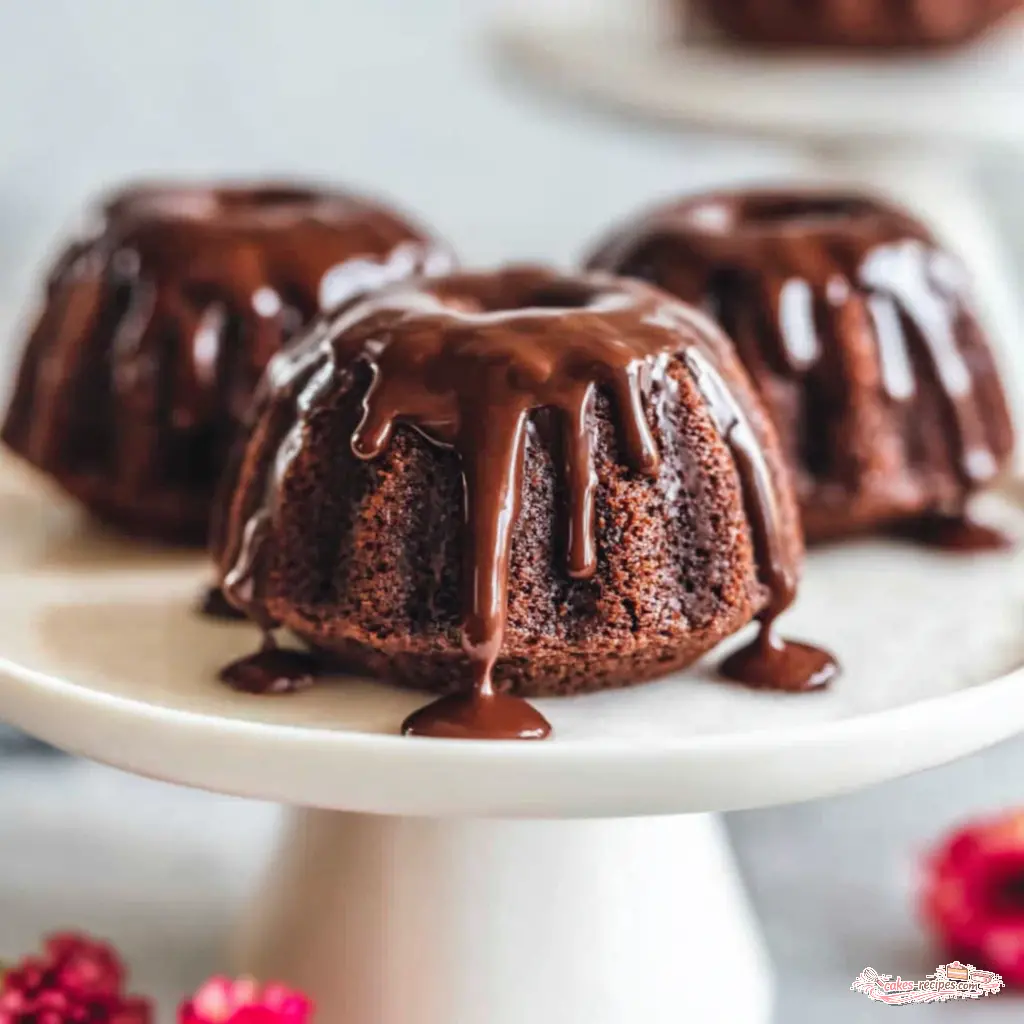
moist mini chocolate bundt cakes with ganache
Ingredients
Method
- Preheat the oven to 350 degrees F. Grease and flour a 12-cavity mini bundt pan using Baker's Joy spray or melted shortening and a dusting of cocoa powder. Tap out any excess.
- In a large mixing bowl, whisk together the flour, sugar, cocoa powder, baking soda, baking powder, and salt.
- In a separate bowl, whisk the milk, oil, eggs, and vanilla until smooth. Gradually pour the wet ingredients into the dry mixture, stirring until just combined.
- With the mixer on low, slowly add the hot coffee and mix until the batter is smooth. Fold in the mini chocolate chips if using.
- Transfer the thin batter into a piping bag or a large measuring cup with a spout. Fill each bundt cavity about two-thirds full.
- Bake for 22 to 26 minutes, until a toothpick inserted into the center comes out clean. Let the cakes cool in the pan for 10 minutes, then turn them out onto a wire rack to cool completely.
- In a microwave-safe bowl, combine the sweetened condensed milk and chocolate chips. Microwave on high for 1 minute, then stir until smooth. If needed, heat in 15-second bursts until fully melted. Let the ganache cool slightly.
- Spoon the ganache over the cooled mini bundt cakes. Garnish with sprinkles, berries, or whipped cream if desired.
Nutrition
Notes
Tried this recipe?
Let us know how it was!Source: Nutritional Information