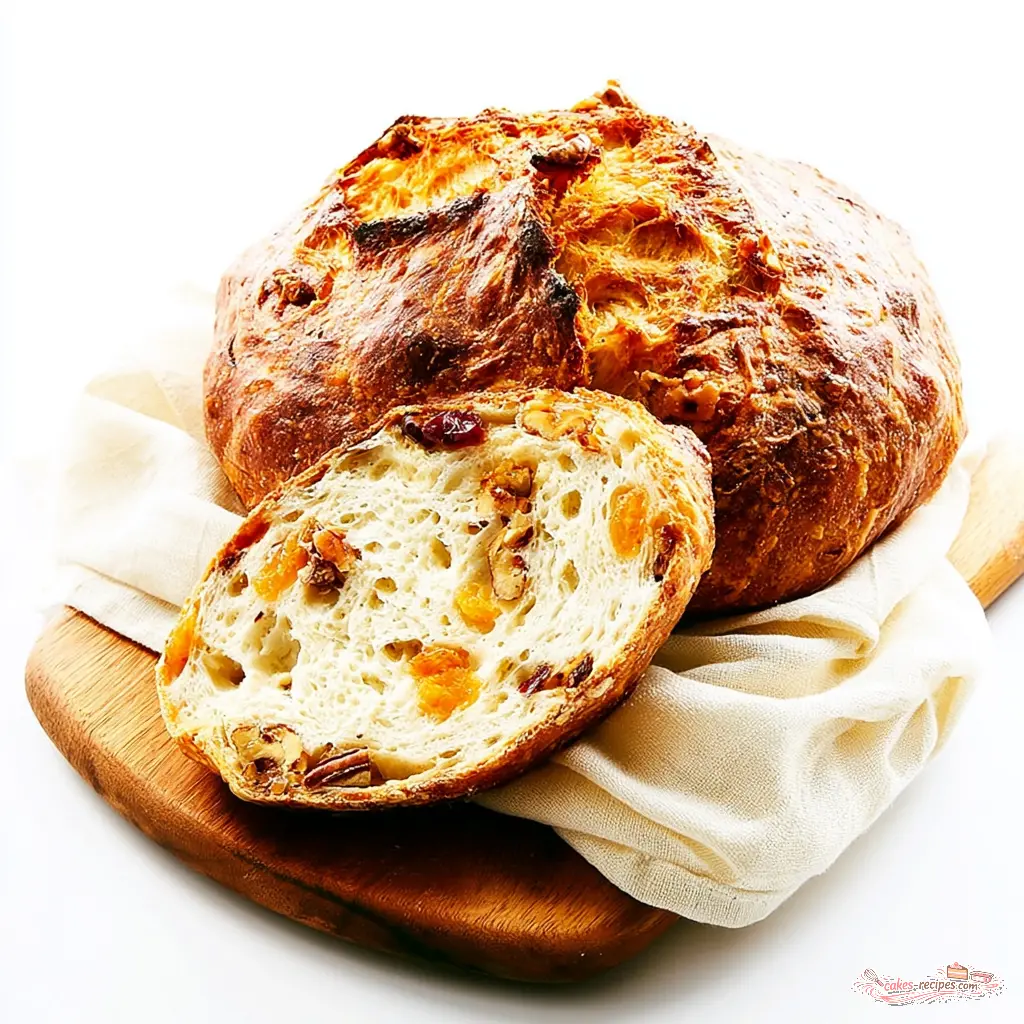
Five Minutes Tonight, Bakery Bread Tomorrow
Five minutes of effort tonight. Bakery style bread tomorrow morning. That’s the whole promise of this overnight no knead bread, and I’m not exaggerating.
I used to think bread required kneading, muscle, and a whole afternoon. Then I learned that an overnight rest does the work while I sleep. Your pillow does the kneading, as I like to tell my kids. The dough builds its own gluten structure through slow overnight fermentation. You wake up to a puffy, bubbly, beautiful mess, ready for the oven.
This version is loaded with walnuts, pecans, golden raisins, and dried cranberries. My kids call it trail mix bread, and they fight over the end piece. In my opinion, it’s the easiest no knead bread you will ever bake.
Equipment Needed for No-Knead Bread
You don’t need a stand mixer, a proofing basket, or a banneton. For this overnight no knead bread, you need:
- A very large mixing bowl
- A stiff spatula or wooden spoon
- Plastic wrap or a tight-fitting lid
- Parchment paper, about 12 x 16 inches
- A 10-inch Dutch oven or any lidded oven-safe pot (4 to 6 quarts)
- A sharp knife or bread lame for scoring
That’s it. No fancy tools. The Dutch oven is the one non-negotiable piece of equipment. It traps steam during baking, which creates the crackling crust and open crumb that make this taste like artisanal bread from a proper bakery.
Don’t have a Dutch oven? No te preocupes. There are solid workarounds in the FAQ below. I also break down the bread flour vs all purpose question in the next section, so you know exactly what you’re working with.
Key Ingredients and Pro Tips
This no knead bread uses a blend of bread flour and all-purpose flour. Bread flour has more protein, which gives you a chewier, more open crumb. The all-purpose flour lightens it just a touch. In a pinch, you can use all-purpose flour for both and the loaf will still be wonderful.
Instant yeast mixes straight into the dry ingredients, no proofing needed. And here’s the part that trips up beginners: this is a high hydration dough. It will look sticky and shaggy. That is the point. Do not add flour.
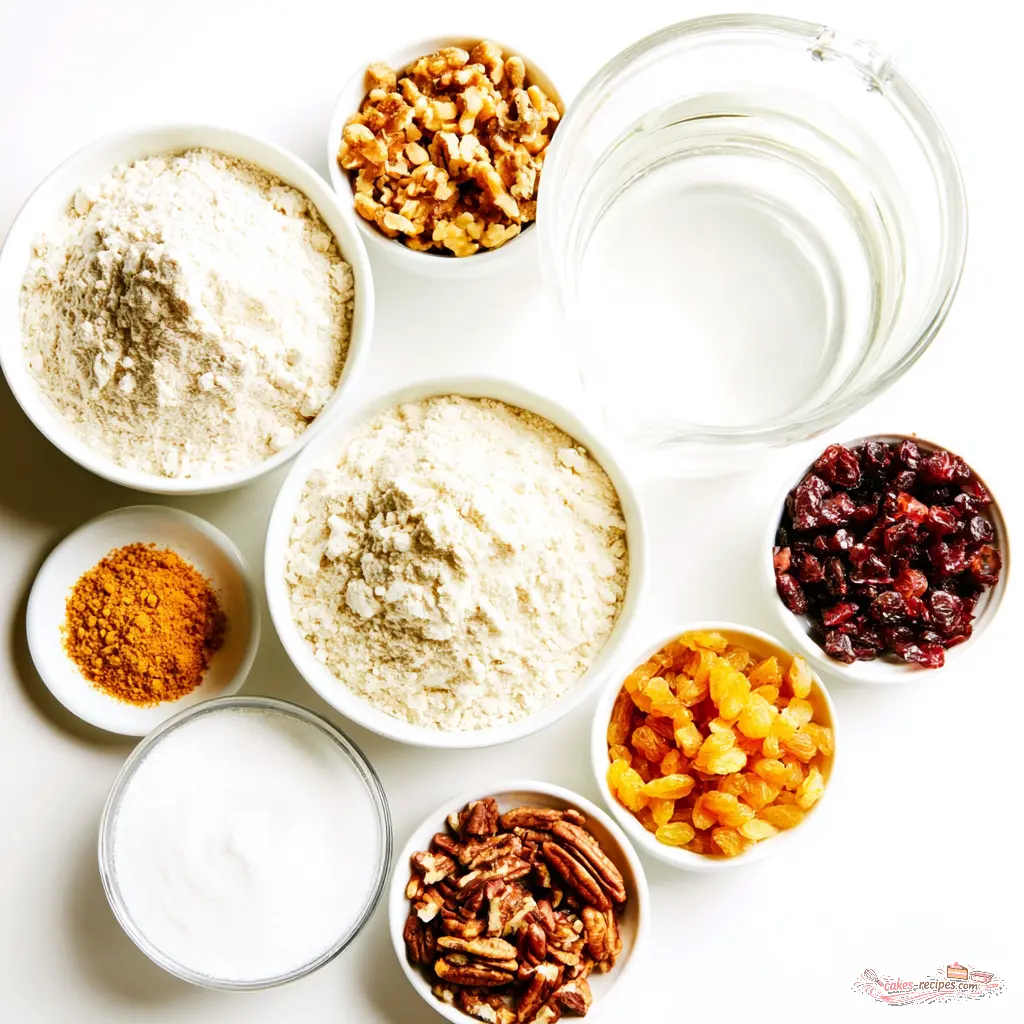
For the trail mix, I use half a cup each of chopped walnuts, chopped pecans, golden raisins, and dried cranberries. Use cool water, not warm. In a hot summer kitchen, cool water keeps the dough from fermenting too fast, which is essential for a proper 12 hour rise.
Whatever you do, cover the bowl very tightly for the overnight rest. A dry skin forming on top of the dough is the most common issue, and it’s totally preventable. Just take two extra seconds with the plastic wrap.
How to Make Overnight No Knead Bread Dough
Mira, this is the easiest dough you will ever make. There’s no technique to learn, no kneading rhythm to master. Just mix, cover, and trust. The beauty of no knead bread is that the dough does the work.
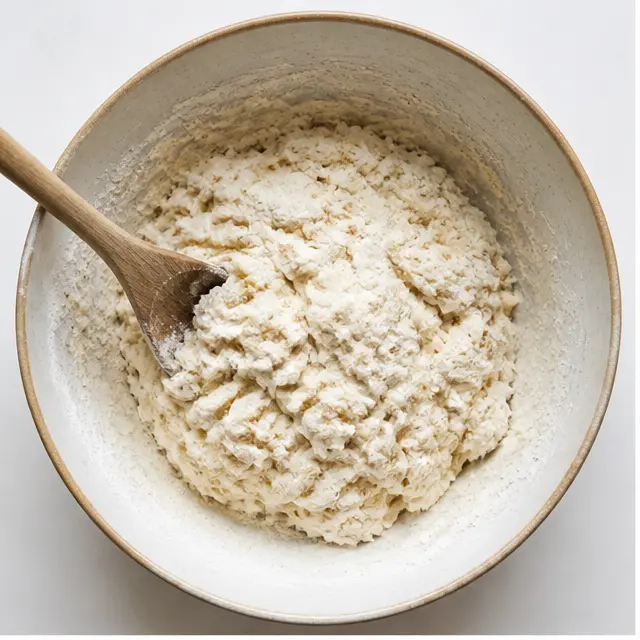
Stage 1: Mix the dry ingredients and water. In a very large bowl, whisk together the bread flour, all-purpose flour, salt, and instant yeast. Pour in the cool water and stir with a stiff spatula until a sticky, shaggy dough forms and every bit of flour is moistened. It will look rough and uneven. Perfecto, that’s exactly what you want.
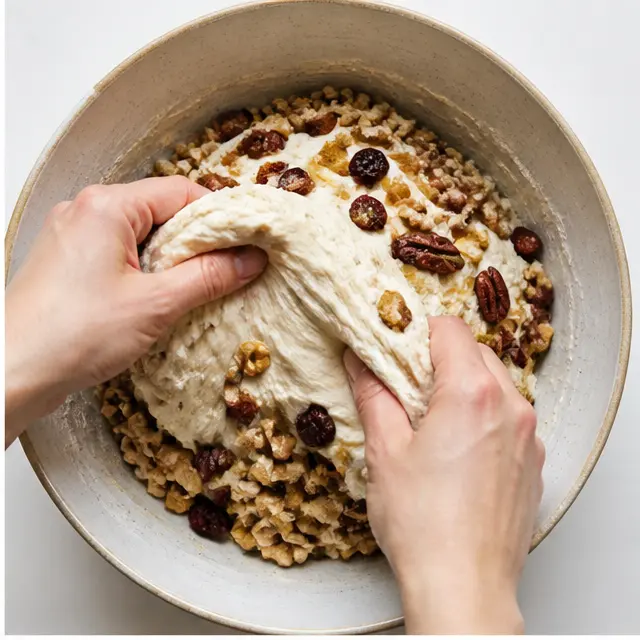
Stage 2: Fold in the trail mix. With clean, lightly wet hands, fold in the walnuts, pecans, golden raisins, and dried cranberries. Gently knead the dough in the bowl until the add-ins are evenly dispersed. Wet hands are the secret here; the sticky dough won’t cling to you nearly as much.
That’s it. You’re done. Cover the bowl tightly and get some sleep. This basic flour, water, salt, and yeast foundation is everything you need for homemade bread for beginners.
Let the Dough Rest Overnight
This is where the magic happens. The dough rests on the counter for 12 to 18 hours. During that time, the yeast slowly ferments the dough and builds the gluten structure that normally comes from kneading. That’s the entire science of the overnight no knead bread: time does what your arms would otherwise do.
By the next morning, the dough should look puffy, airy, and dotted with bubbles across the top. It will have grown noticeably and smell faintly sweet and yeasty. Here’s a concrete schedule so you know what to expect:
| 8:00 PM | Mix the dough, 5 minutes |
| 8:15 PM | Cover and rest overnight |
| 8:00 AM | Shape the dough, 5 minutes |
| 8:10 AM | Second rise, 2 hours |
| 10:10 AM | Score and bake, 60 minutes |
| 11:10 AM | Crackling crust, fresh bread |
If your California summer kitchen feels like a proofing oven, use cool water and set the bowl in the coolest spot you can find. If the dough looks over-proofed after 12 hours, pop it in the fridge for an hour before shaping. The cold ferment firms it up and adds even more flavor.
Bake the Bread in a Dutch Oven
Stage 3: Shape the dough. Turn the dough out onto a lightly floured work surface. Shape it into a smooth, rounded loaf. Don’t overwork it; you want to preserve those air pockets for the open crumb. Set it in the center of a large sheet of parchment paper, then lift the parchment and dough into your Dutch oven. Cover the pot and let it rise in a warm place for 2 hours. It will puff up slightly but won’t double in size.
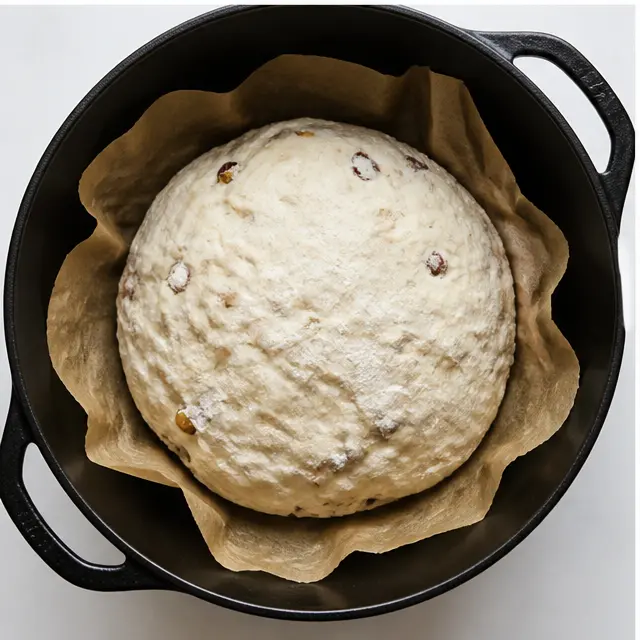
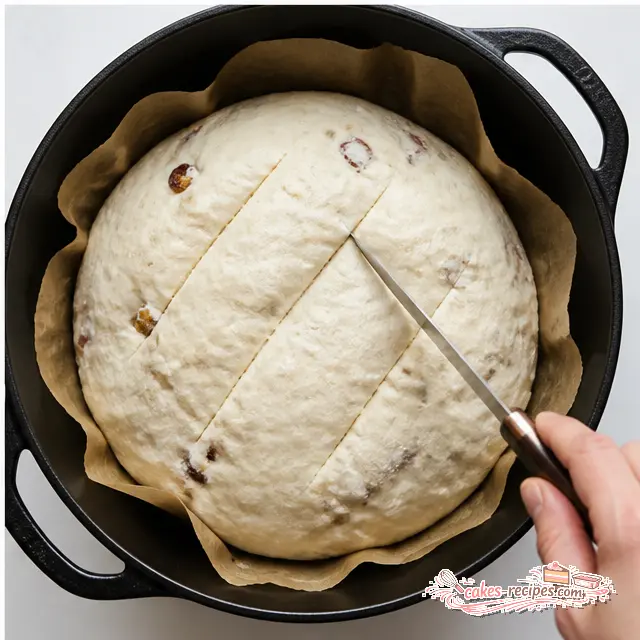
Stage 4: Score and bake. When the rise is complete, use a lame or a very sharp knife to score three shallow slashes across the top. Scoring bread isn’t just decorative; it gives the dough a controlled place to expand in the oven, which is how you get that beautiful ear on the finished loaf.
Here’s the part that surprises people: put the covered pot in a cold oven. Do not preheat it. Set the oven to 450°F and bake the covered loaf for 50 minutes. Then remove the lid and bake for 10 more minutes, until an instant-read thermometer hits about 205°F in the center.
When you lift that lid, the bloom of steam hits your face, and the crust is already deep golden. Transfer the bread to a wire rack and listen. The crackle of the cooling crust is the most satisfying sound in home baking, and the sign that your steam baking worked perfectly.
Variations and Substitutions
Ándale, this is where you make it yours. This no knead bread dough is endlessly forgiving. Swap any nut or dried fruit for equal amounts of almonds, dates, cherries, or apricots. The base dough stays exactly the same.
A few more ideas to play with:
- Want a savory loaf? Skip the fruit and add chopped olives or sun-dried tomatoes
- Add fresh herbs like rosemary or sage for an artisan bread twist
- Sprinkle flaky sea salt on top before baking
- Reduce the salt by half if you’re watching sodium
- Replace up to half of the bread flour with whole wheat flour and add a little extra water
You can also swap in all-purpose flour for the bread flour entirely. The crumb will be a touch less chewy, but the overnight rise still delivers that bakery style bread texture you’re after.
Storage and Freezing Tips
Store the no knead bread in a paper bag at room temperature for up to 3 days. The paper bag keeps the crust crisp. Do not refrigerate it. The fridge makes bread go stale faster and ruins that wonderful crust. This is especially important for a loaf studded with nuts and fruit, since you want those add-ins to stay flavorful.
To freeze, cool the loaf completely, wrap it in plastic wrap or foil, and place it in a freezer bag for up to 2 months. I like to freeze slices too, so we can toast them straight from the freezer for quick weekday breakfasts.
To re-crisp a whole loaf, warm it in a 350°F oven for about 10 minutes. It comes surprisingly close to fresh baked, and the crackling crust returns.
Your First Loaf Awaits
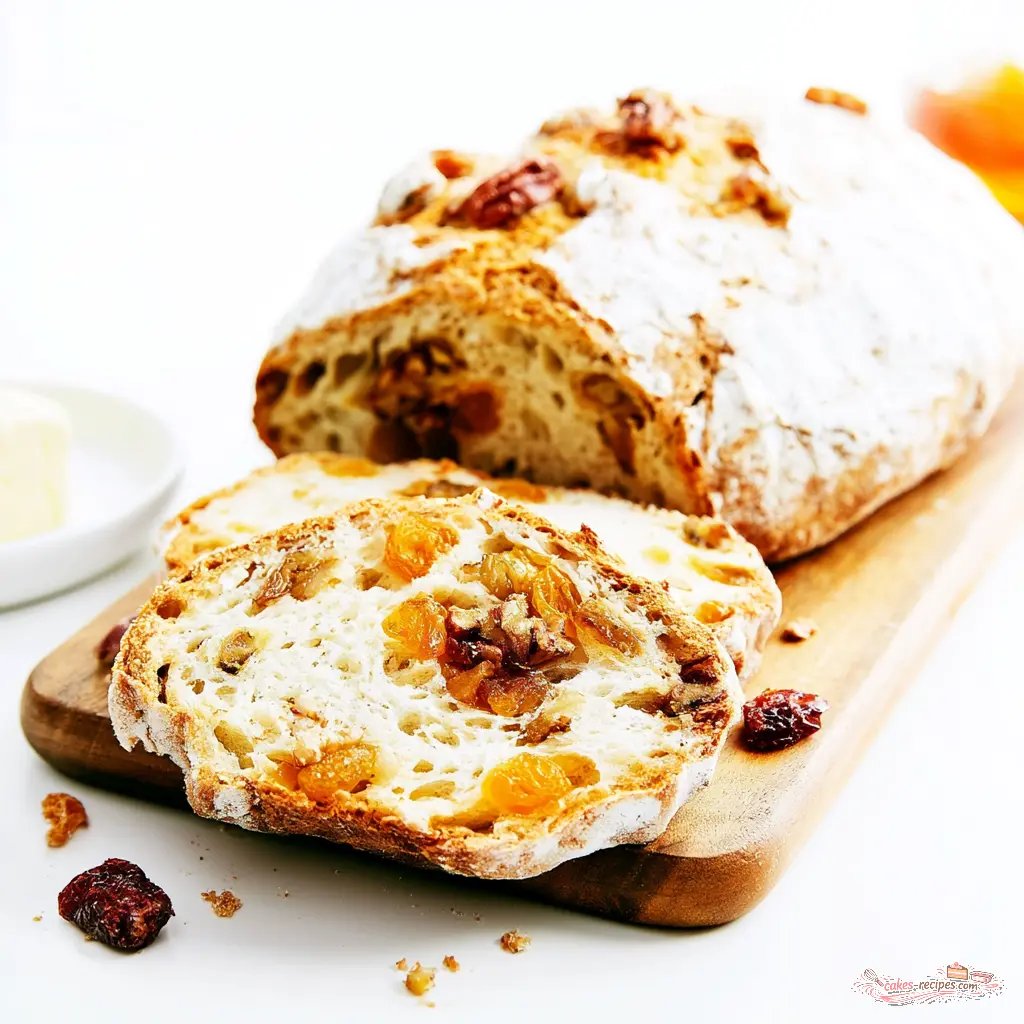
When you pull your first loaf out of the Dutch oven and that crackle fills the kitchen, it gets quiet at your table. That’s normal. The family will stare at the loaf like it’s a magic trick. You made this. In 5 minutes of actual work.
I want to hear about it. Come back and tell me about the crackle sound, or send me a photo of your first slice. And if you love this no knead bread, you should see the rest of my favorite bakes on Pinterest. I’m always pinning the breads my family asks for again and again.
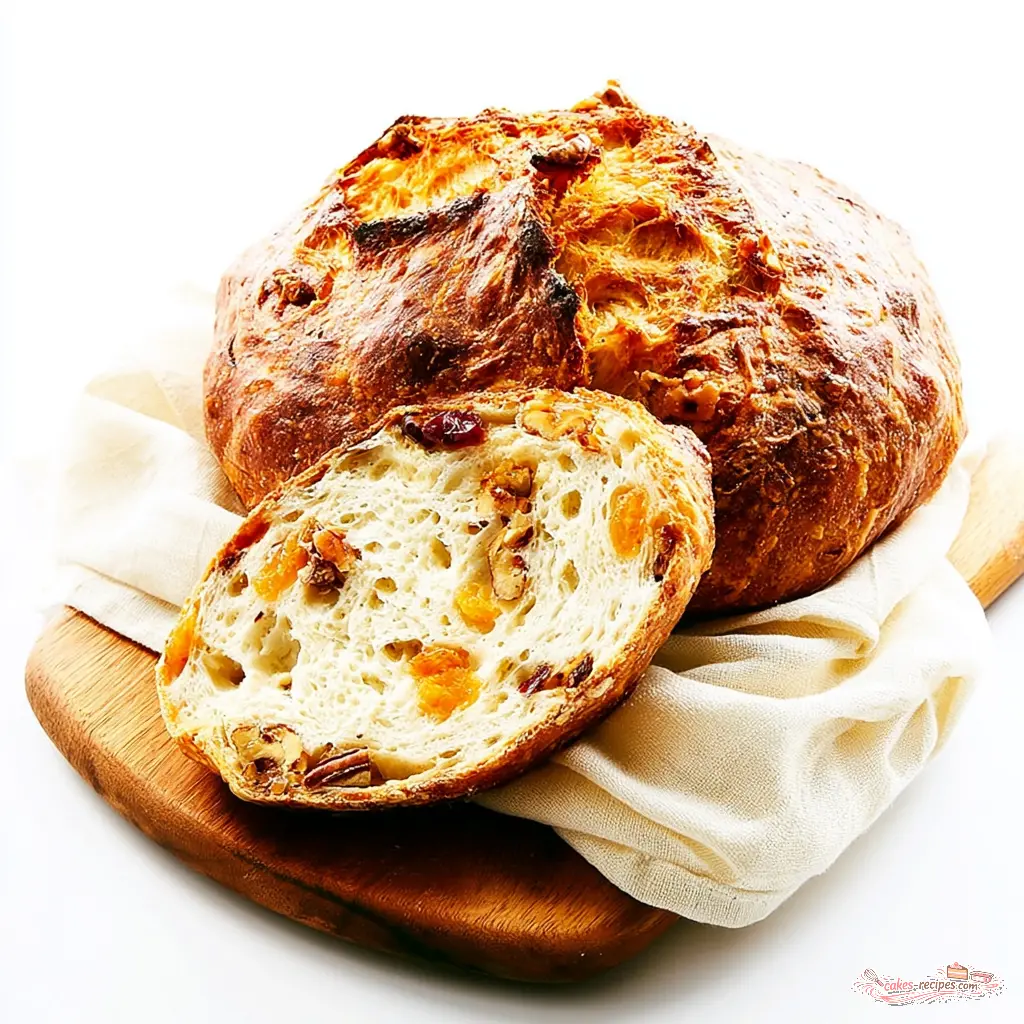
Overnight No Knead Bread with Trail Mix Nuts and Fruit
Ingredients
Method
- Read the full method before beginning. In a very large bowl, whisk together the bread flour, all-purpose flour, salt, and instant yeast.
- Pour in the cool water and stir with a stiff spatula or wooden spoon until a sticky, shaggy dough forms and all the flour is moistened.
- With clean, lightly wet hands, fold in the walnuts, pecans, golden raisins, and dried cranberries. Gently knead the dough in the bowl until the add-ins are evenly dispersed.
- Cover the bowl tightly with plastic wrap or an airtight lid so the surface does not dry out. Set it on the counter in a cool spot and let it rest overnight, 12 to 18 hours, without placing it in a warm oven or sunny area.
- By the next morning, the dough should look puffy, airy, and dotted with bubbles across the top.
- Turn the dough out onto a lightly floured work surface. Shape it into a smooth, rounded loaf and set it in the center of a large sheet of parchment paper, about 12 by 16 inches.
- Lift the parchment and dough into a 10-inch Dutch oven or similar lidded pot. Cover the pot and let the loaf rise in a warm place for 2 hours; it will puff up slightly but not double in size.
- When the rise is complete, use a lame or a very sharp knife to score three shallow slashes across the top. Put the lid on the pot and place the whole thing in a cold oven.
- Set the oven to 450°F and bake the covered loaf for 50 minutes. Remove the lid and bake for 10 more minutes, until an instant-read thermometer inserted in the center reads about 205°F.
- Carefully take the bread out of the pot and transfer it to a wire rack. Serve it warm if you like, or let it cool completely before slicing for neater pieces.
Nutrition
Notes
Tried this recipe?
Let us know how it was!Frequently Asked Questions
Source: Learn More About This Dish
What if I only have instant yeast at home?
Perfecto, this recipe is designed for instant yeast. Just whisk it into the flour mixture with the salt, no proofing needed. That’s one less step and one less bowl to wash. Instant yeast is the easiest choice for homemade bread for beginners.
Do I need to proof the yeast for this recipe?
No. Instant yeast doesn’t need to be proofed or dissolved. Mix it straight into the dry ingredients and add the cool water. The only yeast that needs a warm water dissolve is active dry yeast, and I cover that below.
Can I make this recipe with ______ flour?
Bread flour gives the chewiest, most open crumb. All-purpose flour works beautifully too. For whole wheat, replace up to half of the bread flour and add a little extra water, since whole wheat absorbs more liquid. Gluten-free flours won’t behave the same way.
Help, my dough feels too loose/wet/sticky!
That’s exactly what you want. This is a high hydration dough, and the stickiness creates the open crumb. Resist the urge to add extra flour. Wet your hands slightly and handle it gently. Trust the process, your loaf will thank you.
How do I create pretty patterns on top?
Use a bread lame or a very sharp knife right before baking. Three shallow slashes at a slight angle give a beautiful result. Score confidently; a clean, decisive cut opens into a lovely ear on the finished loaf.
What if I don’t like a really crusty bread?
Let the bread cool completely and store it in a paper bag. The moisture redistributes and softens the crust. You can also brush the warm loaf with a little water as soon as it comes out of the oven for a softer shell.
What if a piece of the crust pokes up really high and starts to burn?
If one spot browns faster than the rest during the uncovered 10 minutes, tent that spot with a small piece of foil. It stops the burning while the rest of the crust finishes. Just keep an eye on it near the end.
Is it safe to use parchment paper at such high heat?
Most parchment paper is rated to 425-450°F, so it’s fine for this recipe. Check the brand on your box to be safe. The parchment makes lifting the dough into the hot Dutch oven so much easier.
Why do you need a Dutch oven for this recipe?
The Dutch oven traps the steam released by the dough as it bakes. That steam keeps the crust soft long enough for the loaf to rise fully. Then the lid comes off, and the crust crisps into that crackling golden shell. That’s steam baking at its best.
Any recommendations for a cheaper Dutch oven?
Absolutely. Lodge makes excellent cast iron Dutch ovens at a fraction of the cost of luxury brands. AmazonBasics also offers solid budget options. Any enameled or plain cast iron pot from 4 to 6 quarts will do the job.
Important tip for those with enameled Dutch ovens
Thoroughly clean your enameled Dutch oven before baking, since grease can stain at high heat. And always place it in the oven before turning it on, so it preheats together. That gradual heat-up prevents the enamel from cracking.
What can I bake the bread in if I don’t have a Dutch oven?
Any heavy lidded oven-safe pot works, like an enameled casserole dish or ceramic baker. A cast iron skillet covered with a metal bowl also creates a steamy environment. The goal is trapping steam, and the heavier the pot, the better the crust.
Can I make this recipe using active dry yeast?
Yes. Dissolve the active dry yeast in a little warm water first, then mix it with the other ingredients. It doesn’t need to foam, just dissolve. Check the dough a bit sooner, because active dry yeast can move faster than instant.
How long does overnight no knead bread dough need to rise?
The dough needs 12 to 18 hours at room temperature. That long overnight fermentation builds the gluten structure and develops the flavor. If your kitchen is warm, check it at 12 hours; it should look puffy and full of bubbles.
Can I add different nuts and dried fruits to no knead bread?
Por supuesto. Swap any nut or dried fruit for equal amounts of almonds, dates, cherries, or apricots. The dough is very forgiving. Just keep the total amount around 2 cups so the loaf still holds its structure.