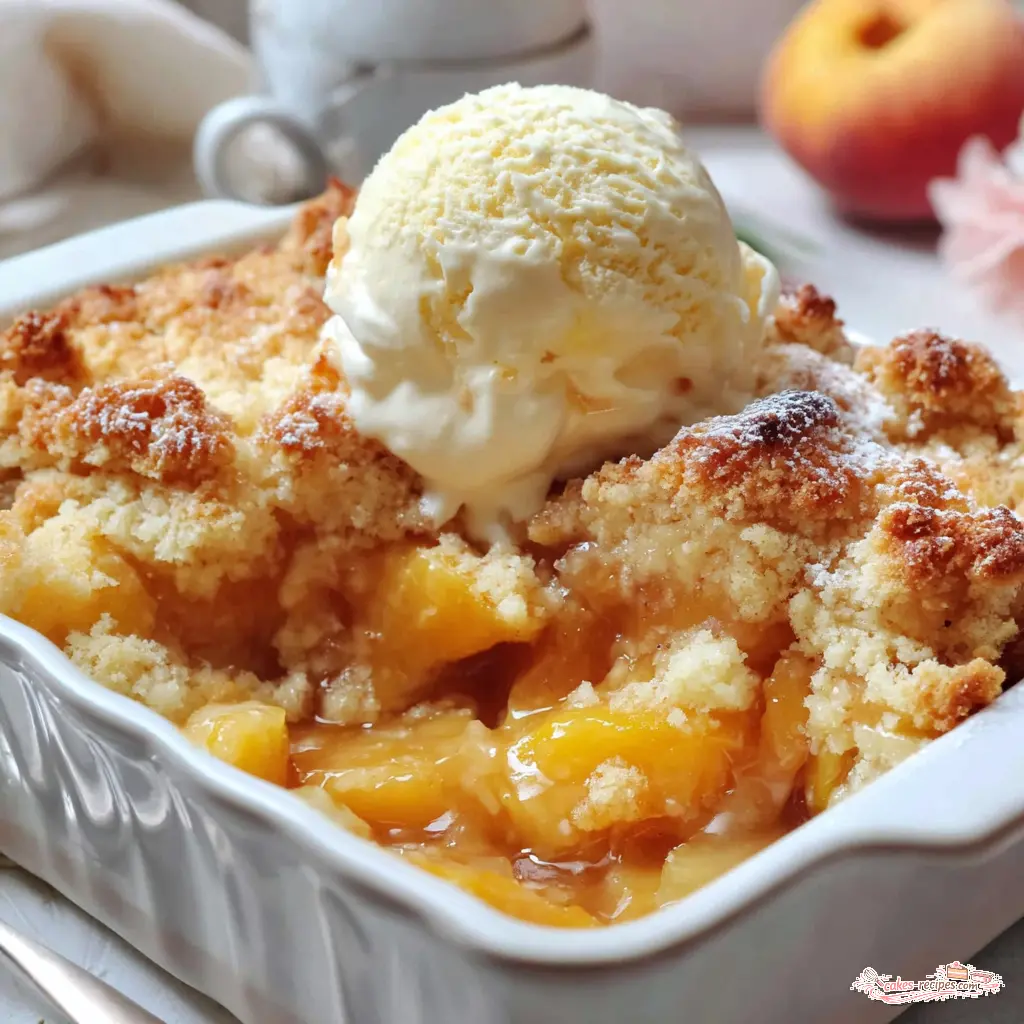
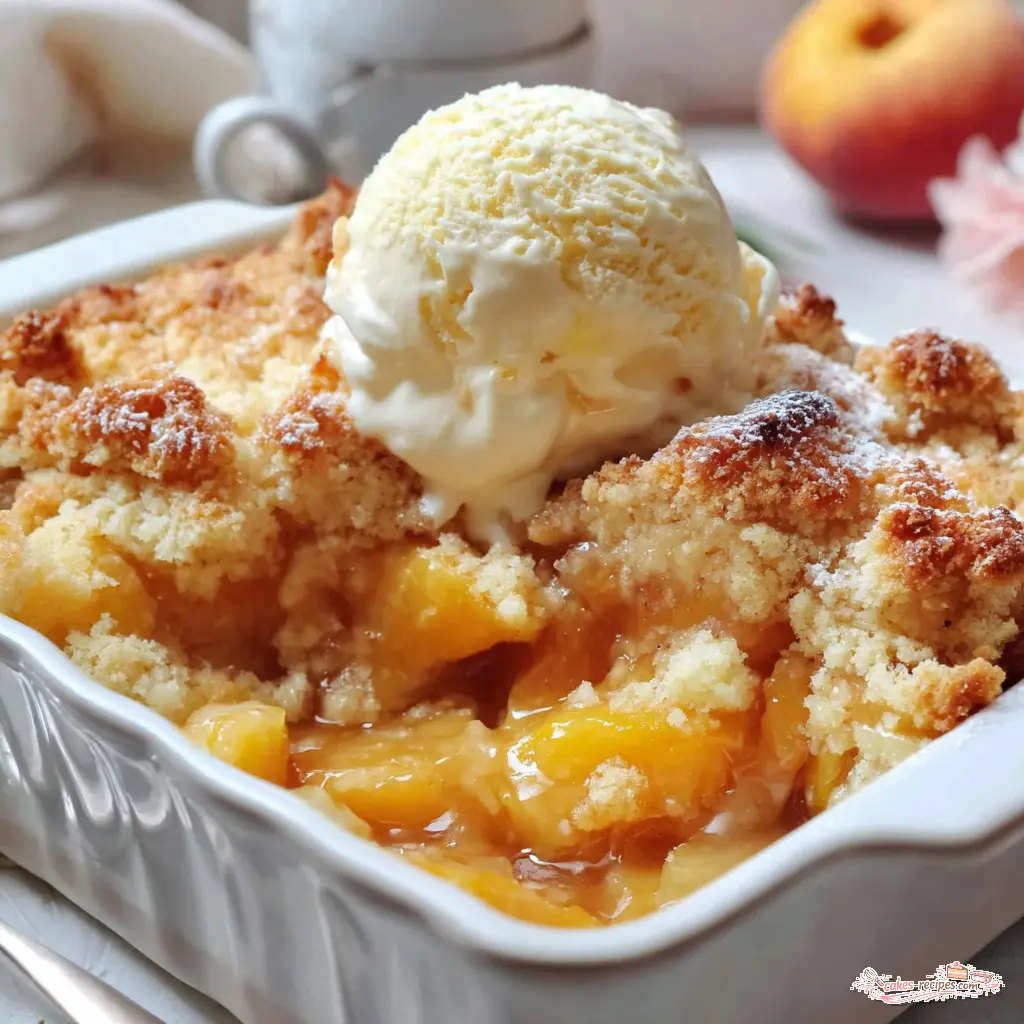
Easy Peach Cobbler with Canned Peaches
Ingredients
Method
- Preheat your oven to 350°F (175°C).
- Place the stick of butter in a 9x13-inch baking dish and set it in the oven while it preheats. Once the butter is fully melted, carefully remove the dish.
- In a medium mixing bowl, whisk together the flour, sugar, baking powder, and salt.
- Pour in the milk and vanilla extract, stirring just until the dry ingredients are moistened. Be careful not to overmix.
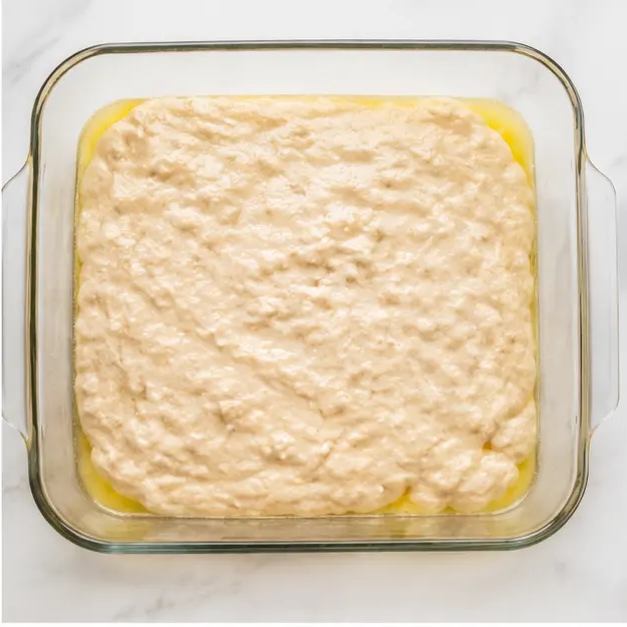
- Pour the batter evenly over the melted butter in the baking dish. Do not stir.
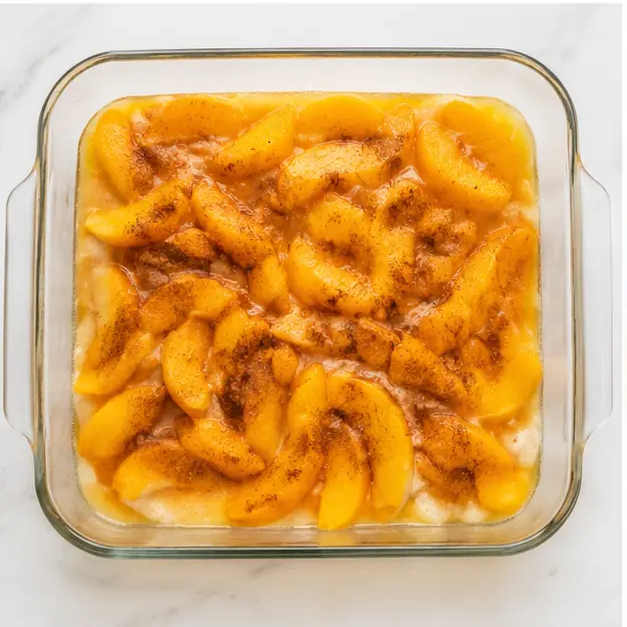
- Spoon the canned peach slices and about half of their syrup or juice over the batter, distributing them evenly. Do not stir.
- Sprinkle the ground cinnamon and nutmeg evenly over the top.
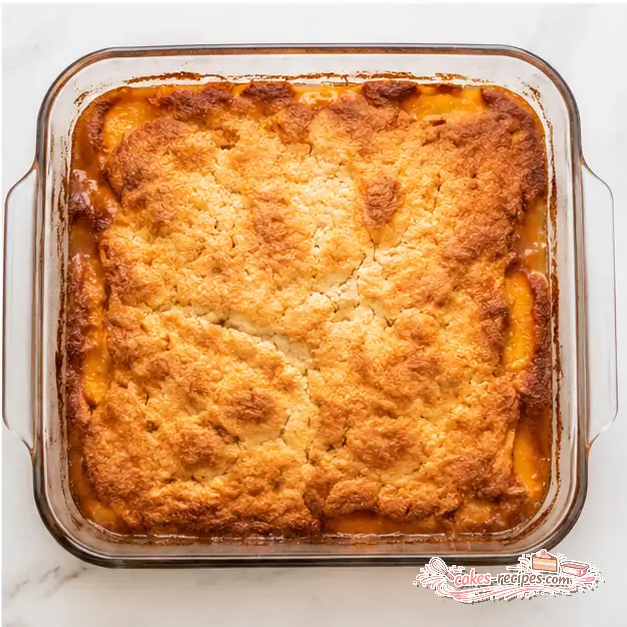
- Bake for 40 to 45 minutes, until the crust is golden brown and a toothpick inserted into the center comes out clean.
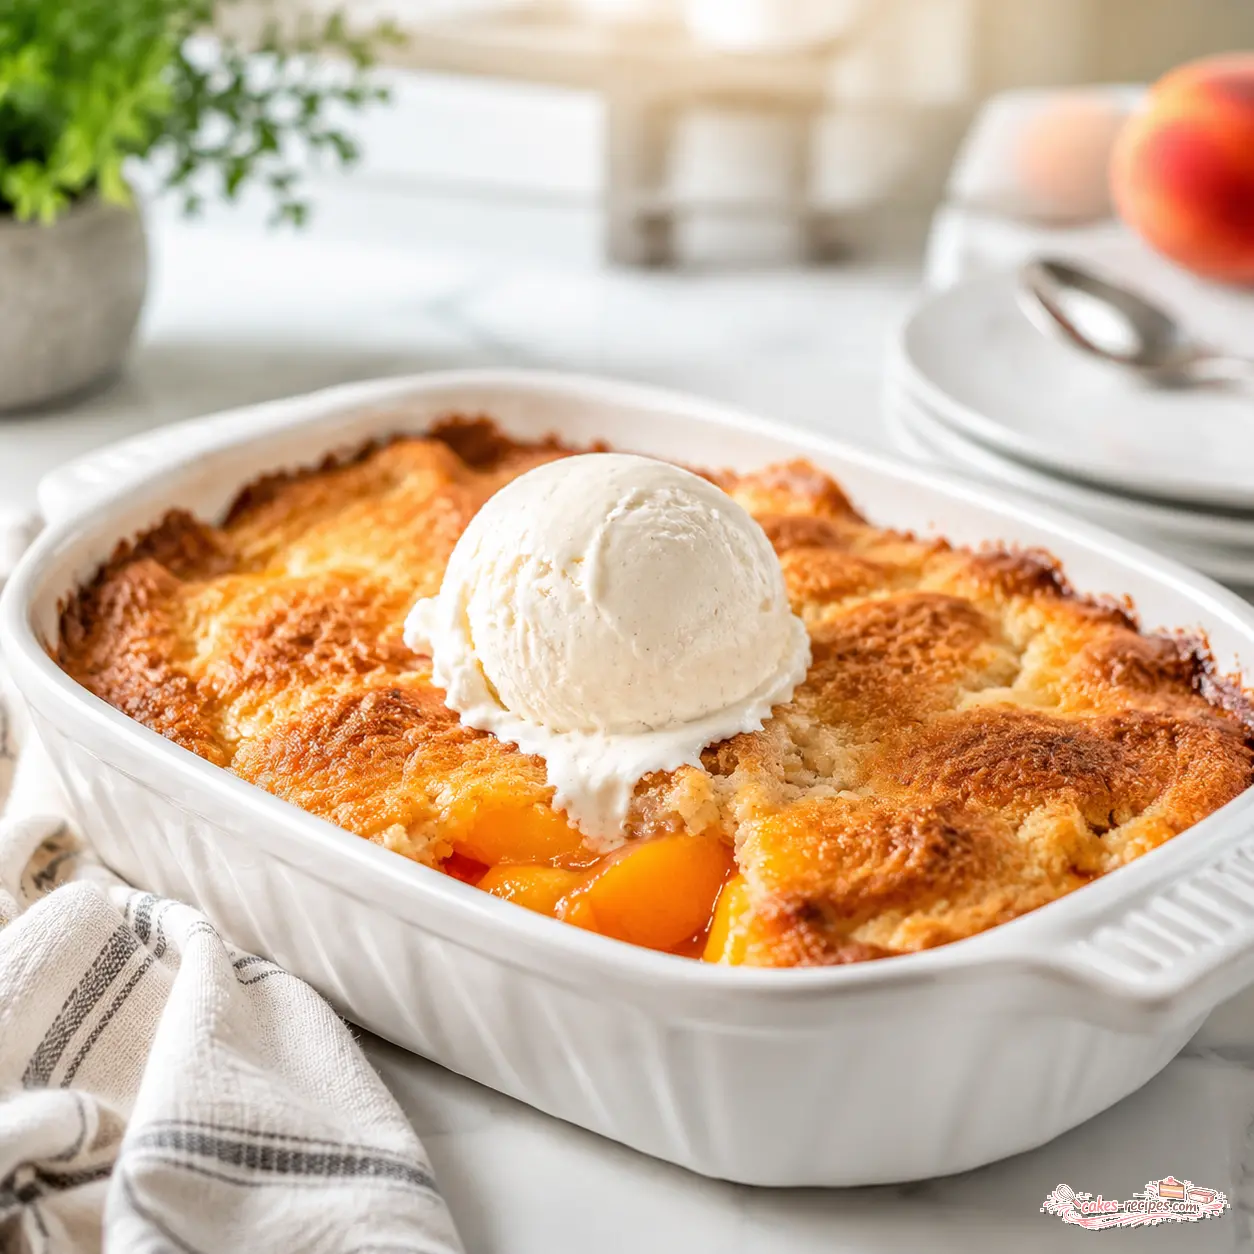
- Allow the cobbler to cool for at least 10 minutes before serving. Serve warm, optionally with vanilla ice cream or whipped cream.
Nutrition
Notes
Tried this recipe?
Let us know how it was!Why This Peach Cobbler Works
You’re staring at a can of peaches and wondering if it’s possible to make a cobbler that doesn’t taste like a hospital cafeteria dessert. I’ve been there. My grandma would roll her eyes at canned peaches, but that’s because she had a tree in her backyard. For the rest of us, canned is a lifesaver.
This peach cobbler with canned peaches is the one that actually works. It’s a Southern-style cobbler with a buttery, biscuit-like topping that rises up through the fruit as it bakes. The magic happens because we don’t stir the layers. The batter bakes up through the peaches, creating a golden, crispy crust on top with tender, sweet fruit underneath.
Let’s think this through. You want a dessert that tastes homemade but doesn’t require a trip to the farmers market or a hour of peeling peaches. That’s exactly what we’re doing here. This canned peach cobbler comes together in about 10 minutes of active time, uses ingredients you probably already have, and delivers that warm, comforting feeling of a real homemade dessert.
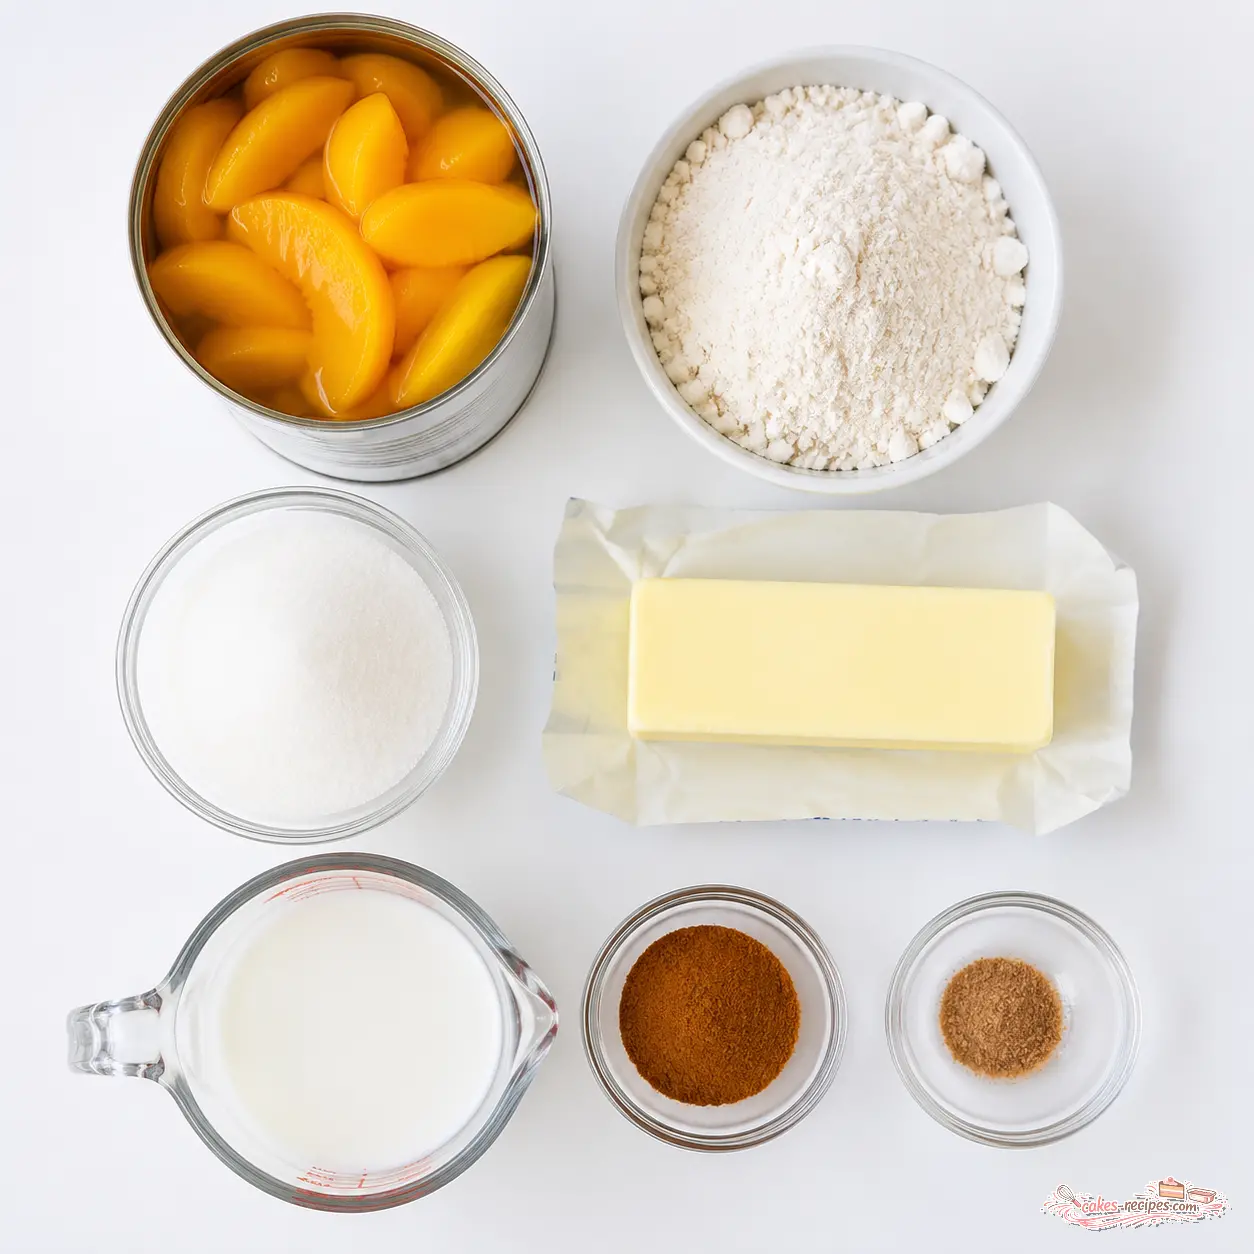
Easy Peach Cobbler with Canned Peaches
Here’s what I’ve found works best. The key to this recipe is letting the oven do the heavy lifting. We melt butter in the baking dish, pour a simple batter over it, then spoon the peaches and some syrup on top. No stirring. No complicated steps. The batter rises through the fruit as it bakes, creating that signature cobbler texture.
The filling gets thick and syrupy on its own. You don’t need cornstarch or any extra thickener. The natural sugars in the peach syrup, combined with the butter and batter, create a rich, glossy sauce. And the cinnamon and nutmeg? They make the whole kitchen smell like a bakery.
Pro tip: Use a 9×13-inch baking dish. Glass or ceramic works best because it heats evenly and lets you see the bottom crust browning. And don’t skip the real butter. Margarine won’t give you that same rich, caramelized flavor.
4-Ingredient Peach Cobbler Option
If you’re short on time, I hear you. This is the version I make when my kids are asking for dessert and I’ve got about five minutes. You can simplify the topping by using a boxed muffin mix. Just prepare it according to the package directions, pour it over the melted butter, and add the peaches on top. Bake the same way.
My eleven-year-old calls this the “cheater cobbler” and she loves it. Fair enough. Sometimes we need shortcuts, and that’s okay. The result is still a warm, fruity dessert that tastes like you spent way more effort than you did.
That said, the full recipe with the homemade batter is barely more work and tastes noticeably better. The texture is lighter, the crust is flakier, and you control the sweetness. Worth trying, especially if you’re serving company.
Self-Rising Flour Substitute
You might notice some recipes call for self-rising flour. If you don’t have it, no problem. Here’s what I’ve found works: for every cup of all-purpose flour, add 1 teaspoon of baking powder and 1/4 teaspoon of salt. That’s exactly what we’re doing in this recipe anyway.
This works for me, though your results may vary slightly depending on your brand of flour. I tend to prefer all-purpose flour because I can control the leavening myself. Some self-rising flours have more baking powder than others, and that can make the topping puff up too much and then collapse.
So stick with the all-purpose flour and the measurements in the recipe. It’s tested and reliable. No surprises.
Can I Use Fresh or Frozen Peaches?
You can, but the recipe changes a bit. Fresh peaches have more water and less sugar than canned peaches in syrup. If you’re using fresh, you’ll want to add about 1/4 cup of sugar to the fruit and let it sit for 15 minutes to draw out the juices. Then use about half the juice that accumulates.
For frozen peaches, thaw them first and drain off the excess liquid. You’ll want to add about 1/4 cup of sugar to the fruit as well. The texture won’t be quite as soft as canned, but it’ll still be delicious.
But here’s the thing: this recipe is designed for canned peaches. The syrup provides just the right amount of sweetness and liquid to create that perfect filling. If you’re using fresh or frozen, you’re essentially creating a different dish. My advice? Make it as written first, then experiment.
Tips for the Best Peach Cobbler
After making this dozens of times, here’s what I’ve learned. These tips will help you get perfect results every time.
- Don’t stir the layers. This is the most important rule. The batter rises through the peaches as it bakes. If you stir, you’ll end up with a dense, soggy mess.
- Use real butter. I can’t stress this enough. The butter creates that golden, crispy edge and rich flavor. Margarine or spreads won’t work the same way.
- Don’t overmix the batter. Stir just until the flour is moistened. A few lumps are fine. Overmixing develops gluten and makes the topping tough.
- Let it rest after baking. The cobbler needs at least 10 minutes to set. The filling will continue to thicken as it cools. If you serve it too soon, it’ll be runny.
- Check for doneness. The top should be deep golden brown and a toothpick inserted into the center should come out clean. If the top browns too quickly, tent it loosely with foil for the last 10 minutes.
Now, let me show you how it all comes together. I’ll walk you through the four main stages.
Stage 1: Melt the butter. Place the stick of butter in your baking dish and set it in the preheating oven. Once it’s fully melted, carefully remove the dish. The butter should be hot and bubbling slightly.
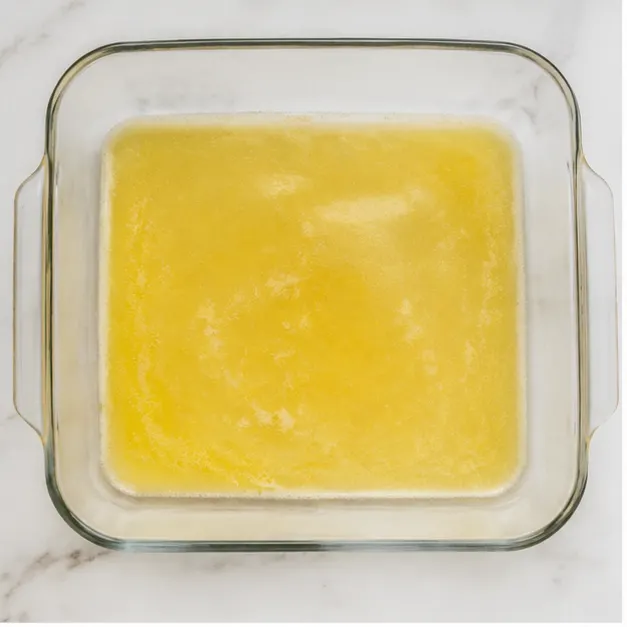
Stage 2: Make the batter. Whisk together the flour, sugar, baking powder, and salt. Pour in the milk and vanilla, stirring just until combined. Pour this batter evenly over the melted butter. Do not stir. The batter will look thin and separated from the butter. That’s exactly right.
Stage 3: Add the peaches. Spoon the canned peach slices and about half of their syrup over the batter. Distribute them evenly. Don’t stir. Sprinkle the cinnamon and nutmeg over the top. Now it goes into the oven.
Stage 4: Bake until golden. Bake for 40 to 45 minutes. You’ll see the edges start to bubble and the top turn golden brown. The smell of cinnamon and peaches will fill your kitchen. When it’s done, a toothpick inserted into the center will come out clean. Let it cool for at least 10 minutes before serving.
Storage and Reheating
This cobbler is best the day it’s made, but leftovers keep well. Store covered in the refrigerator for up to 3 days. To reheat, you have a few options.
- Oven: Place the cobbler in a 350°F oven for 10 to 15 minutes, or until heated through. This is the best method for maintaining the crispy topping.
- Microwave: Heat individual servings in 30-second increments. The topping will soften, but it’s still delicious.
- Stovetop: Not recommended. The topping will steam and become soggy.
Can you freeze it? Yes. Wrap the cooled cobbler tightly in plastic wrap and foil, then freeze for up to 3 months. Thaw in the refrigerator overnight and reheat in the oven.
Frequently Asked Questions
More Easy Dessert Recipes
If you love this peach cobbler with canned peaches, you might also enjoy these quick desserts. They all use pantry staples and come together in under an hour.
- Apple Crisp with Oat Topping
- Cherry Dump Cake
- Berry Cobbler with Frozen Fruit
- Banana Pudding from Scratch
Now go grab a spoon and enjoy. You earned this. And if you make it, I’d love to hear how it turned out. Share your photos and tag me – I’m always looking for baking wins.
For more inspiration, follow me on Pinterest where I pin all my favorite easy desserts.
Source: Nutritional Information
How do you make peach cobbler with canned peaches taste fresh?
Add a splash of vanilla extract and a pinch of cinnamon and nutmeg. These warm spices mimic the flavor of fresh, ripe peaches. Also, using half the syrup instead of all of it prevents the filling from being too cloying.
Can you use self-rising flour instead of all-purpose flour for canned peach cobbler?
You can, but you’ll need to omit the baking powder and salt in the recipe. For every cup of self-rising flour, you’re already getting the leavening and salt. I prefer all-purpose so I can control the amounts precisely.
What is the best way to thicken canned peach cobbler filling?
This recipe doesn’t need extra thickener. The batter absorbs excess liquid as it bakes, and the natural sugars in the syrup create a glossy, thickened sauce. Let the cobbler rest for 10 minutes after baking for the filling to set properly.
How long does peach cobbler with canned peaches last in the refrigerator?
Covered tightly, it will last up to 3 days in the fridge. The topping will soften slightly, but the flavor remains delicious. Reheat in a 350°F oven for 10-15 minutes to restore some crispness.
Can you add ground cinnamon and nutmeg to canned peach cobbler?
Absolutely. That’s exactly what this recipe does. Cinnamon and nutmeg are classic pairings with peaches. They warm up the flavor and make the cobbler taste more complex and homemade. Sprinkle them over the top before baking.
Can I freeze peach cobbler?
Yes. Let the cobbler cool completely, then wrap it tightly in plastic wrap and aluminum foil. Freeze for up to 3 months. Thaw overnight in the refrigerator and reheat in a 350°F oven until warmed through.