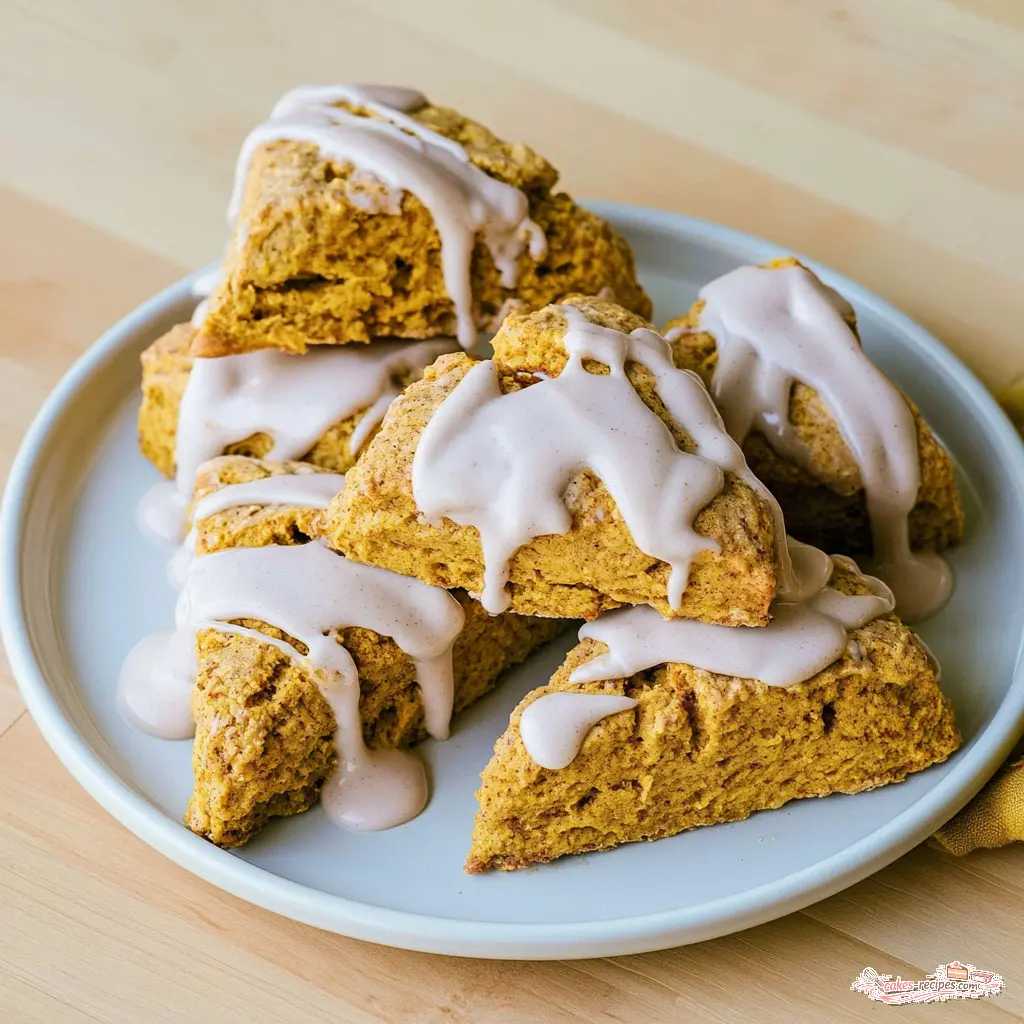
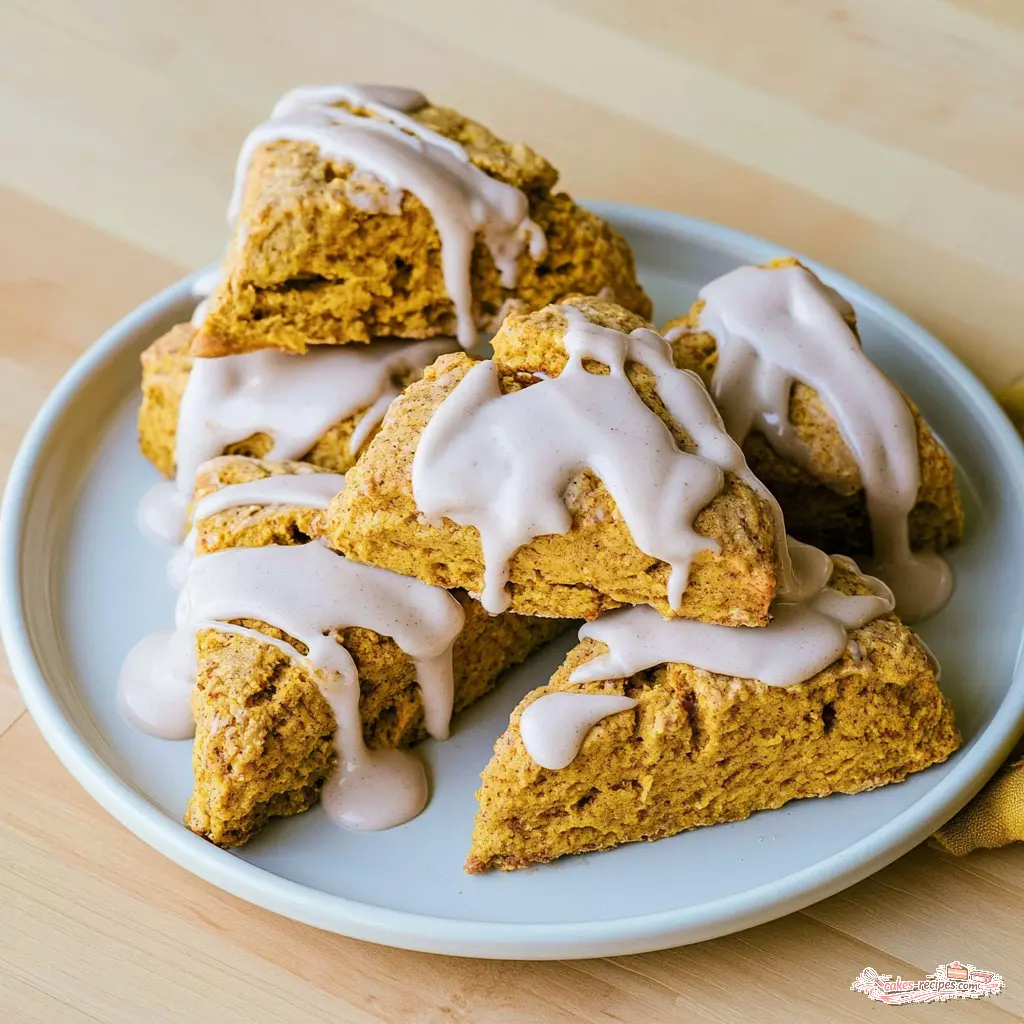
Pumpkin Scones with Cinnamon Maple Glaze
Ingredients
Method
- Whisk together the flour, sugar, baking powder, pumpkin pie spice, and salt in a large bowl; set aside.
- In a separate bowl, combine the pumpkin puree, heavy cream, and beaten egg until smooth and thick.
- Grate the cold butter into the dry mixture, then work it in with your fingers or a pastry cutter until coarse crumbs form.
- Pour the pumpkin mixture into the flour-butter bowl and knead gently by hand just until a soft, sticky dough forms.
- Fold the dough over on itself 6 to 7 times, shape it into a 6-inch disc, wrap tightly in plastic wrap, and refrigerate for at least 30 minutes.
- Preheat the oven to 400 degrees F and line a half sheet pan with parchment paper or a silicone mat.
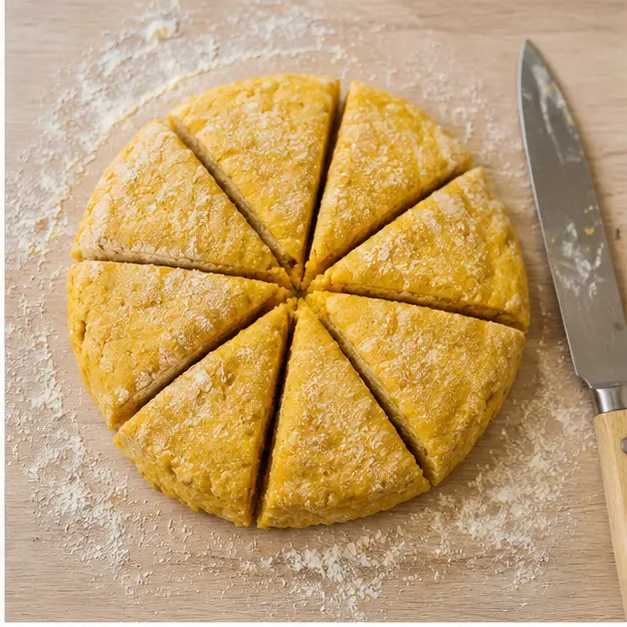
- Roll the chilled disc into a 10-inch circle about 1/2 to 3/4 inch thick, then cut it into 12 wedges with a bench scraper or sharp knife.
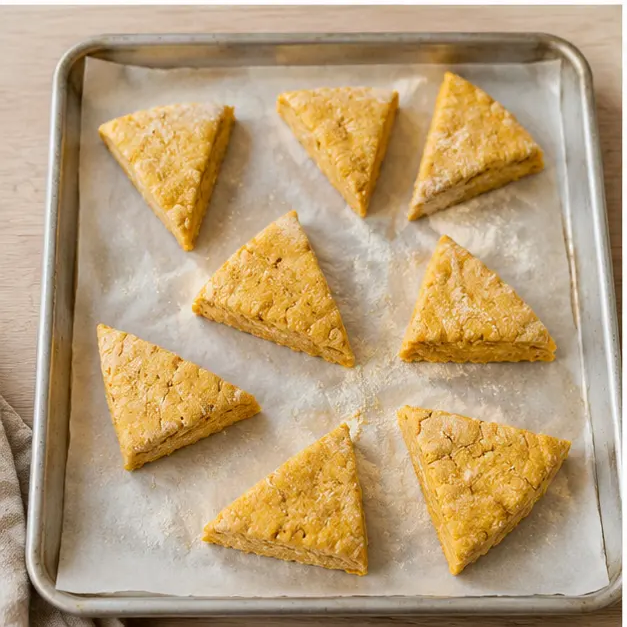
- Arrange the wedges on the prepared pan with about 1/4 inch of space between them so they can lean on each other as they bake.
- Bake for 20 to 25 minutes until puffed and golden brown, then cool on the pan for 5 minutes.
- Beat the cream cheese, powdered sugar, cinnamon, and salt with a hand mixer on low speed until smooth, then increase to high speed and whip for 2 to 3 minutes until light and fluffy.
- The glaze should hold soft ribbons from the beaters when ready; set it aside until the scones are baked.
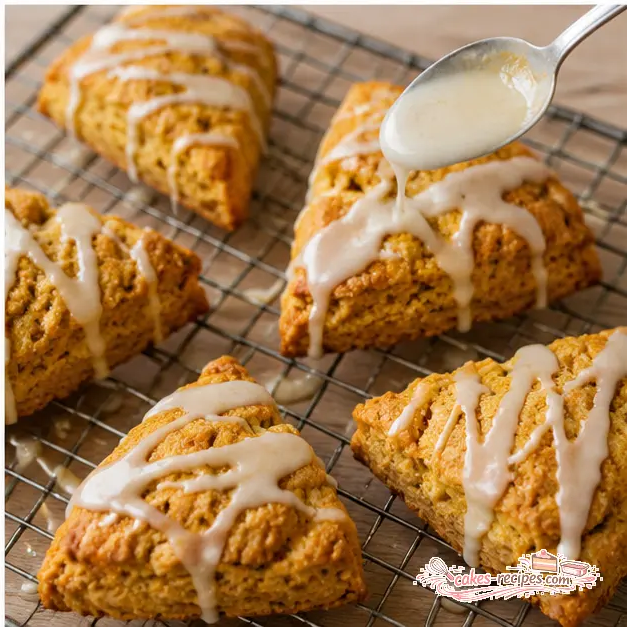
- Transfer the scones to a wire rack and spoon or spread the glaze over them while still warm for a thin drizzle, or wait until fully cool for a thicker frosting-like finish.
Nutrition
Notes
Tried this recipe?
Let us know how it was!Why These Pumpkin Scones with Cinnamon Maple Glaze Work
It’s somehow still 85 degrees here in Milwaukee, but my brain is already planning a fall breakfast menu. Right at the top? These pumpkin scones with cinnamon maple glaze.
I know the feeling. It’s too hot for soup, but that pumpkin spice craving is already creeping in. Honestly, I promise this is the perfect transitional bake. The oven’s on for just 20 minutes, and the reward is a batch of flaky, tender scones that taste like a bakery case display.
My first attempt at scones produced something my husband, the chemistry teacher, politely called “textured biscuits.” Complete hockey pucks. I’ve learned a lot since then, and this recipe is the result of all that trial and error.
Ingredients for Pumpkin Scones
Let me walk you through the key players here. The magic of these homemade scones comes from a short list of simple ingredients that work hard together.
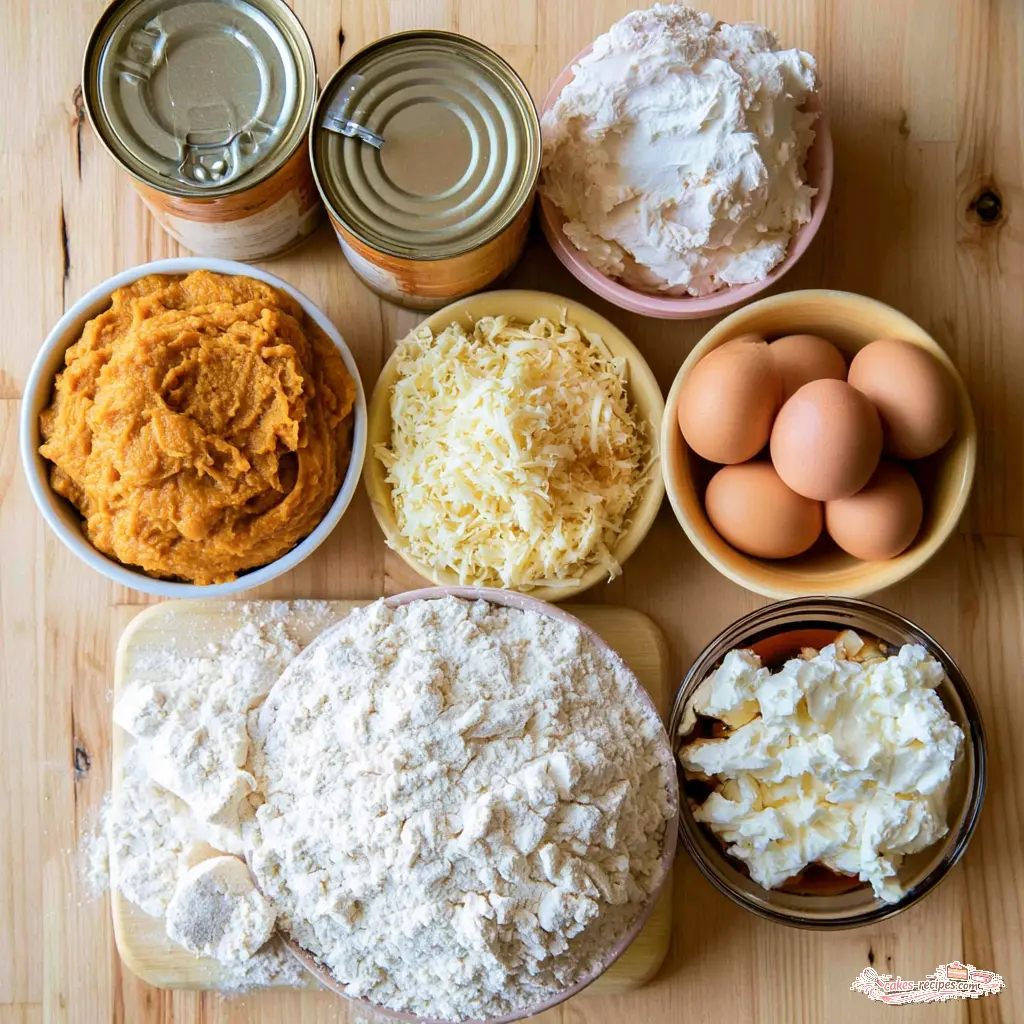
- Canned pumpkin puree: Not pumpkin pie filling. This is crucial. It gives the scones that unmistakable fall flavor and keeps them incredibly moist.
- Heavy whipping cream: This is what makes these heavy cream scones so tender. Don’t swap it for milk. The high fat content is the secret to a soft, rich crumb.
- Very cold unsalted butter: The cold butter technique is everything. Grating it into the flour creates small, even pieces that steam in the oven, creating those flaky layers we all love.
- Cream cheese, maple syrup, and cinnamon: The dream team for the glaze. Whipped together, they create a tangy-sweet, glossy topping that soaks perfectly into the craggy tops.
How to Make Pumpkin Scones with Cinnamon Maple Glaze
This is one of those recipes that looks fancy but is totally approachable. Let’s break it down into four simple stages.
1. Make and Rest the Dough
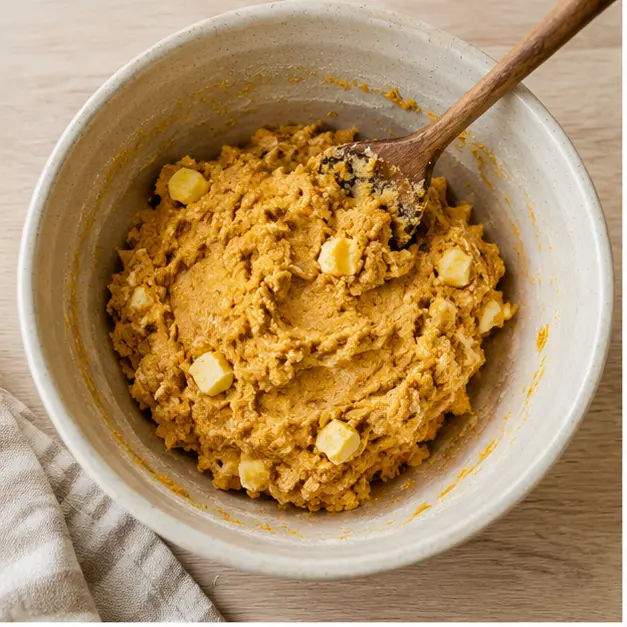
Whisk your dry ingredients together, then grate the frozen cold butter directly into the bowl. Work it in with your fingertips or a pastry blender until it looks like coarse crumbs. Then, pour in the wet pumpkin mixture and knead gently by hand just until a soft, sticky dough forms.
Here’s the step you can’t skip: the scone dough rest time. Fold the dough over on itself a few times, shape it into a disc, and wrap it tightly in plastic wrap. Pop it in the fridge for at least 30 minutes. Think of it as giving the dough a quick nap. It relaxes the gluten so the scone rises instead of spreading, and it re-chills the butter.
2. Roll and Cut the Scones
After its nap, roll the chilled disc into a 10-inch circle, about 1/2 to 3/4 inch thick. Now, for crispy scone edges and tall layers, don’t twist your knife. Cut the wedges with a straight, firm down motion. This keeps the layers intact so they rise tall in the oven.
3. Bake to Golden Perfection
Arrange the wedges on your prepared baking sheet, leaving about 1/4 inch of space between them. They’ll lean on each other as they bake, which helps them rise. Bake at 400 degrees F for 20 to 25 minutes until they’re puffed up and golden brown.
Your kitchen will smell like a fall candle come to life. The crispy scone edges will be deeply golden, and the centers will look just set. Let them cool on the pan for about 5 minutes before moving them.
4. Whip and Drizzle the Glaze
This glaze consistency is everything. Beat the softened cream cheese with powdered sugar, cinnamon, and a pinch of salt until smooth, then whip in the pure maple syrup. You’re looking for it to hold soft ribbons from the beaters when you lift them up.
When should you glaze scones? While they’re slightly warm for a thin drizzle that sinks in, or wait until fully cool for a thick, frosting-like coating. Either way, don’t be shy with it.
Tips for Perfectly Tender Scones
Over the years, I’ve learned that a few small habits make a world of difference. Here are my non-negotiables for flaky scones:
- Keep everything cold. Freeze your butter for 15 minutes before grating. Use cold cream and an egg straight from the fridge.
- Don’t overmix. Your dough will look shaggy and weird. That’s not a mistake, that’s scone dough being scone dough. Leave some dry bits of flour.
- Chill, chill, chill. If your kitchen is warm, pop the shaped scones in the fridge for an extra 10 minutes before baking.
❌ Mistake: Twisting the cutter or knife to cut scones.
✅ Solution: Cut straight down. Twisting seals the edges and prevents them from rising properly.
Choosing the Right Pumpkin Puree
This is the most common pitfall, and it can make or break your batch. For the best pumpkin scones, you absolutely must use 100% canned pumpkin.
Pumpkin pie filling is pre-sweetened and pre-spiced. If you use it here instead of canned pumpkin, it will throw off the delicate balance of sugar and pumpkin pie spice in the dough. I always reach for the pure, simple stuff. It’s thicker, more flavorful, and holds up perfectly in the oven.
Pump Up the Flavor with Add-Ins
One of the great things about this base recipe is how well it plays with others. If you want to switch things up, this is your chance to get creative.
- Chocolate chips: Fold in a cup of dark or white chocolate chips for a sweeter, more decadent scone.
- Dried cranberries: The tartness is a beautiful contrast to the sweet maple glaze and warm pumpkin spice blend.
- Chopped nuts: Pecans or walnuts add a lovely crunch and toasty flavor.
Make Ahead, Storage, and Freezing
This is where this recipe really shines. It’s the ultimate make-ahead breakfast pastry. In my testing, I’ve found these scones store and freeze beautifully.
- Refrigerate the dough: You can wrap the dough disc tightly and chill it for up to 2 days before baking.
- Freeze unbaked: Cut your wedges and freeze them on a sheet pan. Once solid, transfer to a freezer bag. You can bake them straight from frozen, just add a couple of minutes.
- Store baked scones: Keep unglazed scones in an airtight container at room temperature for up to 2 days. The glaze itself can be kept in the fridge for up to a week.
- Freeze baked: You can freeze the fully baked and cooled scones for up to 2 months. Thaw at room temperature and warm slightly before serving.
Serving Suggestions
The final presentation is always a moment in our house. When those glazed scones hit the table, everyone stops what they’re doing.
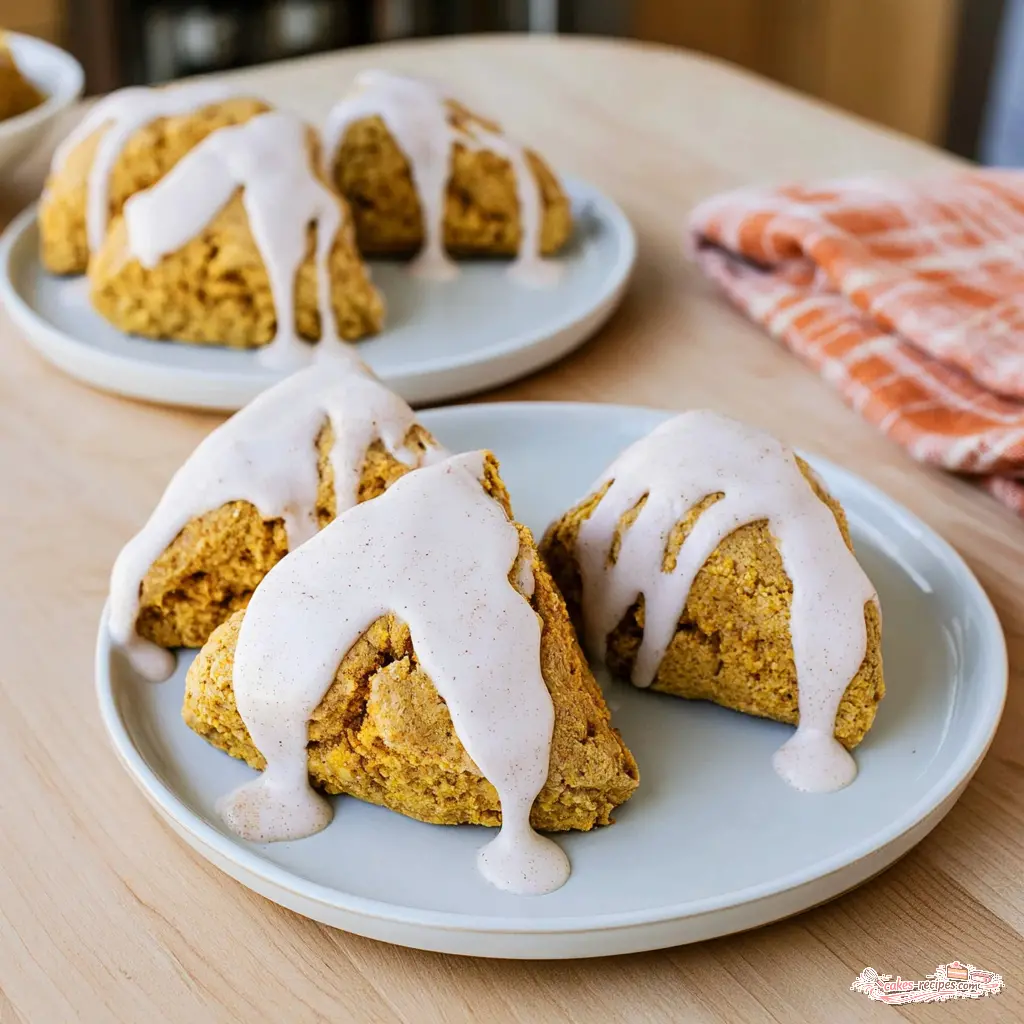
These are the perfect coffee pairing. The tender scone crumb and spiced maple flavor just sing next to a steaming mug of your favorite roast. For brunch, I love serving them with some fresh fruit on the side. They’re the kind of breakfast pastries that make a lazy Sunday feel special.
Frequently Asked Questions
Final Thoughts
When you pull these pumpkin scones with cinnamon maple glaze from the oven, I hope you feel that exact “I can’t believe I made this” glow. It never gets old.
Go ahead, let fall knock on your door a little early. You’ve earned the crumbs. If you’re looking for more inspiration, I love finding new ideas on Pinterest. When you make these, tag me, I genuinely want to see your glaze drizzle!
Source: Learn More About This Dish
What is the 15 minute rule for scones?
The 15-minute rule is a common guideline for resting scone dough before baking. In my kitchen, I’ve found that giving this pumpkin dough at least 30 minutes in the fridge works even better. That rest time lets the gluten relax and re-chills the butter, which translates to taller, flakier scones.
When should you glaze scones?
It really depends on the texture you want. If you prefer a thin, delicate drizzle that soaks slightly into the scone, glaze them while they’re still a bit warm. If you want that thick, frosted bakery look, wait until they’re completely cool so the cinnamon maple glaze sits beautifully on top.
What is a good glaze for scones?
This cinnamon maple glaze is my absolute favorite for pumpkin scones. It’s made by whipping softened cream cheese with powdered sugar, ground cinnamon, a pinch of salt, and pure maple syrup until light and fluffy. The result is a rich, tangy-sweet glaze that holds soft ribbons and pairs perfectly with the spiced scone.
What is the best pumpkin to use for pumpkin scones?
For the best texture and flavor, use 100% canned pumpkin puree, not pumpkin pie filling. Pumpkin pie filling comes pre-sweetened and spiced, which will throw off the balance of this recipe. Reach for the unsweetened pure canned pumpkin for a perfectly spiced, tender crumb every time.