California Pumpkin Snickerdoodle Bars
Ingredients
Method
- Preheat your oven to 350 degrees F. Line a 9x13-inch baking pan with aluminum foil or parchment paper, then lightly coat with nonstick cooking spray.
- In a large mixing bowl, beat the softened butter, granulated sugar, and brown sugar together until light and fluffy.
- Add the pumpkin puree and vanilla extract, mixing until well combined.
- In a separate bowl, whisk together the flour, cinnamon, cream of tartar, baking powder, baking soda, salt, nutmeg, and allspice. Gradually add this dry mixture to the wet ingredients, stirring until just combined.
- Spread the batter evenly into the prepared pan.
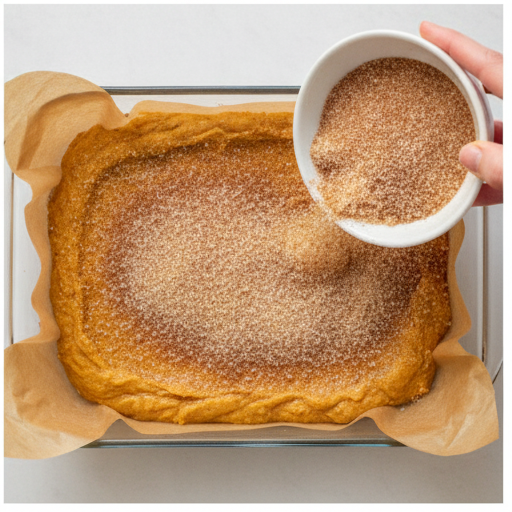
- In a small bowl, stir together the 1/4 cup sugar and 1 teaspoon cinnamon. Sprinkle this topping evenly over the batter.
- Place the pan in the preheated oven and bake for 20 to 25 minutes, or until the edges are set and the center is still slightly soft.
- Allow the bars to cool completely in the pan on a wire rack before cutting into squares. Serve at room temperature.
Nutrition
Notes
Tried this recipe?
Let us know how it was!Why You’ll Love These Pumpkin Snickerdoodle Bars
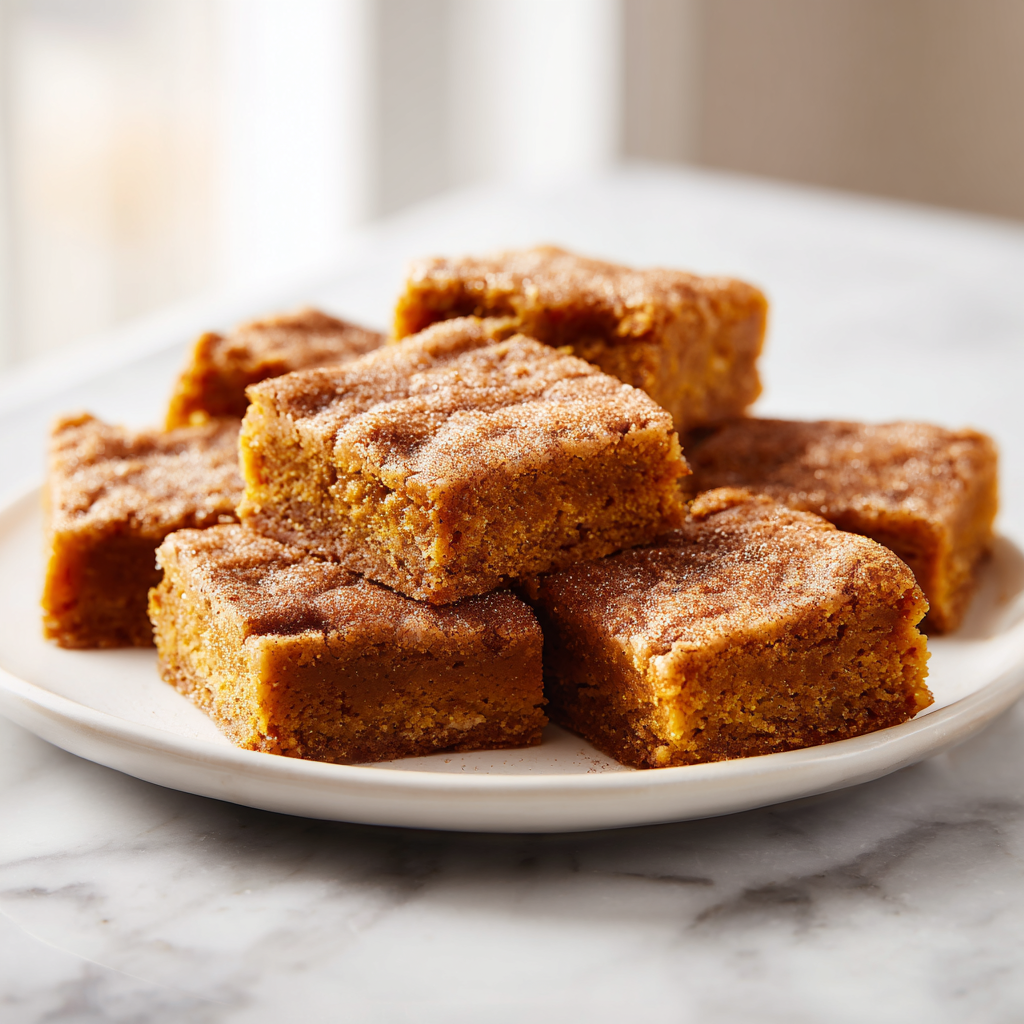
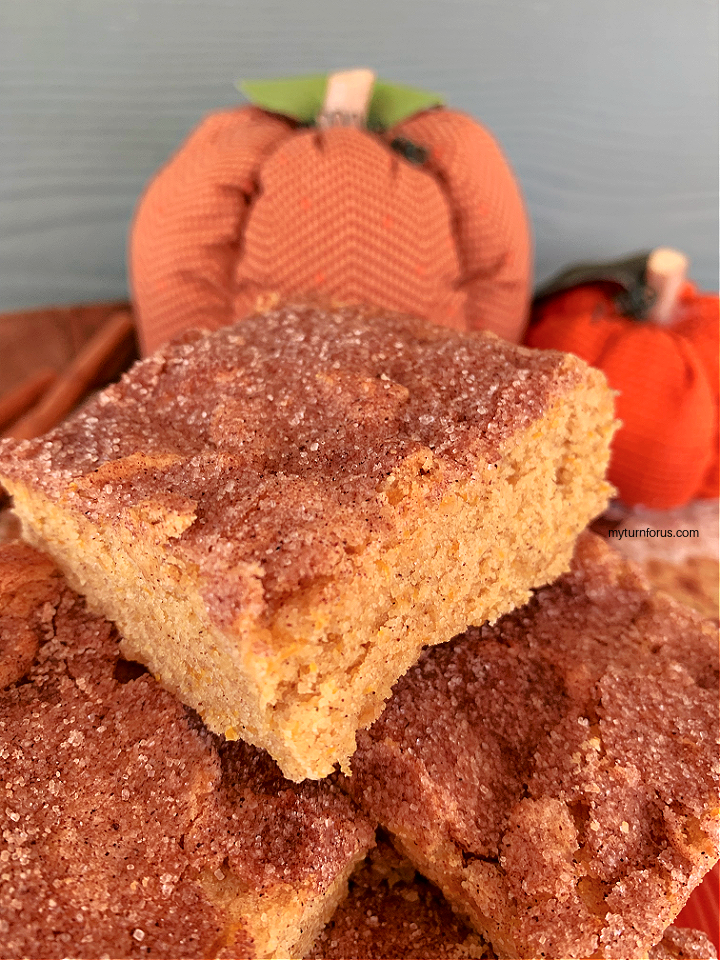
It’s July in Houston, and I’m standing in my kitchen with a can of pumpkin puree. My air conditioner is working overtime, and I’m about to turn on the oven. My roommate walked in, looked at the can, and just shook her head. “It’s ninety-five degrees outside, Olivia.” I know. I know. But here’s the thing about pumpkin snickerdoodle bars. They don’t care what month it is. They’re soft, they’re chewy, and they’ve got that perfect cinnamon sugar crust that snickerdoodles are famous for. Except they’re bars, which means you don’t have to roll individual cookies or chill the dough. You just mix, spread, bake, and cut. That’s it. These pumpkin snickerdoodle bars are the kind of dessert that makes people stop mid-conversation and ask, “Wait, what did you put in these?” The pumpkin keeps them incredibly moist without making them heavy. The cream of tartar gives them that classic snickerdoodle tang. And the cinnamon sugar topping? Honestly, I may have eaten three before they fully cooled. No regrets. I grew up in the back of my mom’s catering operation, watching her prep for weekend events. She’d make these enormous sheet cakes for Chinese banquets and community gatherings. Her rule was simple: “Always make more than they asked for.” Someone would order dessert for forty, she’d make enough for fifty-five. She said people eat more at parties than they think, and running out is worse than having leftovers. I follow that rule in every recipe I write. These pumpkin snickerdoodle bars make a generous batch in a 9×13 pan. You’ll have plenty to share.Key Ingredients for Soft Chewy Bars
Let’s talk about what makes these pumpkin snickerdoodle bars work. Because I promise you, the combination sounds weird until you taste it.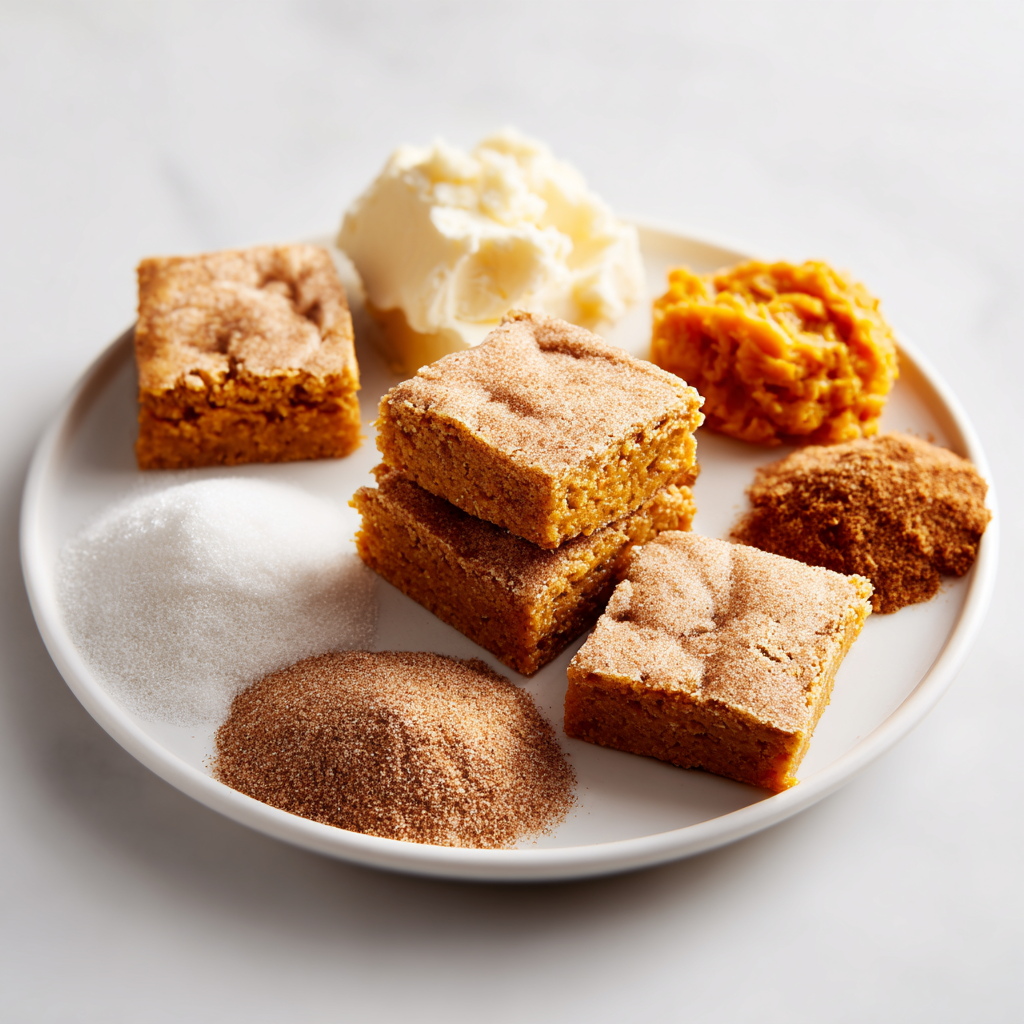 Pumpkin puree. This is non-negotiable. Use pure pumpkin puree, not pumpkin pie filling. The pie filling has sugar and spices already added, and it’ll throw off the whole balance. I usually grab Libby’s at my local Ralphs. If you’re using a different brand and the puree looks watery, don’t add the extra water I mention in the notes. Trust your eyes.
Butter. One cup of unsalted butter, softened. You can brown it if you want that nutty, deep flavor. Honestly, it’s optional but worth it. Brown butter adds this almost caramel-like warmth that pairs beautifully with the pumpkin. But if you’re short on time, regular softened butter works perfectly.
Sugars. We’re using both granulated and brown sugar. The brown sugar adds moisture and a hint of molasses. Dark or light brown sugar both work here. I usually use light because that’s what I keep in the pantry.
Cream of tartar. This is the secret ingredient. It’s what gives snickerdoodles their signature tangy flavor and soft texture. Without it, these are just pumpkin bars. With it, they’re pumpkin snickerdoodle bars. Don’t skip it.
Spices. Cinnamon, nutmeg, and allspice. If you have pumpkin pie spice, you can use 1 teaspoon of that instead of the individual spices. But I like controlling the ratios myself. The cinnamon is the star, the nutmeg adds warmth, and the allspice brings that little something extra.
Pumpkin puree. This is non-negotiable. Use pure pumpkin puree, not pumpkin pie filling. The pie filling has sugar and spices already added, and it’ll throw off the whole balance. I usually grab Libby’s at my local Ralphs. If you’re using a different brand and the puree looks watery, don’t add the extra water I mention in the notes. Trust your eyes.
Butter. One cup of unsalted butter, softened. You can brown it if you want that nutty, deep flavor. Honestly, it’s optional but worth it. Brown butter adds this almost caramel-like warmth that pairs beautifully with the pumpkin. But if you’re short on time, regular softened butter works perfectly.
Sugars. We’re using both granulated and brown sugar. The brown sugar adds moisture and a hint of molasses. Dark or light brown sugar both work here. I usually use light because that’s what I keep in the pantry.
Cream of tartar. This is the secret ingredient. It’s what gives snickerdoodles their signature tangy flavor and soft texture. Without it, these are just pumpkin bars. With it, they’re pumpkin snickerdoodle bars. Don’t skip it.
Spices. Cinnamon, nutmeg, and allspice. If you have pumpkin pie spice, you can use 1 teaspoon of that instead of the individual spices. But I like controlling the ratios myself. The cinnamon is the star, the nutmeg adds warmth, and the allspice brings that little something extra.
How to Make Pumpkin Snickerdoodle Bars
This is where the magic happens. The whole process takes about 15 minutes of active time. No chilling, no rolling, no fuss. Start by preheating your oven to 350 degrees F. Line a 9×13-inch baking pan with aluminum foil or parchment paper. Give it a light spray of nonstick cooking spray. I use foil because it’s easier to lift the whole block out for cutting, but parchment works great too. Step 1: Cream the butter and sugars. In a large mixing bowl, beat the softened butter, granulated sugar, and brown sugar together until light and fluffy. This takes about 2-3 minutes with a hand mixer. You’ll see the mixture get pale and airy. That’s what you want.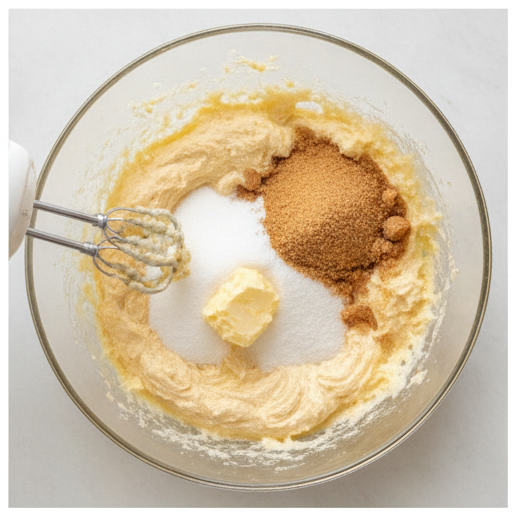 Step 2: Add the wet ingredients. Mix in the pumpkin puree and vanilla extract until well combined. The batter will look a bit looser than a typical cookie dough. That’s fine. The pumpkin adds moisture, which is why these bars stay so soft.
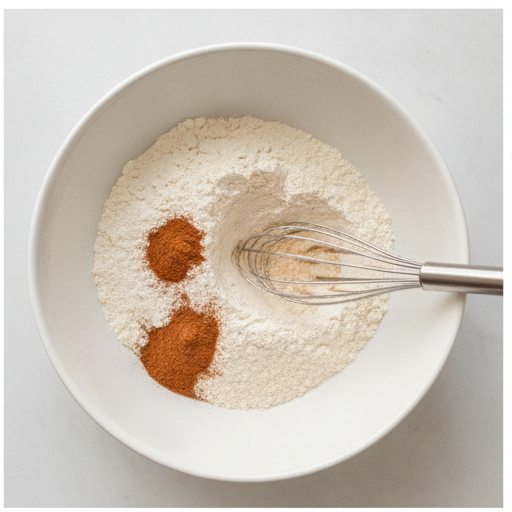 Step 3: Combine the dry ingredients. In a separate bowl, whisk together the flour, cinnamon, cream of tartar, baking powder, baking soda, salt, nutmeg, and allspice. Gradually add this to the wet mixture, stirring until just combined. Don’t overmix. A few streaks of flour are okay.
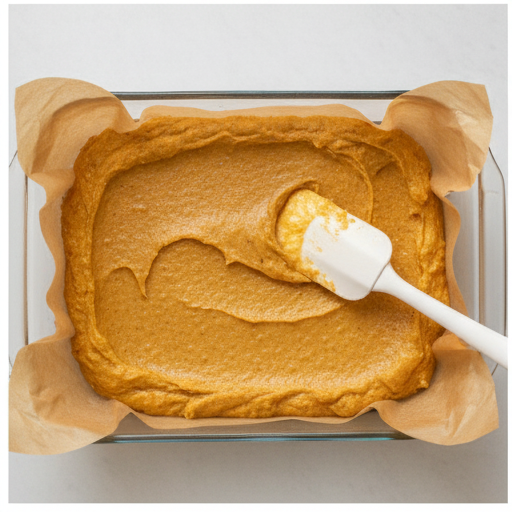 Step 4: Spread and top. Spread the batter evenly into the prepared pan. It’s thick, so take your time. In a small bowl, stir together the 1/4 cup sugar and 1 teaspoon cinnamon. Sprinkle this topping evenly over the batter. Don’t be shy with it. This is what creates that signature snickerdoodle crust.
 Bake for 20 to 25 minutes. The edges should be set and the center should still be slightly soft. A toothpick inserted in the center should come out with a few moist crumbs, not wet batter. If your bars look slightly underdone in the center, that’s okay. They set as they cool.
Let them cool completely in the pan on a wire rack before cutting. I know it’s tempting to cut into them warm. I’ve done it. They fall apart. Trust me on this one.
Bake for 20 to 25 minutes. The edges should be set and the center should still be slightly soft. A toothpick inserted in the center should come out with a few moist crumbs, not wet batter. If your bars look slightly underdone in the center, that’s okay. They set as they cool.
Let them cool completely in the pan on a wire rack before cutting. I know it’s tempting to cut into them warm. I’ve done it. They fall apart. Trust me on this one.
Helpful Tips for Perfect Bars Every Time
After testing these pumpkin snickerdoodle bars more times than I care to admit, here’s what I’ve learned. ❌ Mistake: Using pumpkin pie filling instead of pure pumpkin puree. ✅ Solution: Always check the label. You want 100% pumpkin, not the pre-sweetened pie mix. ❌ Mistake: Overbaking the bars. ✅ Solution: The center should look slightly underdone when you pull them out. They continue cooking as they cool. Overbaked bars are dry bars. ❌ Mistake: Adding eggs. ✅ Solution: This recipe doesn’t use eggs. I know that sounds weird, but it keeps the bars less cakey and more like a soft, dense cookie bar. Don’t add them. ❌ Mistake: Not letting the bars cool completely. ✅ Solution: I get it. The smell is incredible. But warm bars are fragile. Let them cool fully, then cut. You’ll get clean squares. The flavor of these pumpkin snickerdoodle bars actually improves with time. They’re delicious on day one, but really good on day two. The spices meld together, the texture softens even more. If you can wait that long.Variations to Customize Your Bars
This recipe is a great base for experimenting. Here are some ideas I’ve tried and loved. Add chocolate chips. Stir in 1/2 cup of semi-sweet or white chocolate chips before spreading the batter. The chocolate pairs beautifully with the pumpkin and cinnamon. Go gluten-free. Use a gluten-free flour blend. I’ve tested this in a cookie version with good results. The texture might be slightly different, but the flavor will still be there. Swap the butter. You can substitute applesauce for half the butter to make these dairy-free. The texture will change a bit, they’ll be less rich, but they’ll still be good. Adjust the spices. Add 1/2 teaspoon of ground ginger for extra warmth. Or reduce the nutmeg to 1/8 teaspoon if you’re not a fan. The recipe is forgiving. Make a cream cheese frosting. If you want to go all out, top these bars with a simple cream cheese frosting. Beat together 4 ounces of cream cheese, 2 tablespoons of butter, 1 cup of powdered sugar, and a splash of vanilla. Spread it over the cooled bars. It’s decadent and amazing.Frequently Asked Questions
Storage and Make-Ahead Tips
These pumpkin snickerdoodle bars are perfect for making ahead. The flavor actually gets better after a day in the fridge. Room temperature: Store in an airtight container for up to 3 days. If it’s hot and humid, move them to the fridge after day two. Refrigerator: They’ll keep for up to a week. Let them come to room temperature before serving for the best texture. Freezer: Wrap the whole block or individual bars in plastic wrap, then aluminum foil. Freeze for up to 2-3 months. Thaw at room temperature before serving. Pro tip: Don’t cut the bars until you’re ready to serve. The cut edges dry out faster. Keep the block whole and cut as needed.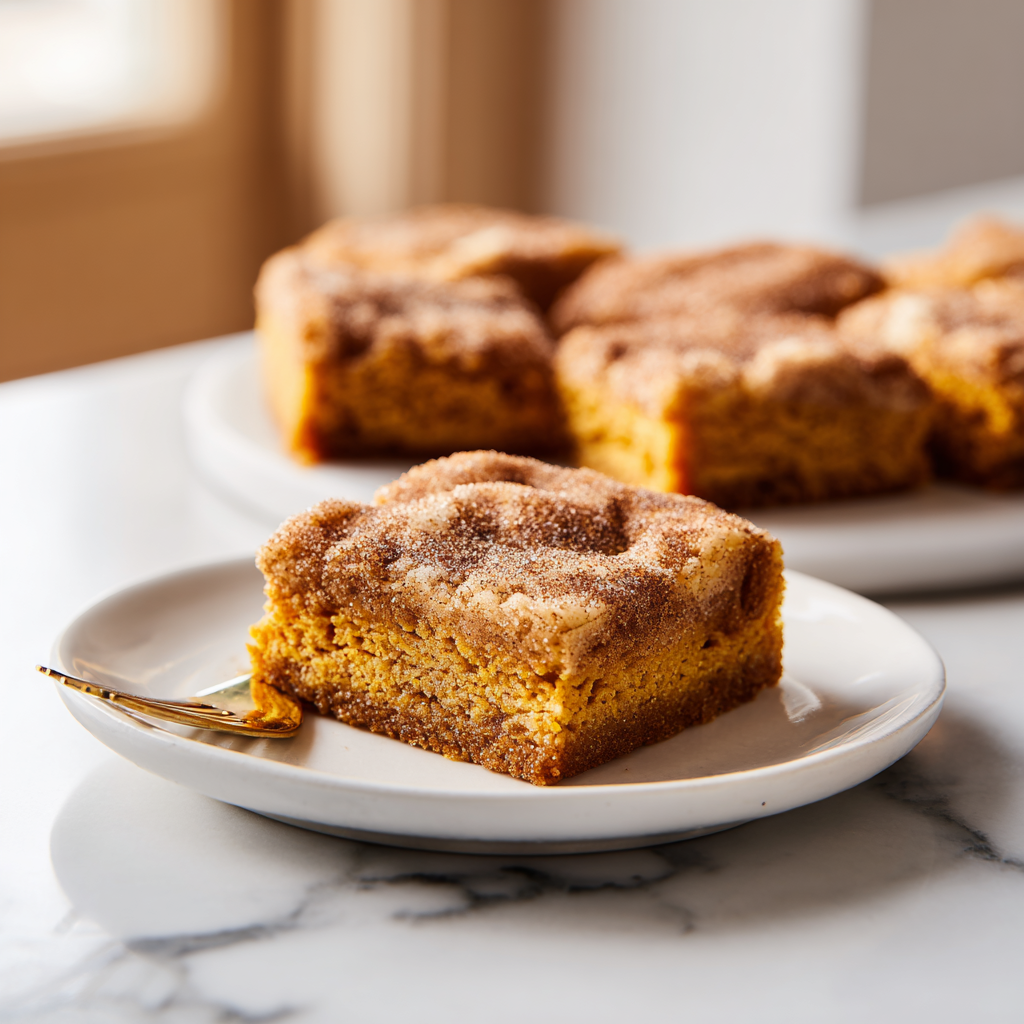
Why This Recipe Works for Fall Baking
Look, I know it’s summer. I know pumpkin season is technically months away. But these pumpkin snickerdoodle bars don’t care about the calendar. They’re the kind of dessert that brings people together, whether it’s for a Fourth of July picnic or a Thanksgiving potluck. They’re portable. They’re crowd-friendly. They’re easy to transport without worrying about frosting smudging or cookies crumbling. Just cut, stack, and go. And honestly? There’s something rebellious about baking with pumpkin in July. It’s like saying, “I make my own rules.” My mom would approve. She always said the best desserts are the ones you make for the people you love, regardless of the season. So go ahead. Preheat that oven. Open that can of pumpkin. Make these pumpkin snickerdoodle bars and watch them disappear. And when someone asks why you’re making fall desserts in the middle of summer, just smile and hand them another bar. Tag me when you make them. I want to see your cinnamon sugar dusting artistry.Source: Nutritional Information
What makes pumpkin snickerdoodle bars different from regular snickerdoodles?
Regular snickerdoodles are drop cookies that get rolled in cinnamon sugar and baked individually. These pumpkin snickerdoodle bars are a bar cookie version, so you spread the dough in a pan and bake it all at once. The pumpkin adds moisture and a softer texture, while the cream of tartar keeps that signature tangy flavor.
How do you make brown butter pumpkin bars from scratch?
To make brown butter, melt 1 cup of unsalted butter in a saucepan over medium heat. Stir constantly until it turns golden brown and smells nutty, about 5-7 minutes. Let it cool slightly before using it in the recipe. Brown butter adds a deep, toasty flavor to these pumpkin snickerdoodle bars that’s absolutely worth the extra step.
Can I use pumpkin pie spice instead of cinnamon, nutmeg, and allspice in pumpkin snickerdoodle bars?
Yes, absolutely. Use 1 teaspoon of pumpkin pie spice in place of the individual spices. The flavor will be slightly different, but still delicious. If you don’t have pumpkin pie spice, you can make your own by mixing 1/2 teaspoon cinnamon, 1/4 teaspoon ginger, 1/4 teaspoon nutmeg, and 1/4 teaspoon allspice.
How should I store leftover pumpkin snickerdoodle bars?
Store these pumpkin snickerdoodle bars in an airtight container at room temperature for up to 3 days. If the weather is hot, refrigerate them after that because of the pumpkin. They’ll keep in the fridge for up to a week. You can also freeze them for up to 2 months. Thaw at room temperature before serving.
What is the purpose of cream of tartar in this pumpkin snickerdoodle bars recipe?
Cream of tartar is what gives snickerdoodles their signature tangy flavor and soft, chewy texture. It reacts with the baking soda to help the bars rise slightly and stay tender. Without it, these would just be pumpkin bars. It’s the key ingredient that makes them pumpkin snickerdoodle bars.
Can these be made gluten free?
Yes, you can use a gluten-free flour blend. I’ve tested it in a cookie version with good results. The texture might be slightly different, but the flavor will still be there. Just make sure your blend contains xanthan gum for structure. Start checking for doneness at the 20-minute mark.
Can I halve the recipe?
Yes, you can halve all the ingredients and bake the bars in a 9-inch square pan. The baking time will be longer, about 35-40 minutes. Keep an eye on them and use the toothpick test. The edges should be set and the center slightly soft.