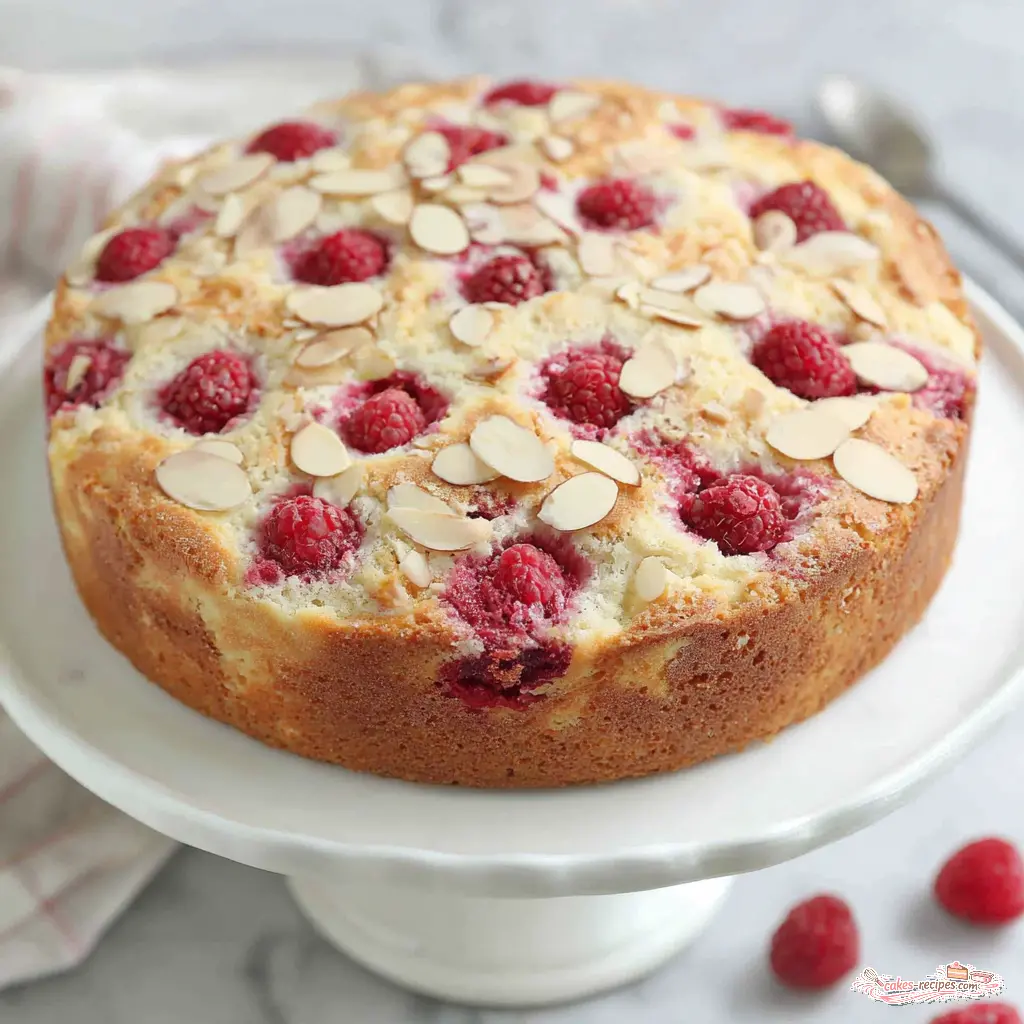
Why You’ll Love This Raspberry Almond Coffee Cake
You know that feeling when you bite into a coffee cake and it’s just… dry? Crumbly in a bad way, like the flavor got lost somewhere between the flour and the oven? I’ve been there more times than I care to admit. Honestly, for years I thought coffee cake was supposed to be a little disappointing. Then I spent time in Colombia learning from Rosa, and she showed me what a real coffee cake could be.
This raspberry almond coffee cake is the one that finally got it right for me. It’s tender without being fragile, moist without being heavy, and the berries stay exactly where you put them. No sinking. No bleeding into the batter. Just beautiful pockets of tart raspberry against a sweet, creamy cheese layer, all topped with crunchy sliced almonds.
Here’s the thing: this isn’t a complicated recipe. You don’t need special equipment or bakery skills. What you need is a springform pan, some patience with your mixer, and a willingness to trust the process. The sour cream and oil in the batter keep everything incredibly soft for days. The cream cheese layer adds this richness that makes people think you spent hours on it. And the raspberries? They’re the star of the show, especially in summer when they’re at their peak.
I’ve made this for brunch, for 4th of July celebrations, and honestly just for a quiet Sunday with a pot of coffee. It works every time. Let me walk you through it.
Ingredients You’ll Need
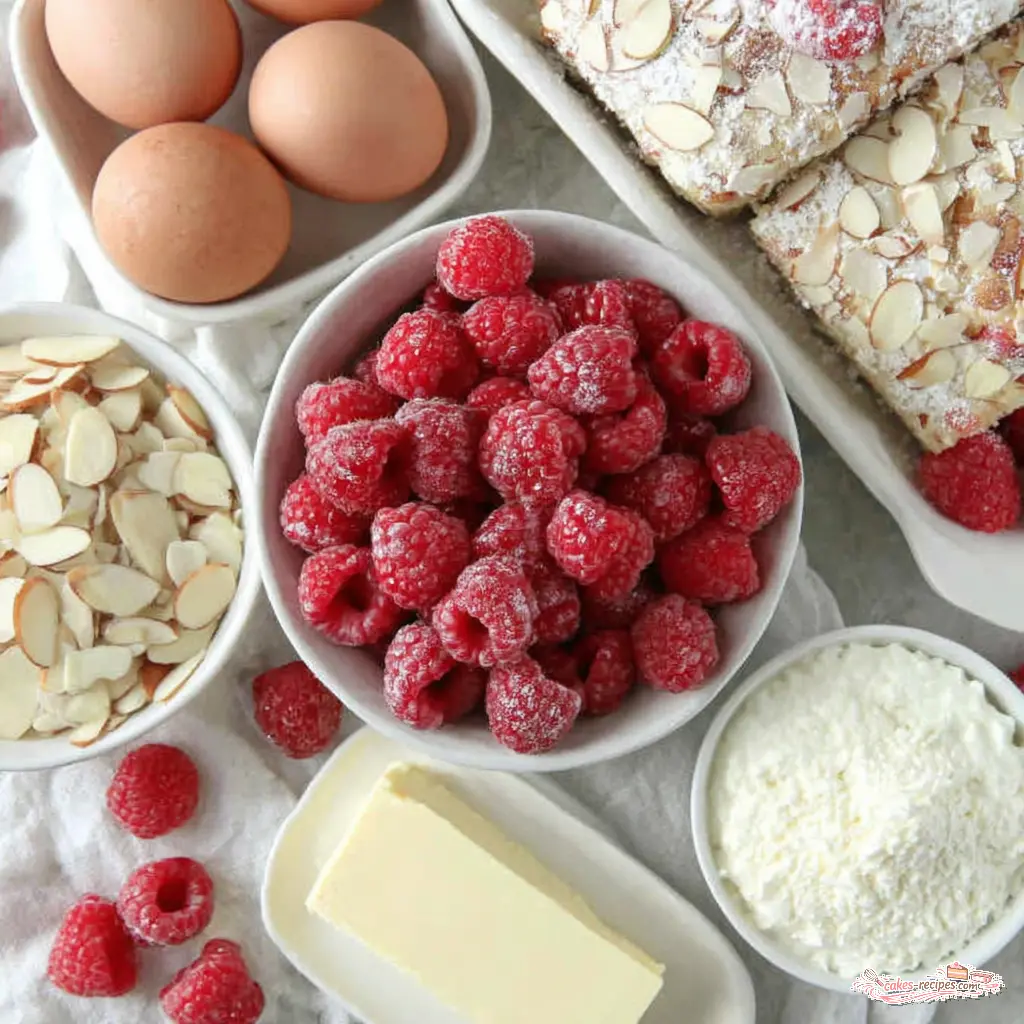
The beauty of this recipe is that most of these ingredients are probably already in your kitchen. The few special ones are worth tracking down. Here’s what you’re working with:
For the batter: eggs, granulated sugar, unsalted butter, sour cream, vegetable oil, fresh lemon juice, baking powder, and all-purpose flour. That’s it. No buttermilk, no yogurt, no fuss. The sour cream is doing heavy lifting here it adds moisture and a subtle tang that balances the sweetness. The lemon juice brightens everything up and helps the raspberries pop.
For the cream cheese layer: just cream cheese and sugar. Two ingredients, one incredible layer. Make sure your cream cheese is properly softened, or you’ll end up with lumps. Trust me, I’ve made that mistake and spent ten minutes trying to smooth out cold cream cheese.
For the topping: fresh raspberries and sliced almonds. I use about 10 ounces of raspberries total, and I reserve a handful to dot on top before baking. The almonds add that crucial crunch. If you want to toast them first, go for it it deepens the flavor beautifully.
One note on the raspberries: fresh is ideal, especially in summer when they’re sweet and firm. But frozen works perfectly too, and I’ll tell you exactly how to handle them in the tips section.
Step-by-Step Instructions
Let me walk you through the process. I’ll explain the why behind each step so you understand what’s happening. It’s not just about following directions it’s about knowing what to look for.
1. Prep Your Pan and Oven
Start by preheating your oven to 375°F. Line the bottom of a 10-inch springform pan with parchment paper, then close the latch. Butter the sides and bottom generously. I know it seems like a small thing, but that parchment paper is your insurance policy. When you release the sides of the springform pan, the cake lifts right off the bottom without sticking. Worth every second.
Why a springform pan? It makes slicing and serving so much easier. You get clean edges and a beautiful presentation. A 9×9 square pan works in a pinch, but the baking time will need adjusting.
2. Make the Batter
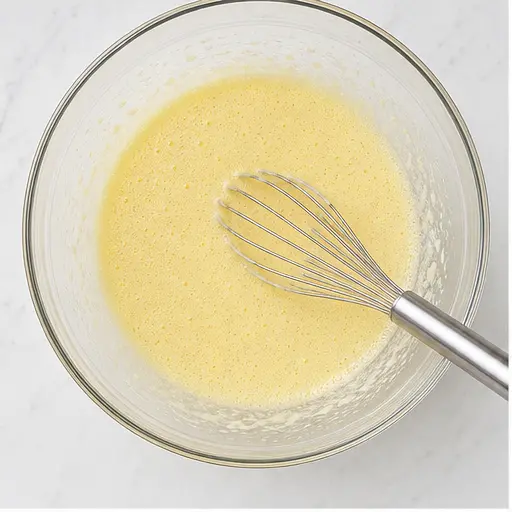
In a large bowl, beat the eggs, granulated sugar, and softened butter together for about 2 minutes until light and creamy. This is where the magic starts. The sugar crystals cut into the butter, creating tiny air pockets that will expand in the oven. Don’t rush this step. Set a timer if you have to. You want the mixture to look pale and fluffy, like a soft cloud.
In a separate bowl, whisk together the sour cream, vegetable oil, and lemon juice until smooth. This mixture will be thin and glossy. Add it to the egg mixture and stir briefly just until combined. No need to overwork it here.
In another bowl, stir the flour and baking powder together. Gradually add half of the flour mixture to the wet ingredients, mixing just until incorporated. Repeat with the remaining flour. Here’s the crucial part: stop mixing as soon as you don’t see dry flour anymore. Overmixing develops gluten, and too much gluten means a dense, tough cake. We want tender, not tough.
The batter will be thick and pale. That’s exactly what you want. A thick batter holds the raspberries and cream cheese layer in place, preventing them from sinking to the bottom.
3. Make the Cream Cheese Layer
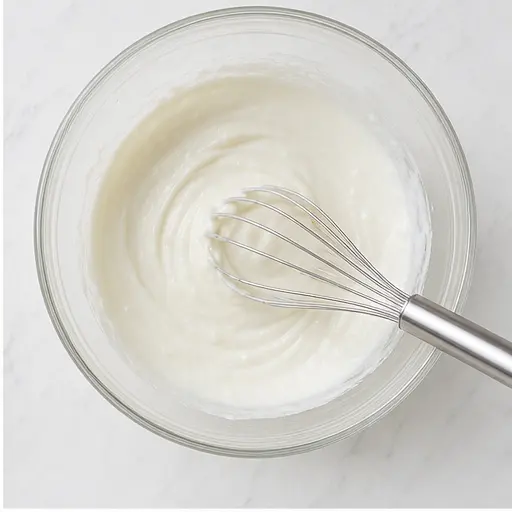
In a small bowl, beat the softened cream cheese and 1/3 cup sugar together until smooth and creamy. This takes about a minute with a hand mixer, or two minutes by hand with a whisk. You want it completely smooth, no lumps. If your cream cheese is at room temperature, this is effortless. If it’s cold, you’ll be fighting with it.
This layer is what makes this coffee cake special. It adds richness and a subtle tang that pairs beautifully with the tart raspberries and sweet cake. It’s like finding a hidden treasure in every slice.
4. Assemble and Bake
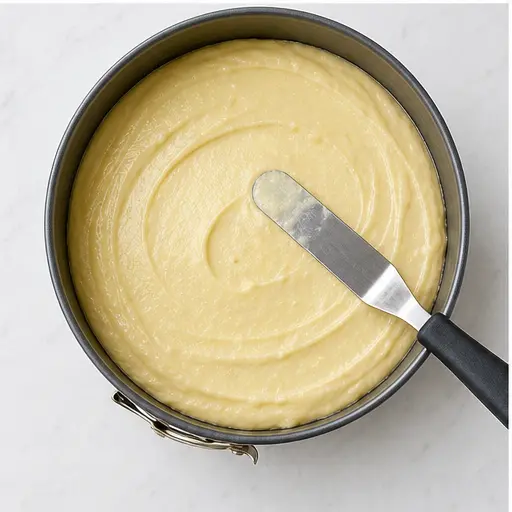
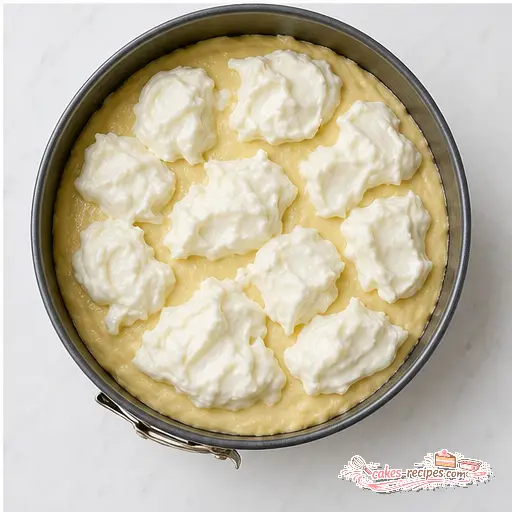
Spread about three-quarters of the cake batter evenly into the prepared springform pan. It will be a thick layer, and that’s fine. Dollop the cream cheese mixture over the batter and gently spread it into an even layer. Don’t worry if it mixes a little with the batter that’s part of the charm.
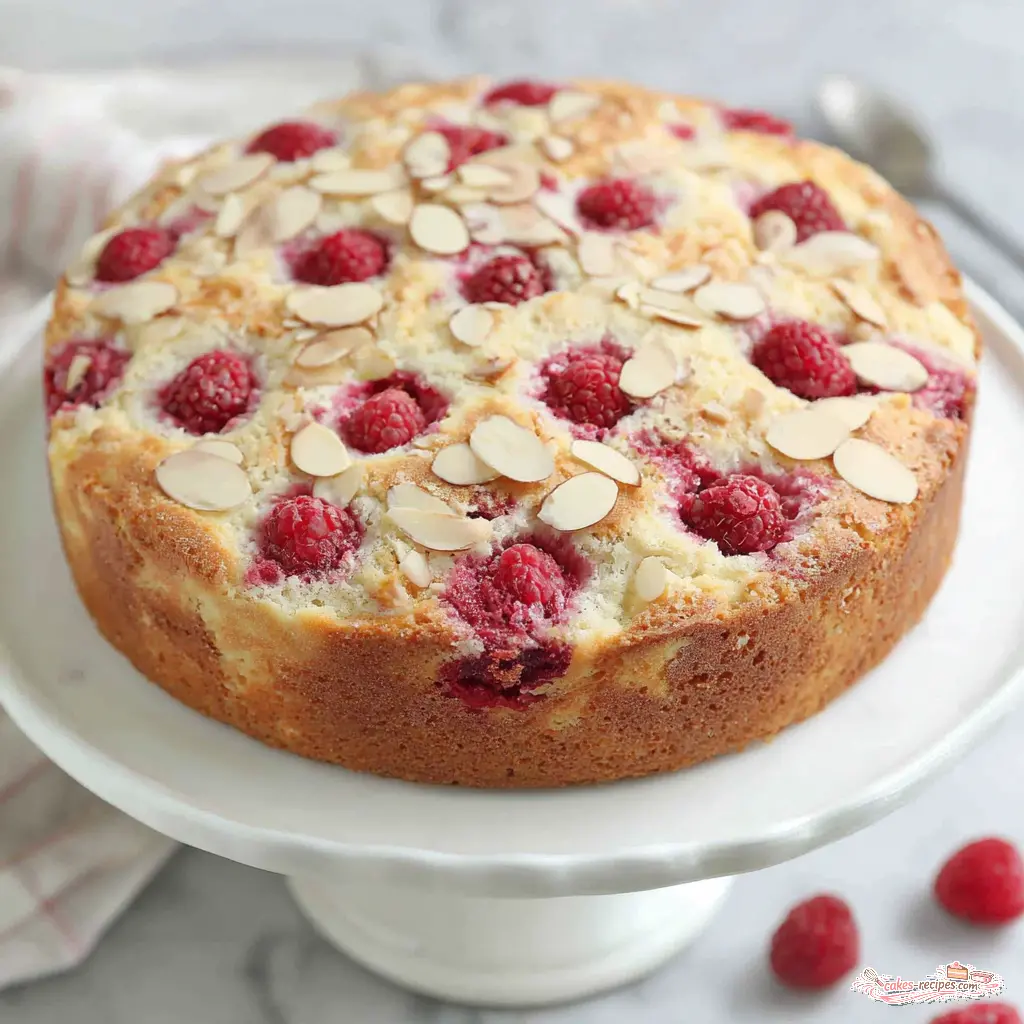
Scatter about 6 ounces of the raspberries over the cream cheese layer, pressing them down lightly. Spoon the remaining batter over the raspberries and spread it gently to cover. Sprinkle the sliced almonds evenly over the top, then dot with the remaining raspberries, pressing them in slightly. I like to halve some of the top raspberries for a prettier look.
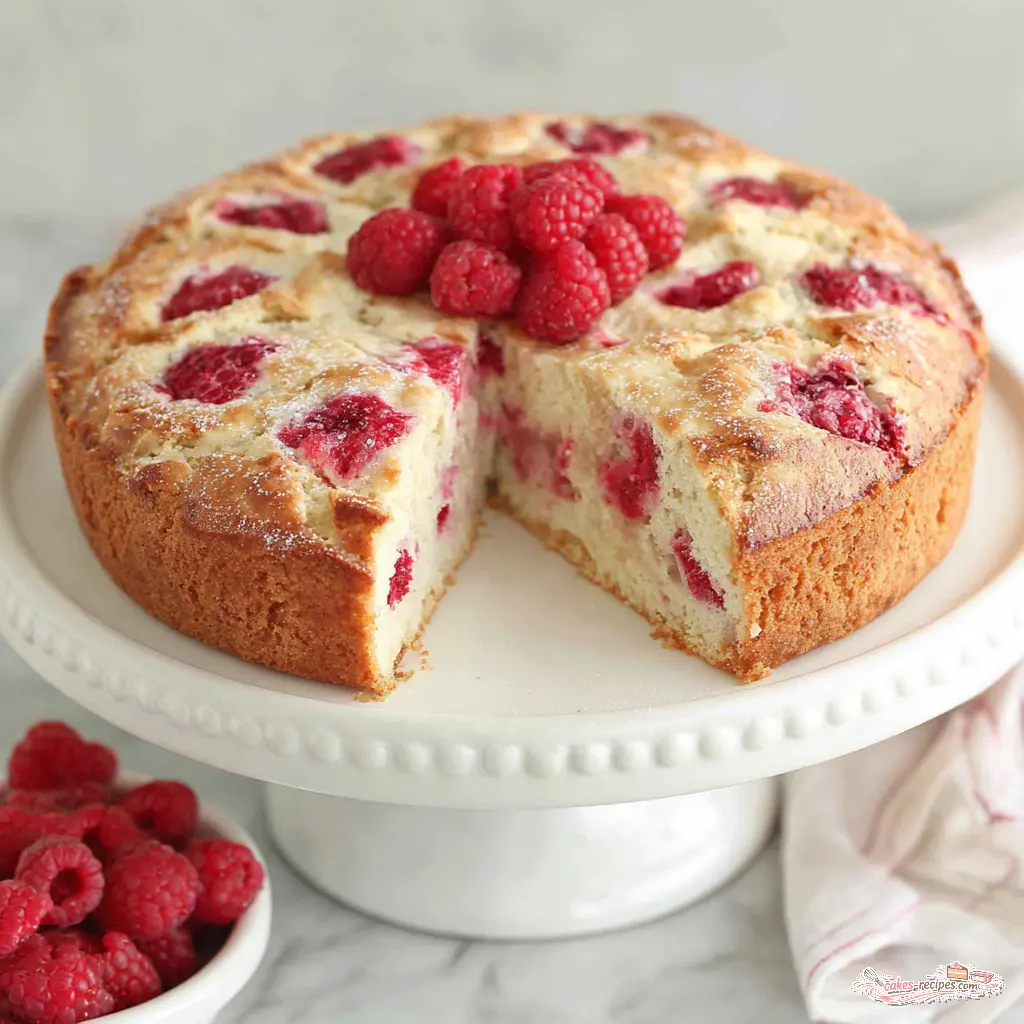
Bake for 40 to 50 minutes, until the top is golden and a toothpick inserted into the center comes out clean. The edges should be pulling away from the pan slightly, and the top should be a beautiful golden brown. Let the cake cool completely in the pan on a wire rack. I know it’s tempting to cut into it warm, but the structure needs time to set. Patience pays off here.
Once cooled, dust the top with powdered sugar. Slice and serve with your favorite coffee or tea.
Recipe Tips for Success
Over the years, I’ve learned a few things that make this recipe foolproof. Here are the most important ones:
- Room temperature ingredients matter. Eggs, butter, sour cream, and cream cheese all need to be at room temperature. Cold ingredients don’t emulsify properly, and you’ll end up with a lumpy batter. Take everything out of the fridge an hour before you start baking.
- Don’t overmix the batter. I said it before, but it’s worth repeating. Mix just until the flour disappears. A few small lumps are fine. Overmixing develops gluten and makes the cake tough.
- Use frozen raspberries straight from the freezer. If you’re using frozen berries, do not thaw them first. Thawed berries release too much moisture and will make the cake soggy. Frozen berries straight from the bag work perfectly. Just toss them with a tablespoon of flour before adding to prevent sinking.
- The batter is supposed to be thick. Don’t panic when you see how thick it is. That thickness is what keeps the cream cheese layer and raspberries suspended in the cake instead of sinking to the bottom.
- Test for doneness properly. Insert a toothpick into the center of the cake. If it comes out clean or with a few moist crumbs, it’s done. If there’s wet batter on it, give it another 5 minutes and check again. The top should be golden brown and the edges should be pulling away from the pan.
Variations and Substitutions
This recipe is adaptable, and I’ve tried quite a few variations over the years. Here are some that work well:
- Nut-free version: Omit the sliced almonds and add an extra 1/4 cup of raspberries. The cake is still delicious without the crunch.
- Gluten-free option: Use a 1:1 gluten-free flour blend. I’ve tested this with Bob’s Red Mill and King Arthur brands, and both work well. The texture will be slightly different, but still tender and moist.
- Dairy-free version: Use non-fat Greek yogurt instead of sour cream. Note that the fat content affects flavor and tenderness, so the cake won’t be quite as rich, but it’s still good.
- Other berries: Blueberries, blackberries, or a mix of all three work beautifully. Adjust the sugar slightly if using very tart berries.
- Add a streusel topping: If you want extra crunch, make a simple streusel with 1/4 cup flour, 1/4 cup brown sugar, and 2 tablespoons cold butter. Sprinkle it over the almonds before baking.
Storage and Freezing
This cake keeps surprisingly well. Here’s how to store it:
- At room temperature: Cover loosely with foil or a cake dome and store for up to 2 days. The sour cream and oil keep it moist.
- In the refrigerator: Store covered in the fridge for up to 5 days. Let slices come to room temperature before serving for the best texture.
- To freeze: Wrap the cooled cake tightly in plastic wrap, then place in a freezer-safe bag. Freeze for up to 3 months. Thaw at room temperature for a few hours or overnight in the fridge.
- To reheat: Warm individual slices in the microwave for 10-15 seconds for a fresh-from-the-oven feel. Or reheat in a 300°F oven for about 10 minutes.
One thing I’ve learned: don’t dust with powdered sugar until just before serving. It absorbs moisture and disappears if you do it ahead of time.
Frequently Asked Questions
I hope you love this raspberry almond coffee cake as much as I do. It’s become my go-to for summer brunches, holiday gatherings, and those quiet mornings when I want something special with my coffee. Slice it up, pour a cup of your favorite brew, and enjoy the praise. You’ve earned it.
If you make this recipe, I’d love to hear how it turns out. Share your photos and tag me nothing makes me happier than seeing someone else fall in love with a recipe. And if you’re looking for more inspiration, follow me on Pinterest for more coffee cake recipes, brunch ideas, and seasonal baking inspiration.
Raspberry Almond Coffee Cake
Ingredients
Method
- Preheat your oven to 375°F. Line the bottom of a 10-inch springform pan with parchment paper, then close the latch. Butter the sides and bottom of the pan generously.
- In a large bowl, beat the eggs, granulated sugar, and softened butter together for about 2 minutes until light and creamy.
- In a separate bowl, whisk together the sour cream, vegetable oil, and lemon juice until smooth. Add this mixture to the egg mixture and stir briefly to combine.
- In another bowl, stir the flour and baking powder together. Gradually add half of the flour mixture to the wet ingredients, mixing just until incorporated. Repeat with the remaining flour, being careful not to overmix.
- In a small bowl, beat the softened cream cheese and 1/3 cup sugar together until smooth and creamy.
- Spread about three-quarters of the cake batter evenly into the prepared springform pan. Dollop the cream cheese mixture over the batter and gently spread it into an even layer.
- Scatter about 6 ounces of the raspberries over the cream cheese layer, pressing them down lightly.
- Spoon the remaining batter over the raspberries and spread it gently to cover. Sprinkle the sliced almonds evenly over the top, then dot with the remaining raspberries, pressing them in slightly (you can halve them first for a prettier look).
- Bake the cake for 40 to 50 minutes, until the top is golden and a toothpick inserted into the center comes out clean. Let the cake cool completely in the pan on a wire rack.
- Once cooled, dust the top with powdered sugar. Slice and serve with your favorite coffee or tea.
Nutrition
Notes
Tried this recipe?
Let us know how it was!Source: Nutritional Information