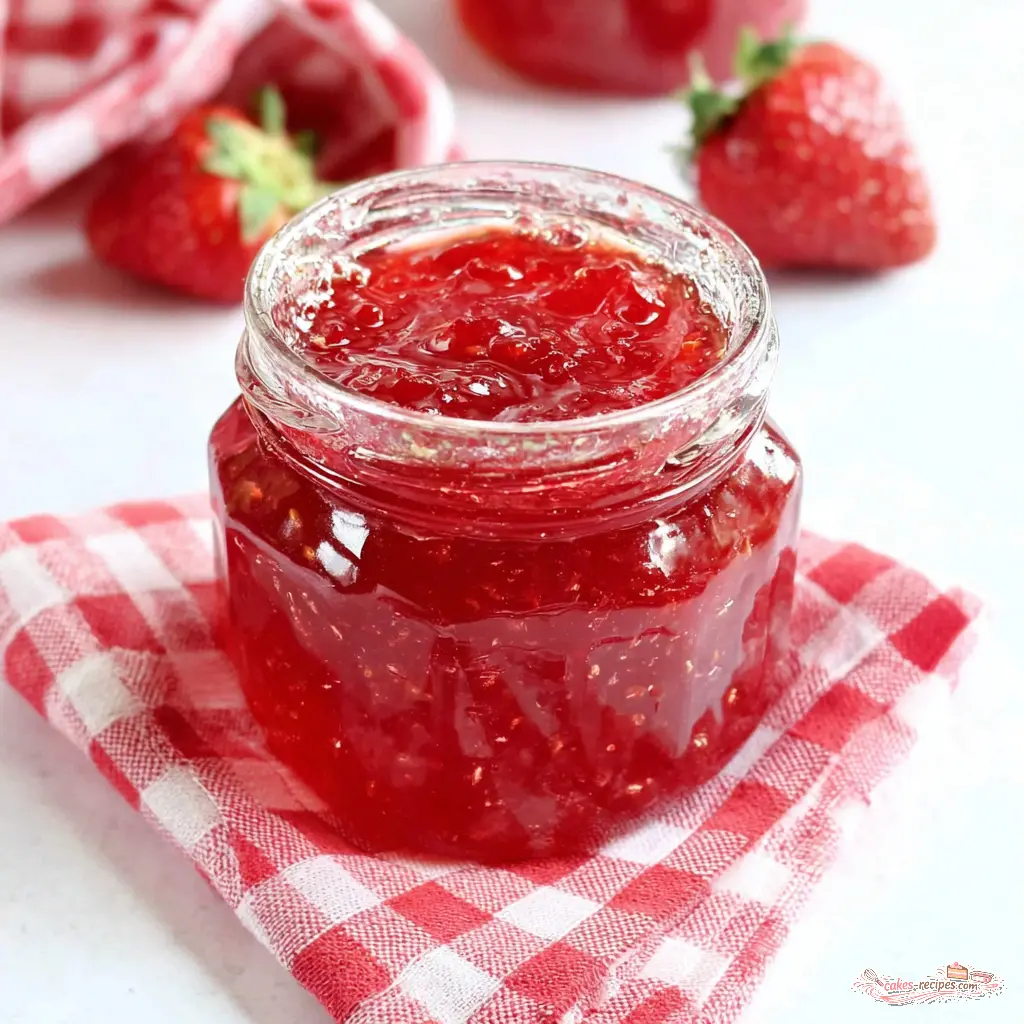
Why This Strawberry Jam Recipe Works
You know that moment at the farmers’ market when you see a flat of perfect strawberries, and you just can’t resist? Then you get them home and realize you’ve got about eight cups of berries that need to be used, like, yesterday. That’s exactly why I developed this strawberry jam recipe. It’s the one I turn to every summer when the market bags start overflowing.
This isn’t some fussy, complicated project. It’s a straightforward, easy strawberry jam that delivers that bright, sweet taste of summer in every spoonful. I’ve tested it more times than I can count (my family has eaten jam on everything from toast to ice cream to, yes, straight from the jar), and it works every single time. The secret? A few key techniques that make all the difference between a perfect set and a syrupy mess.
Let me walk you through why this recipe is different. It uses a precise ratio of fruit to sugar, just the right amount of pectin for a reliable set, and a splash of lemon juice to brighten the flavor and help the pectin do its job. Plus, it’s a small batch strawberry jam recipe, so you’re not committing to a year’s supply on your first try. That’s what I love about it. It’s totally fixable if something goes wrong, and the results are beautiful.
Worried about it not setting? You’re not alone. I once had a batch that turned into strawberry syrup. Here’s what I learned: the thermometer and the cold plate test are your friends. We’ll cover all of that. But first, let’s talk about what you need.
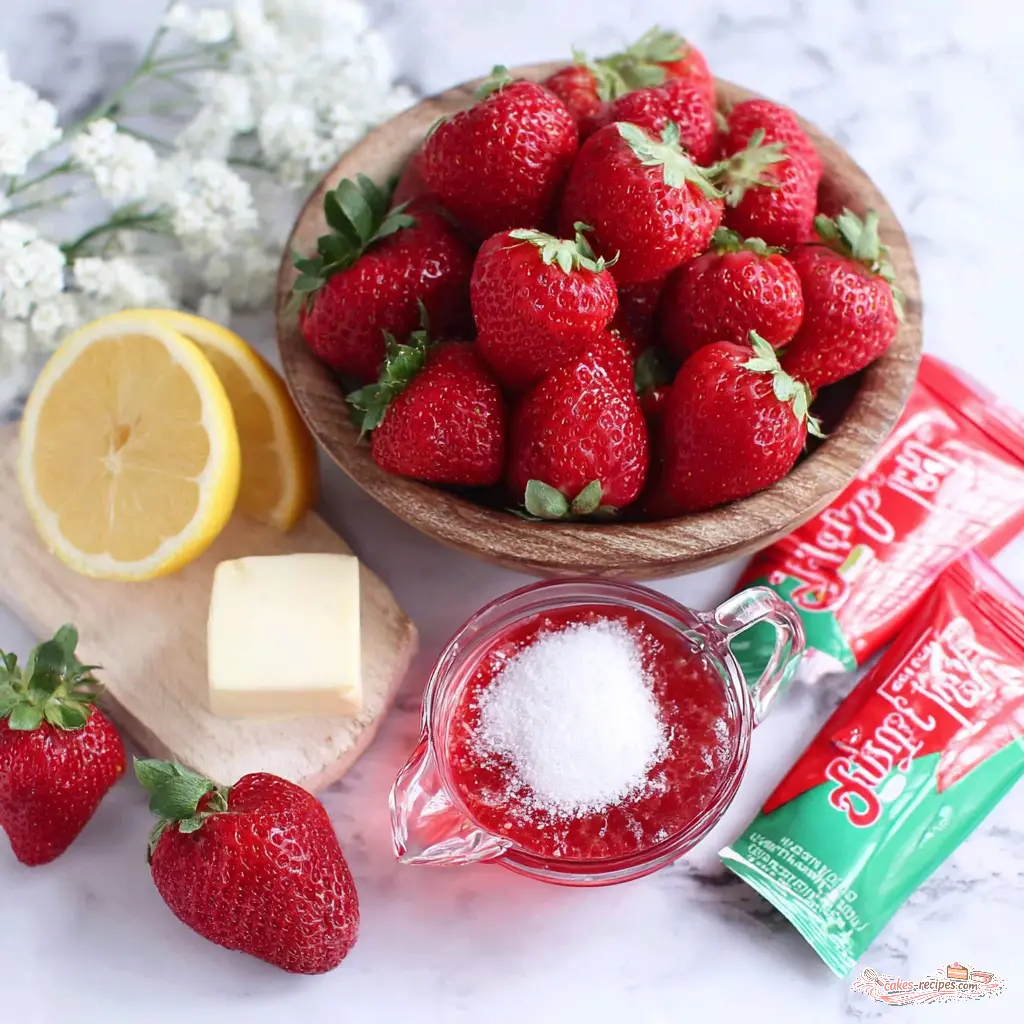
Ingredients for Strawberry Jam
The beauty of this homemade strawberry jam is the short ingredient list. Five simple things, and you’re on your way. But each one plays a specific role. Let me break it down.
- Fresh strawberries: You need 5 cups of crushed berries, which comes from about 8 cups of whole ones. That’s roughly four of those 16-ounce containers from the store. Look for berries that are deep red, fragrant, and fully ripe. The best strawberries for jam are the ones that smell like strawberries, you know? That sweet, almost floral scent.
- Granulated sugar: This is a 7-cup situation. I know, it sounds like a lot. But sugar does more than just sweeten. It’s a preservative, and it helps the pectin gel properly. Don’t try to reduce it drastically unless you’re using a special low-sugar pectin. We’ll talk about that.
- Sure-Jell premium fruit pectin: This is the standard pectin you’ll find at any grocery store. One 1.75-ounce packet is all you need. Pectin is the natural fiber that makes jam gel. With commercial pectin, the process is foolproof if you follow the timing.
- Fresh lemon juice: Two tablespoons. The acid in the lemon juice helps activate the pectin and also brightens the jam’s flavor. It’s a small addition with a big impact.
- Unsalted butter (optional): Half a teaspoon. This is my secret weapon. It helps reduce foaming during cooking, which means less scum to skim off later. Totally optional, but worth the extra step.
That’s it. No complicated spices, no unusual ingredients. Just the basics for a classic strawberry jam recipe.
How to Make Strawberry Jam
I’m going to walk you through the four main stages of making this jam. Think of these as the big picture steps. The detailed instructions are in the recipe card below, but here’s the why behind each stage.
Stage 1: Prepare the Jars and Equipment
This is the part that feels like a lot of work, but it’s absolutely critical. You need to sterilize your jars to prevent bacteria from spoiling your hard work. Wash everything in hot, soapy water, then keep the jars warm in simmering water. The lids go in a separate pan of warm water. This temperature shock prevention is key. If you pour hot jam into a cold jar, the glass can crack. I learned that the hard way.
Stage 2: Make the Jam
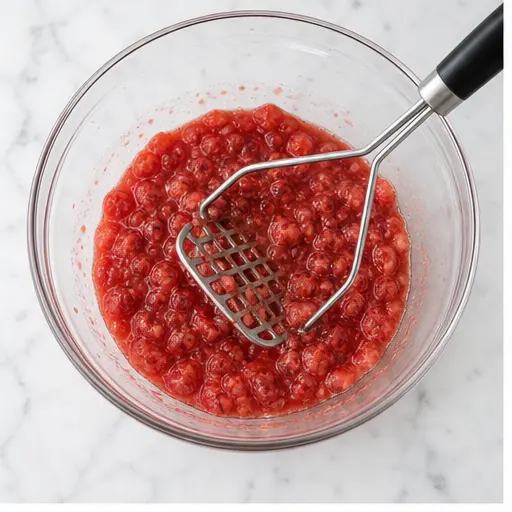
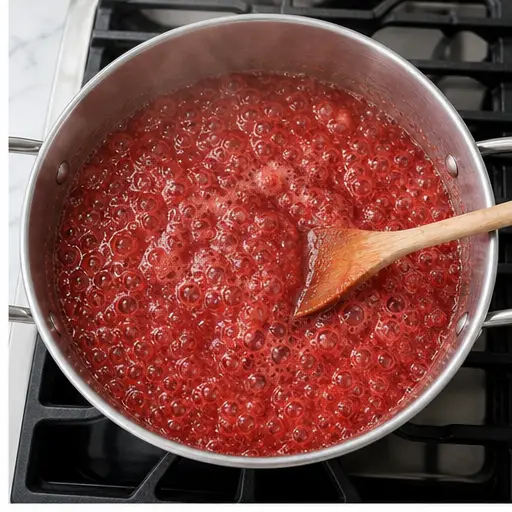
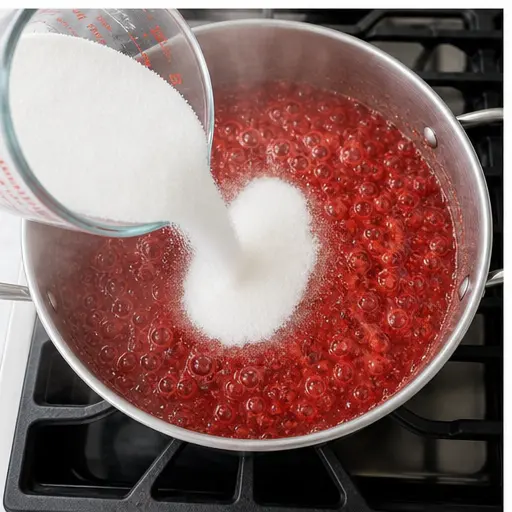
Start by crushing your strawberries. I use a potato masher in a large bowl or baking dish. You want a mix of smooth puree and small chunks. That’s the texture that makes homemade strawberry preserves so special. Then you transfer the crushed berries to a large stockpot. Stir in the pectin, lemon juice, and butter. This is where the magic starts. Bring it to a full rolling boil over high heat. That means bubbles cover the entire surface, and you can’t stir them down. Then add all the sugar at once. Stir constantly, and boil for exactly one minute. That’s the precise timing for the pectin to set.
Stage 3: Fill and Process the Jars
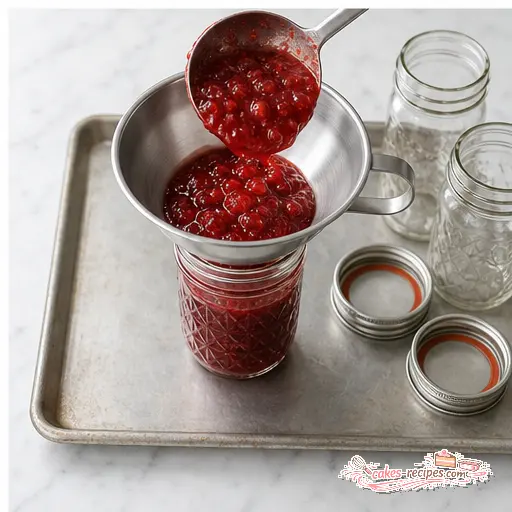
Working quickly but carefully, remove a jar from the hot water. Use a canning funnel to ladle in the hot jam, leaving a quarter-inch of headspace at the top. Wipe the rim clean. A clean rim is essential for a good seal. Place a warm lid on top, then screw on the band until it’s just snug. Don’t overtighten. Then lower the jars into the water bath canner. The water needs to cover them by at least an inch. Process for the time appropriate for your altitude. For most of us at sea level, that’s 10 minutes.
Stage 4: Check Seals and Store
After processing, let the jars sit in the water for 5 minutes, then remove them to a towel-lined counter. As they cool, you’ll hear the satisfying pop of the lids sealing. That sound never gets old. After 12 to 24 hours, press the center of each lid. If it doesn’t pop back, you’ve got a perfect seal. If it does pop back, refrigerate that jar and use it within a month. Let the jam set for a full 24 to 48 hours before you dig in. It continues to thicken as it cools.
Tips for Perfect Strawberry Jam
I’ve made enough jam to fill a small swimming pool, and I’ve made every mistake in the book. Here’s what I’ve learned so you don’t have to.
Common Mistakes and How to Fix Them
❌ Mistake: Not stirring frequently enough, causing the jam to burn.
✅ Solution: Stir constantly, especially once the sugar is added. A wooden spoon is your best friend here. The sugar can scorch quickly on the bottom of the pot.
❌ Mistake: Overcooking or undercooking, leading to a runny or stiff texture.
✅ Solution: Use a candy thermometer. The jam is ready when it reaches 220°F at sea level. Or use the cold plate test: put a small spoonful on a chilled plate, let it sit for 30 seconds, then push it with your finger. If it wrinkles, it’s done.
❌ Mistake: Not testing for set before canning.
✅ Solution: Always, always test. It’s easier to cook a runny jam a little longer than to fix a jar that didn’t set.
❌ Mistake: Using too much or too little pectin.
✅ Solution: Stick to the recipe. For this strawberry jam recipe, one packet of Sure-Jell is exactly right for 5 cups of crushed fruit and 7 cups of sugar.
More tips to ensure success:
- Choose the right strawberries: Look for berries that are red and fragrant. Underripe berries have less natural pectin and less flavor.
- Stir frequently: I can’t emphasize this enough. The high sugar content means jam can burn easily. Keep that spoon moving.
- Use a potato masher: It gives you the perfect consistency. You want some chunks for texture, not a completely smooth puree.
- Sterilize your jars: This prevents bacteria. Don’t skip this step, even for refrigerator jam.
- Jam too thin? Keep simmering, or use the cold plate test to check if it’s reached the set point.
- Skim the foam: The butter helps reduce it, but you’ll still have some. A metal spoon works perfectly.
Strawberry Jam Variations
Once you’ve mastered this easy strawberry jam recipe, you can start playing around. The base recipe is perfect, but here are a few ways to change it up. Remember, these are optional additions, not part of the original recipe.
- Add lemon zest: For an extra lemony kick, add the zest of one lemon along with the juice. It brightens the flavor beautifully.
- Fresh herbs: Try adding a sprig of fresh basil, mint, or thyme while the jam cooks. Remove it before canning. The subtle herbal notes are amazing with strawberries.
- Rose water: A teaspoon of rose water added at the end gives a lovely floral element. It’s a classic combination.
- Other berries: You can swap half the strawberries for blackberries, raspberries, or blueberries. The process is the same.
- Rhubarb: Add a cup of chopped rhubarb along with the strawberries. It adds a nice tartness.
- Low sugar strawberry jam: If you want to reduce the sugar, you need to use a no-sugar-needed pectin like Pomona’s. Follow the instructions on that package, as the ratios are different.
How to Store Strawberry Jam
This is where things get practical. You’ve made a beautiful batch of homemade strawberry jam, and now you need to keep it that way.
Water bath canning: This is the method in the recipe. Properly sealed jars will keep in a cool, dark pantry for up to one year. Once opened, refrigerate and use within one month. Always label your jars with the date and type of jam.
Refrigerator strawberry jam: If you don’t want to go through the canning process, you can simply pour the hot jam into clean jars, let them cool, and store them in the refrigerator. It will keep for about 2 to 3 weeks. This is perfect for a small batch you plan to eat quickly.
Freezer jam: You can also freeze the jam in freezer-safe containers for up to one year. Leave a little headspace for expansion. Thaw in the refrigerator overnight before using.
What if a jar doesn’t seal? Don’t panic. Just put that jar in the refrigerator and use it within a month. It’s still delicious. You can also reprocess it with a new lid, but I usually just enjoy it as refrigerator jam.
Frequently Asked Questions
More Strawberry Recipes to Try
If you love this strawberry jam recipe, you might enjoy some other ways to use up that summer bounty. I’ve got a fantastic strawberry shortcake recipe that uses fresh berries, and a simple strawberry sauce that’s perfect over ice cream or pancakes. But honestly, this jam is the one I make most often. It’s the gift I give to friends and neighbors, the treat I save for winter mornings when I need a taste of summer.
I hope you give this recipe a try. It’s one of those things that feels like a real accomplishment, and the results are so rewarding. The scent of strawberries cooking down on the stove is pure nostalgia. And that first spoonful of your own homemade jam? There’s nothing like it.
You’ve got this. Your toast is waiting.
If you try this recipe, I’d love to hear about it. And if you’re looking for more inspiration, come follow me on Pinterest where I share all my favorite summer recipes.
Classic Homemade Strawberry Jam Recipe
Ingredients
Method
- Wash jars, lids, and bands in hot soapy water, then rinse and dry completely. Set bands aside.
- Place lids in a small saucepan of warm water and keep them over low heat until ready to use.
- Keep jars warm by simmering them in a pot of hot water (do not boil) until filling time.
- Fill a 20-quart stockpot or water bath canner with enough hot water to cover jars by at least 1 inch. Set over medium-high heat.
- In a large bowl or shallow baking dish, crush strawberries with a potato masher until you have a smooth but slightly chunky consistency.
- Transfer crushed berries to an 8-quart stockpot. Stir in pectin, lemon juice, and butter. Place over high heat and stir constantly with a wooden spoon until mixture reaches a full rolling boil that cannot be stirred down.
- Add sugar all at once, stirring constantly. Return to a full rolling boil and boil for exactly 1 minute, stirring continuously.
- Remove from heat. Using a metal spoon, skim off any foam that has risen to the top.
- Working one jar at a time, remove a jar from hot water and place on a rimmed baking sheet. Set a canning funnel on the jar and ladle in the hot jam, leaving 1/4 inch headspace. Wipe the rim and threads clean with a damp cloth.
- Repeat until all jars are filled.
- Using a magnetic lid lifter, place a warm lid on each jar. Screw on bands until just snug (do not overtighten).
- Place filled jars on the rack in the canner and lower into the hot water. Ensure water covers jars by at least 1 inch, adding more hot water if needed.
- Cover the pot and bring to a gentle boil. Once boiling, process for the time appropriate for your altitude: 10 minutes for 0–1,000 feet, 15 minutes for 1,001–3,000 feet, 20 minutes for 3,001–6,000 feet, 25 minutes for 6,001–8,000 feet, and 30 minutes for above 8,000 feet.
- Turn off heat, remove the lid, and let jars sit in the water for 5 minutes. Then lift the rack, carefully remove jars with a jar lifter, and place them on a folded towel to cool completely.
- As jars cool, the lids will pop down, indicating a proper seal. After 12–24 hours, press the center of each lid; if it does not pop back, the jar is sealed. Refrigerate any unsealed jars and use within a month.
- Allow the jam to set for 24–48 hours before checking consistency. It will continue to thicken as it cools.
Nutrition
Notes
Tried this recipe?
Let us know how it was!Source: Nutritional Information