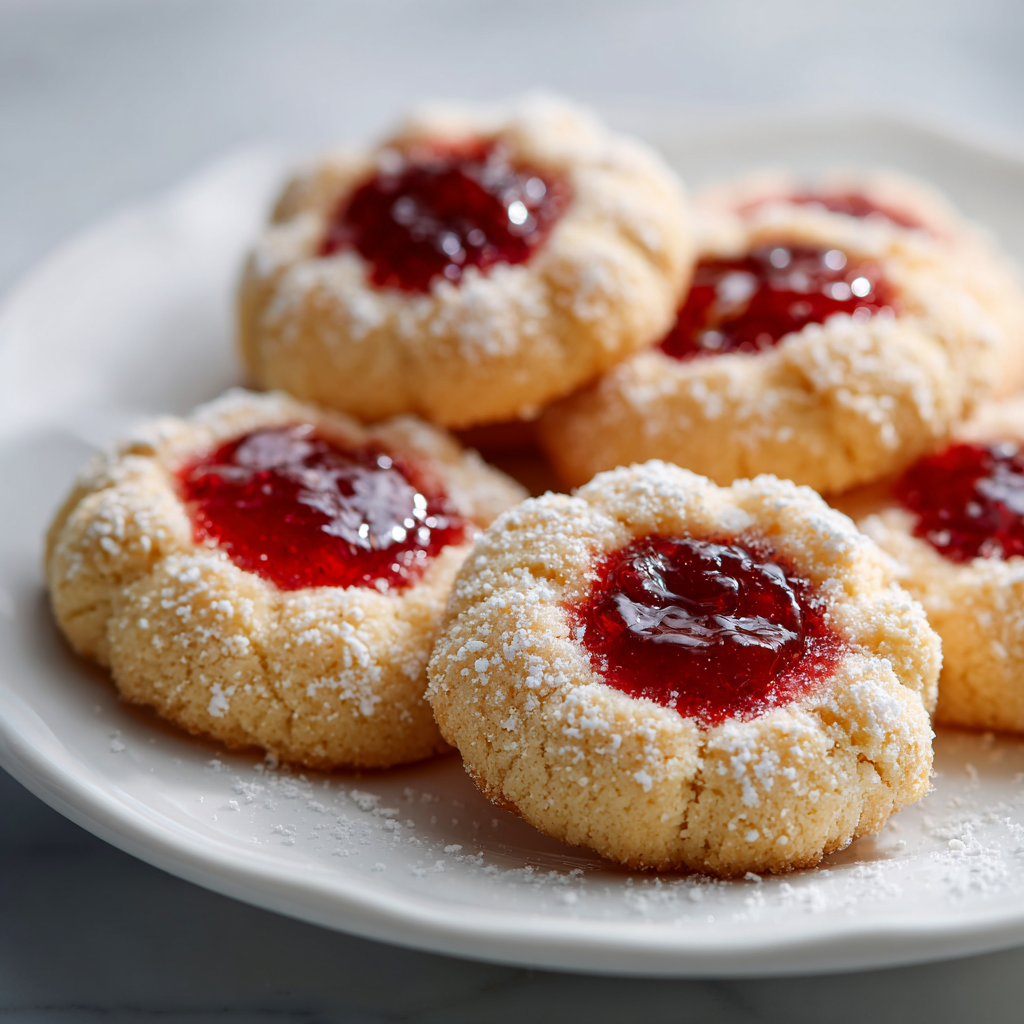
Ever pulled a tray of thumbprint cookies from the oven only to find they’ve turned into flat, jam-less puddles? Me too. That’s why I love this strawberry thumbprint cookie recipe. It’s the one I turn to every summer, especially for our Fourth of July barbecue. The cookies stay soft and buttery, the jam stays right where you put it, and that first bite with a pocket of warm strawberry jam? Pure magic.
I grew up in the back of my family’s panadería on the West Side of San Antonio, watching my abuela make cookies every Saturday. She’d roll the dough with such patience, pressing a perfect little well with her thumb. I thought she was being too careful. When I tried to rush it years later, I understood take your time, and the cookies reward you. This recipe is the one I’ve tested over and over, and it never fails. I promise it’s easier than it looks.
Why These Strawberry Thumbprint Cookies Stand Out
So what makes this strawberry thumbprint cookie recipe different from all the others? For me, it’s the texture. These cookies are soft and chewy, not crumbly like a shortbread. The combination of granulated sugar and brown sugar gives them a depth of flavor that plain sugar cookies just don’t have. And the strawberry jam? Claro que sí, it’s the star.
Here’s the thing about thumbprint cookies they can go wrong so easily. The dough spreads, the jam bubbles over, the cookies turn into sad little puddles. But this recipe is built to avoid all that. The chilling step is non-negotiable, and I’ll tell you why in a minute. The result is a cookie that holds its shape perfectly, with a glossy jewel of jam in the center. And the powdered sugar dusting at the end? That’s the finishing touch that makes them look like you bought them from a bakery.
These are perfect for summer gatherings. I made a batch for our neighborhood potluck last July, and they were gone in minutes. People kept asking for the recipe. And the best part? You don’t need any fancy equipment. Just a mixing bowl, a baking sheet, and your own two hands.
Ingredients You’ll Need
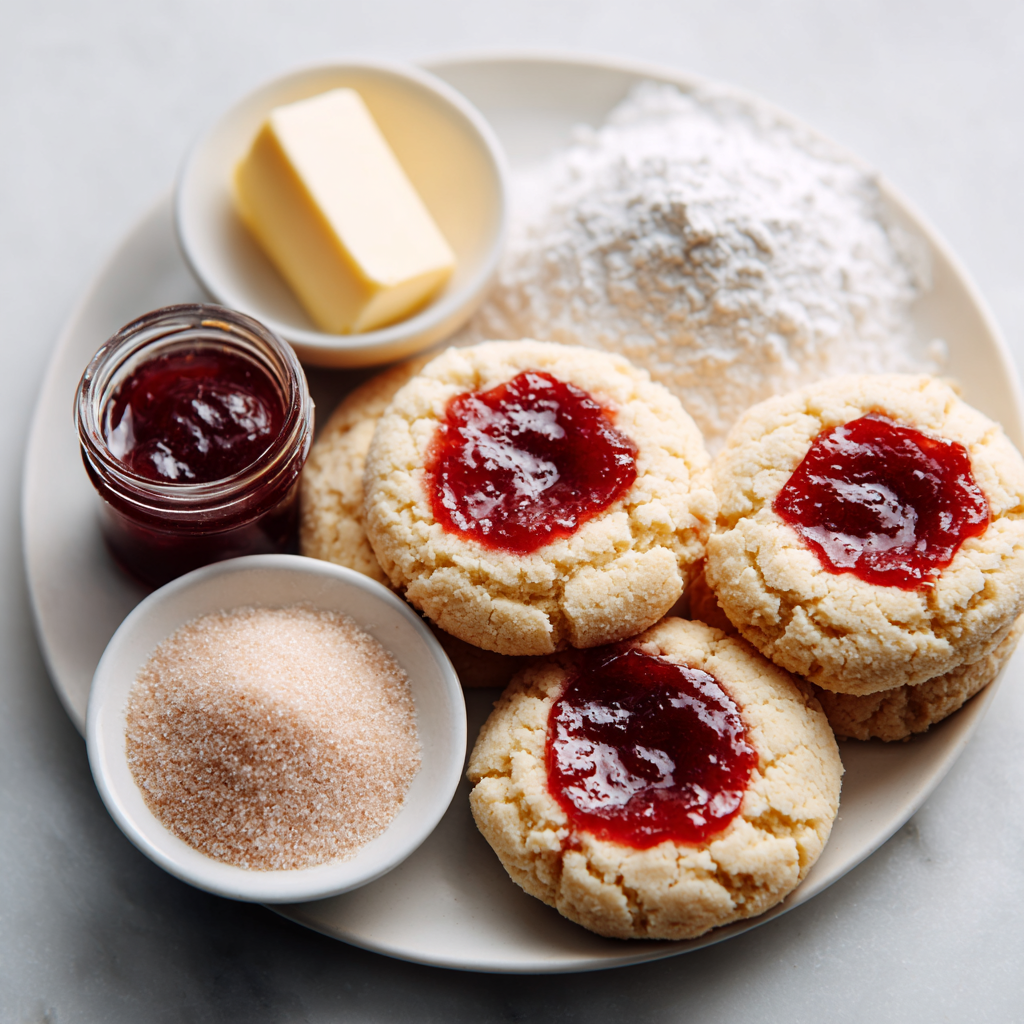
This strawberry thumbprint cookie recipe uses simple ingredients you probably already have in your pantry. That’s the beauty of it no special trips to the store required. Here’s what you’ll need:
For the cookie dough:
- All-purpose flour 2 cups. I like to spoon it into the measuring cup and level it off. Scooping directly can pack the flour and make the cookies dry.
- Granulated sugar 1/2 cup. This gives the cookies their sweetness and helps them spread just the right amount.
- Brown sugar 1/4 cup, packed. This is my secret weapon. It adds moisture and a hint of molasses flavor that makes the cookies soft and chewy.
- Unsalted butter 3/4 cup, softened. Make sure it’s at room temperature, about 70°F. If it’s too cold, the dough won’t cream properly. If it’s too warm, the cookies will spread.
- Baking soda 1/2 teaspoon. Just enough to give the cookies a little lift.
- Salt 1/4 teaspoon. Don’t skip it. Salt balances the sweetness and brings out the flavor of the butter.
- Vanilla extract 1/2 teaspoon. Pure vanilla, not imitation. It makes a difference.
- Egg 1 large, at room temperature. Cold eggs can seize the butter, so let it sit out for 30 minutes first.
For the filling and topping:
- Strawberry jam 1/4 cup. I prefer a good-quality jam from California strawberries. Seedless or with seeds, both work fine. Just avoid jam with big fruit chunks.
- Powdered sugar 1/4 cup, for dusting. This is the finishing touch that makes the cookies look so pretty.
Step-by-Step Instructions
Now let’s get to the fun part. I’ll walk you through each stage of making these strawberry thumbprint cookies. Don’t worry if you’re nervous this dough is forgiving, and I’ve included all my tips to help you succeed.
Stage 1: Make the Dough
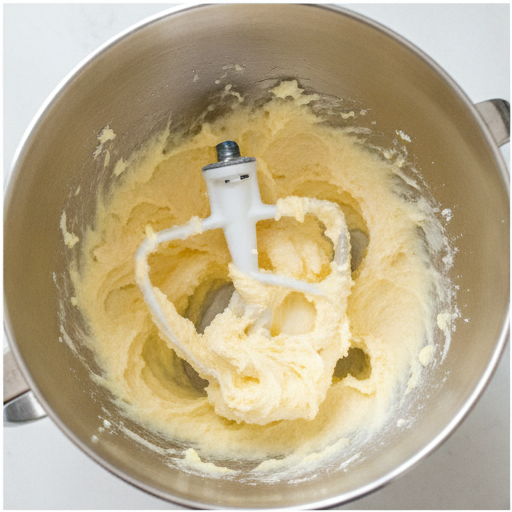
Start by creaming the softened butter with both sugars. In a stand mixer fitted with the paddle attachment, beat them on medium speed until light and fluffy. This takes about 2 minutes. You’ll see the mixture turn pale and airy. That’s exactly what you want. Then add the egg and vanilla extract, and mix until combined. Scrape down the sides of the bowl once or twice.
In a separate bowl, whisk together the flour, baking soda, and salt. Gradually add the dry ingredients to the butter mixture, mixing on low speed until just incorporated. Here’s the key stop as soon as the flour disappears. Overmixing develops the gluten and makes the cookies tough. You want them tender.
Wrap the dough tightly in plastic wrap and refrigerate for 30 to 45 minutes. I know it’s tempting to skip this step, but don’t. Chilling the dough is your secret weapon against spreading. It solidifies the butter, so the cookies hold their shape in the oven.
Stage 2: Prepare the Jam and Preheat
While the dough chills, take your strawberry jam out of the fridge and let it come to room temperature. Cold jam is too thick to spoon into the indentations. Give it a good stir to loosen it up. If it’s still too firm, you can microwave it for 10 seconds. Just be careful not to overheat it.
Preheat your oven to 375°F (190°C). Line two baking sheets with parchment paper. I always use parchment it prevents sticking and makes cleanup a breeze. Plus, it helps the cookies bake evenly.
Stage 3: Shape and Fill the Cookies
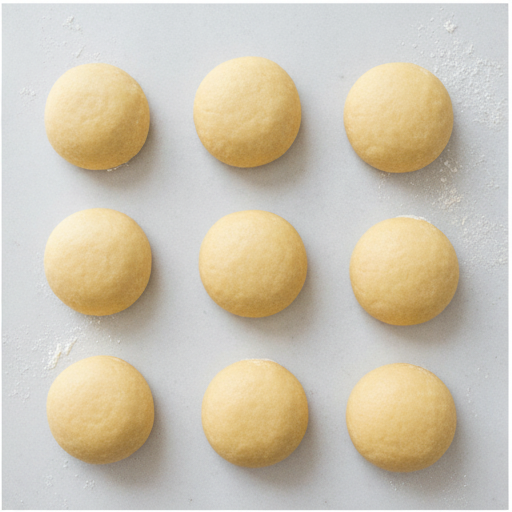
Scoop about 1.5 tablespoons of dough and roll it into a smooth ball. I use a cookie scoop for consistency, but your hands work fine too. Place the balls on the prepared baking sheets, spacing them about 2 inches apart. They’ll spread a little, so give them room.
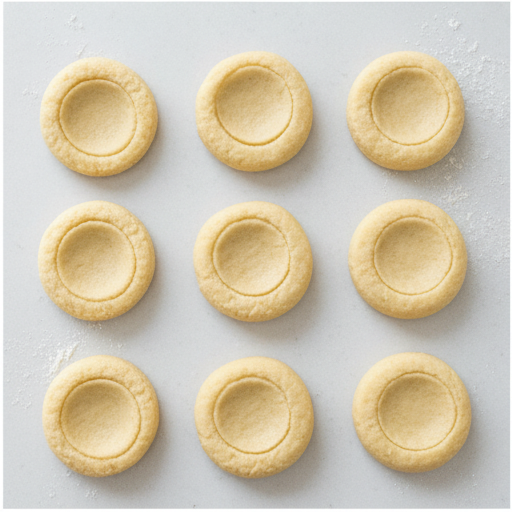
Now for the thumbprint. Using your thumb or the back of a round measuring spoon, gently press an indentation into the center of each dough ball. Be careful not to press all the way through to the bottom. You want a nice deep well, but not a hole. If your first indentation is lopsided, just roll it back into a ball and try again this dough is forgiving.
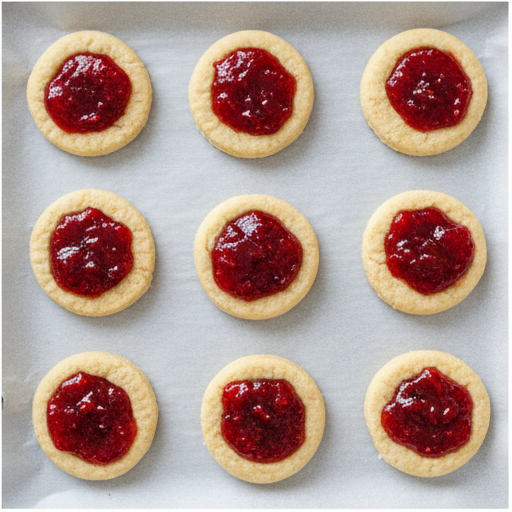
Spoon about 1/2 teaspoon of the jam into each indentation. Don’t overfill it. The jam will bubble and spread a little during baking. A small amount goes a long way. And if a little jam spills over the edge? No te preocupes. It just adds character.
Stage 4: Bake and Finish
Bake the cookies for 9 to 11 minutes, until the edges are lightly golden. The centers will still look soft, but that’s okay. A toothpick inserted into the cookie (avoiding the jam) should come out clean. Every oven is different, so start checking at 9 minutes.
Transfer the cookies to a wire rack and let them cool completely. This is important if you dust them with powdered sugar while they’re still warm, the sugar will melt and disappear. Once they’re cool, dust generously with powdered sugar. The contrast of the white sugar against the red jam is beautiful.
Tips for Perfect Thumbprint Cookies
Over the years, I’ve learned a few things that make this strawberry thumbprint cookie recipe foolproof. Here are my best tips:
- Chill the dough. I said it before, and I’ll say it again. This is the most important step. Chilled dough holds its shape and prevents the cookies from spreading into flat discs.
- Use room temperature ingredients. Cold butter won’t cream properly, and cold eggs can cause the dough to curdle. Let everything sit out for 30 minutes before you start.
- Don’t overfill the indentations. A little jam goes a long way. Too much will bubble over and make a mess. Stick to about 1/2 teaspoon per cookie.
- Use a scale for accuracy. If you have a kitchen scale, weigh your flour. 2 cups of all-purpose flour is about 240 grams. This ensures consistent results every time.
- Never place cookies on a hot cookie sheet. If you’re baking in batches, let the baking sheet cool completely between batches. A hot sheet will melt the dough before it even goes in the oven.
- Roll smooth balls. If your dough balls have cracks, the cookies will crack more during baking. Roll them until they’re smooth and round.
Here are some common mistakes and how to fix them:
❌ Overfilling the indent with jam This causes the jam to bubble over and burn on the baking sheet. ✅ Solution: Use no more than 1/2 teaspoon of jam per cookie. If you’re unsure, use less. You can always add more next time.
❌ Skipping the chill time The cookies will spread too much and lose their shape. ✅ Solution: Refrigerate the dough for at least 30 minutes. If your kitchen is warm, chill it for 45 minutes.
❌ Using a hot cookie sheet The dough melts before it even goes in the oven. ✅ Solution: Let the baking sheet cool completely between batches. Run it under cold water and dry it off if you’re in a hurry.
Storage and Make-Ahead Tips
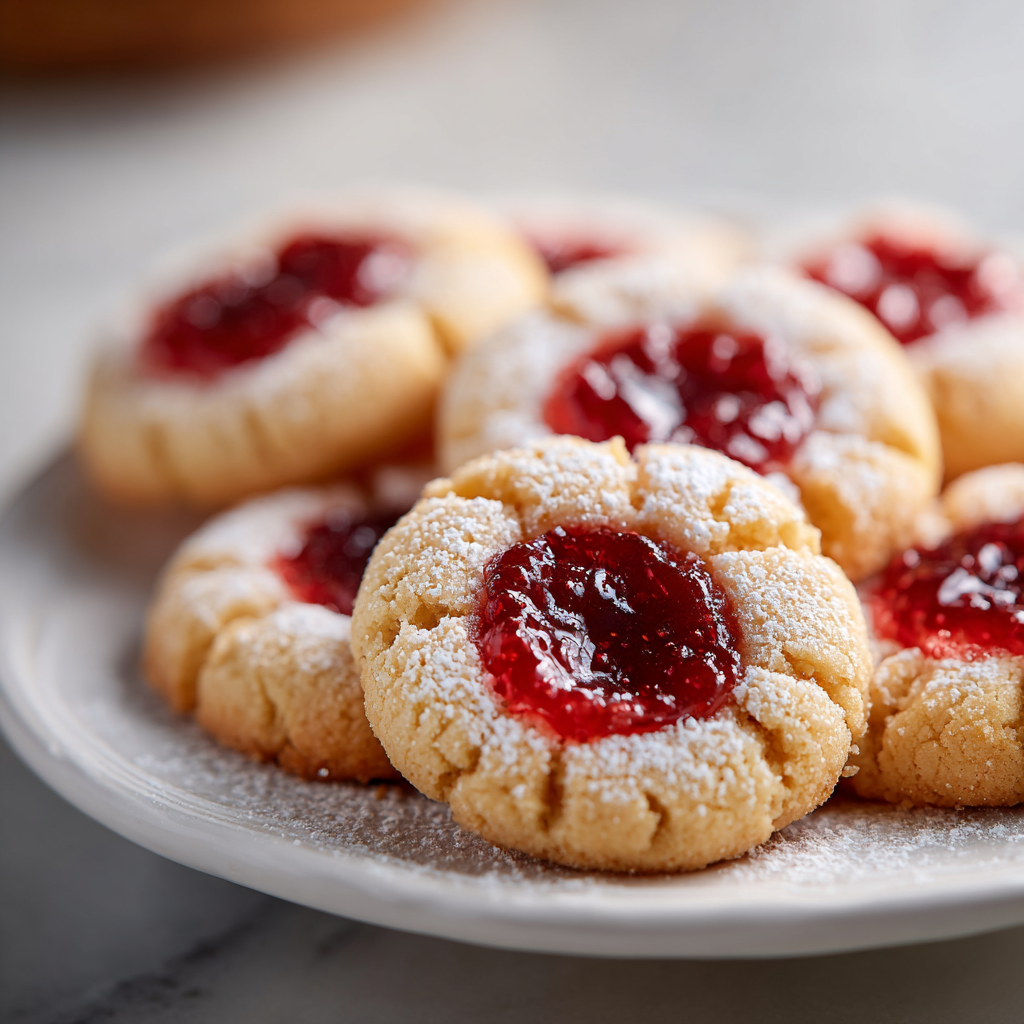
These strawberry thumbprint cookies store beautifully. Here’s how to keep them fresh:
At room temperature: Store the cookies in an airtight container at room temperature for up to 5 days. Layer them with parchment paper between layers to prevent sticking. The jam will stay soft and the cookies will remain tender.
In the refrigerator: You can refrigerate them in a single layer with parchment between layers for up to 5 days. Let them come to room temperature before serving for the best texture.
In the freezer: Freeze the baked cookies in a single layer on a baking sheet, then transfer them to a freezer-safe container. They’ll keep for up to 2 months. Thaw at room temperature before dusting with powdered sugar.
Make-ahead dough: You can prepare the dough and refrigerate it for up to 48 hours before baking. Just wrap it tightly in plastic wrap. When you’re ready to bake, let it sit at room temperature for 10 minutes to soften slightly before rolling. You can also freeze the dough balls for up to 3 months. Bake them straight from frozen, adding 2-3 minutes to the baking time.
To reheat: If you want warm cookies, pop them in a 300°F oven for 5 minutes. They’ll taste freshly baked.
Delicious Variations to Try
This strawberry thumbprint cookie recipe is endlessly adaptable. Here are some of my favorite variations:
- Different jams: Use any flavor of jam or preserves. Raspberry, apricot, blackberry, or mixed berry all work beautifully. Each one gives the cookies a different personality.
- Seedless jam: If you prefer a smoother texture, use seedless strawberry jam. It’s just as delicious and looks a bit more polished.
- Lemon curd: For a tangy twist, fill the indentations with lemon curd instead of jam. The bright citrus flavor pairs perfectly with the buttery cookie.
- Vanilla icing drizzle: Instead of dusting with powdered sugar, drizzle the cooled cookies with a simple vanilla icing. Mix 1/2 cup powdered sugar with 1 tablespoon milk and 1/4 teaspoon vanilla extract. Drizzle over the cookies and let it set.
- Sparkling sugar coating: Before baking, roll the dough balls in sparkling sugar or coarse sanding sugar. It adds a beautiful sparkle and a subtle crunch.
- Gluten-free version: Substitute the all-purpose flour with a 1:1 gluten-free baking flour blend. The cookies will be a bit more delicate, but they’ll still taste amazing.
- Vegan version: Use vegan butter and a flax egg (1 tablespoon ground flaxseed mixed with 3 tablespoons water). The texture will be slightly different, but still delicious.
- Mini thumbprint cookies: Use a smaller scoop (about 1 tablespoon of dough) and reduce the baking time to 7-9 minutes. Perfect for cookie platters or gift boxes.
Frequently Asked Questions
I hope this strawberry thumbprint cookie recipe becomes a favorite in your home, just like it is in mine. The buttery scent filling your kitchen, the bright red jam peeking out from the center, that first bite with a pocket of warm strawberry jam it’s pure joy. You’ve got this! Share a photo when you make them. I’d love to see how they turn out.
Ándale, let’s get baking.
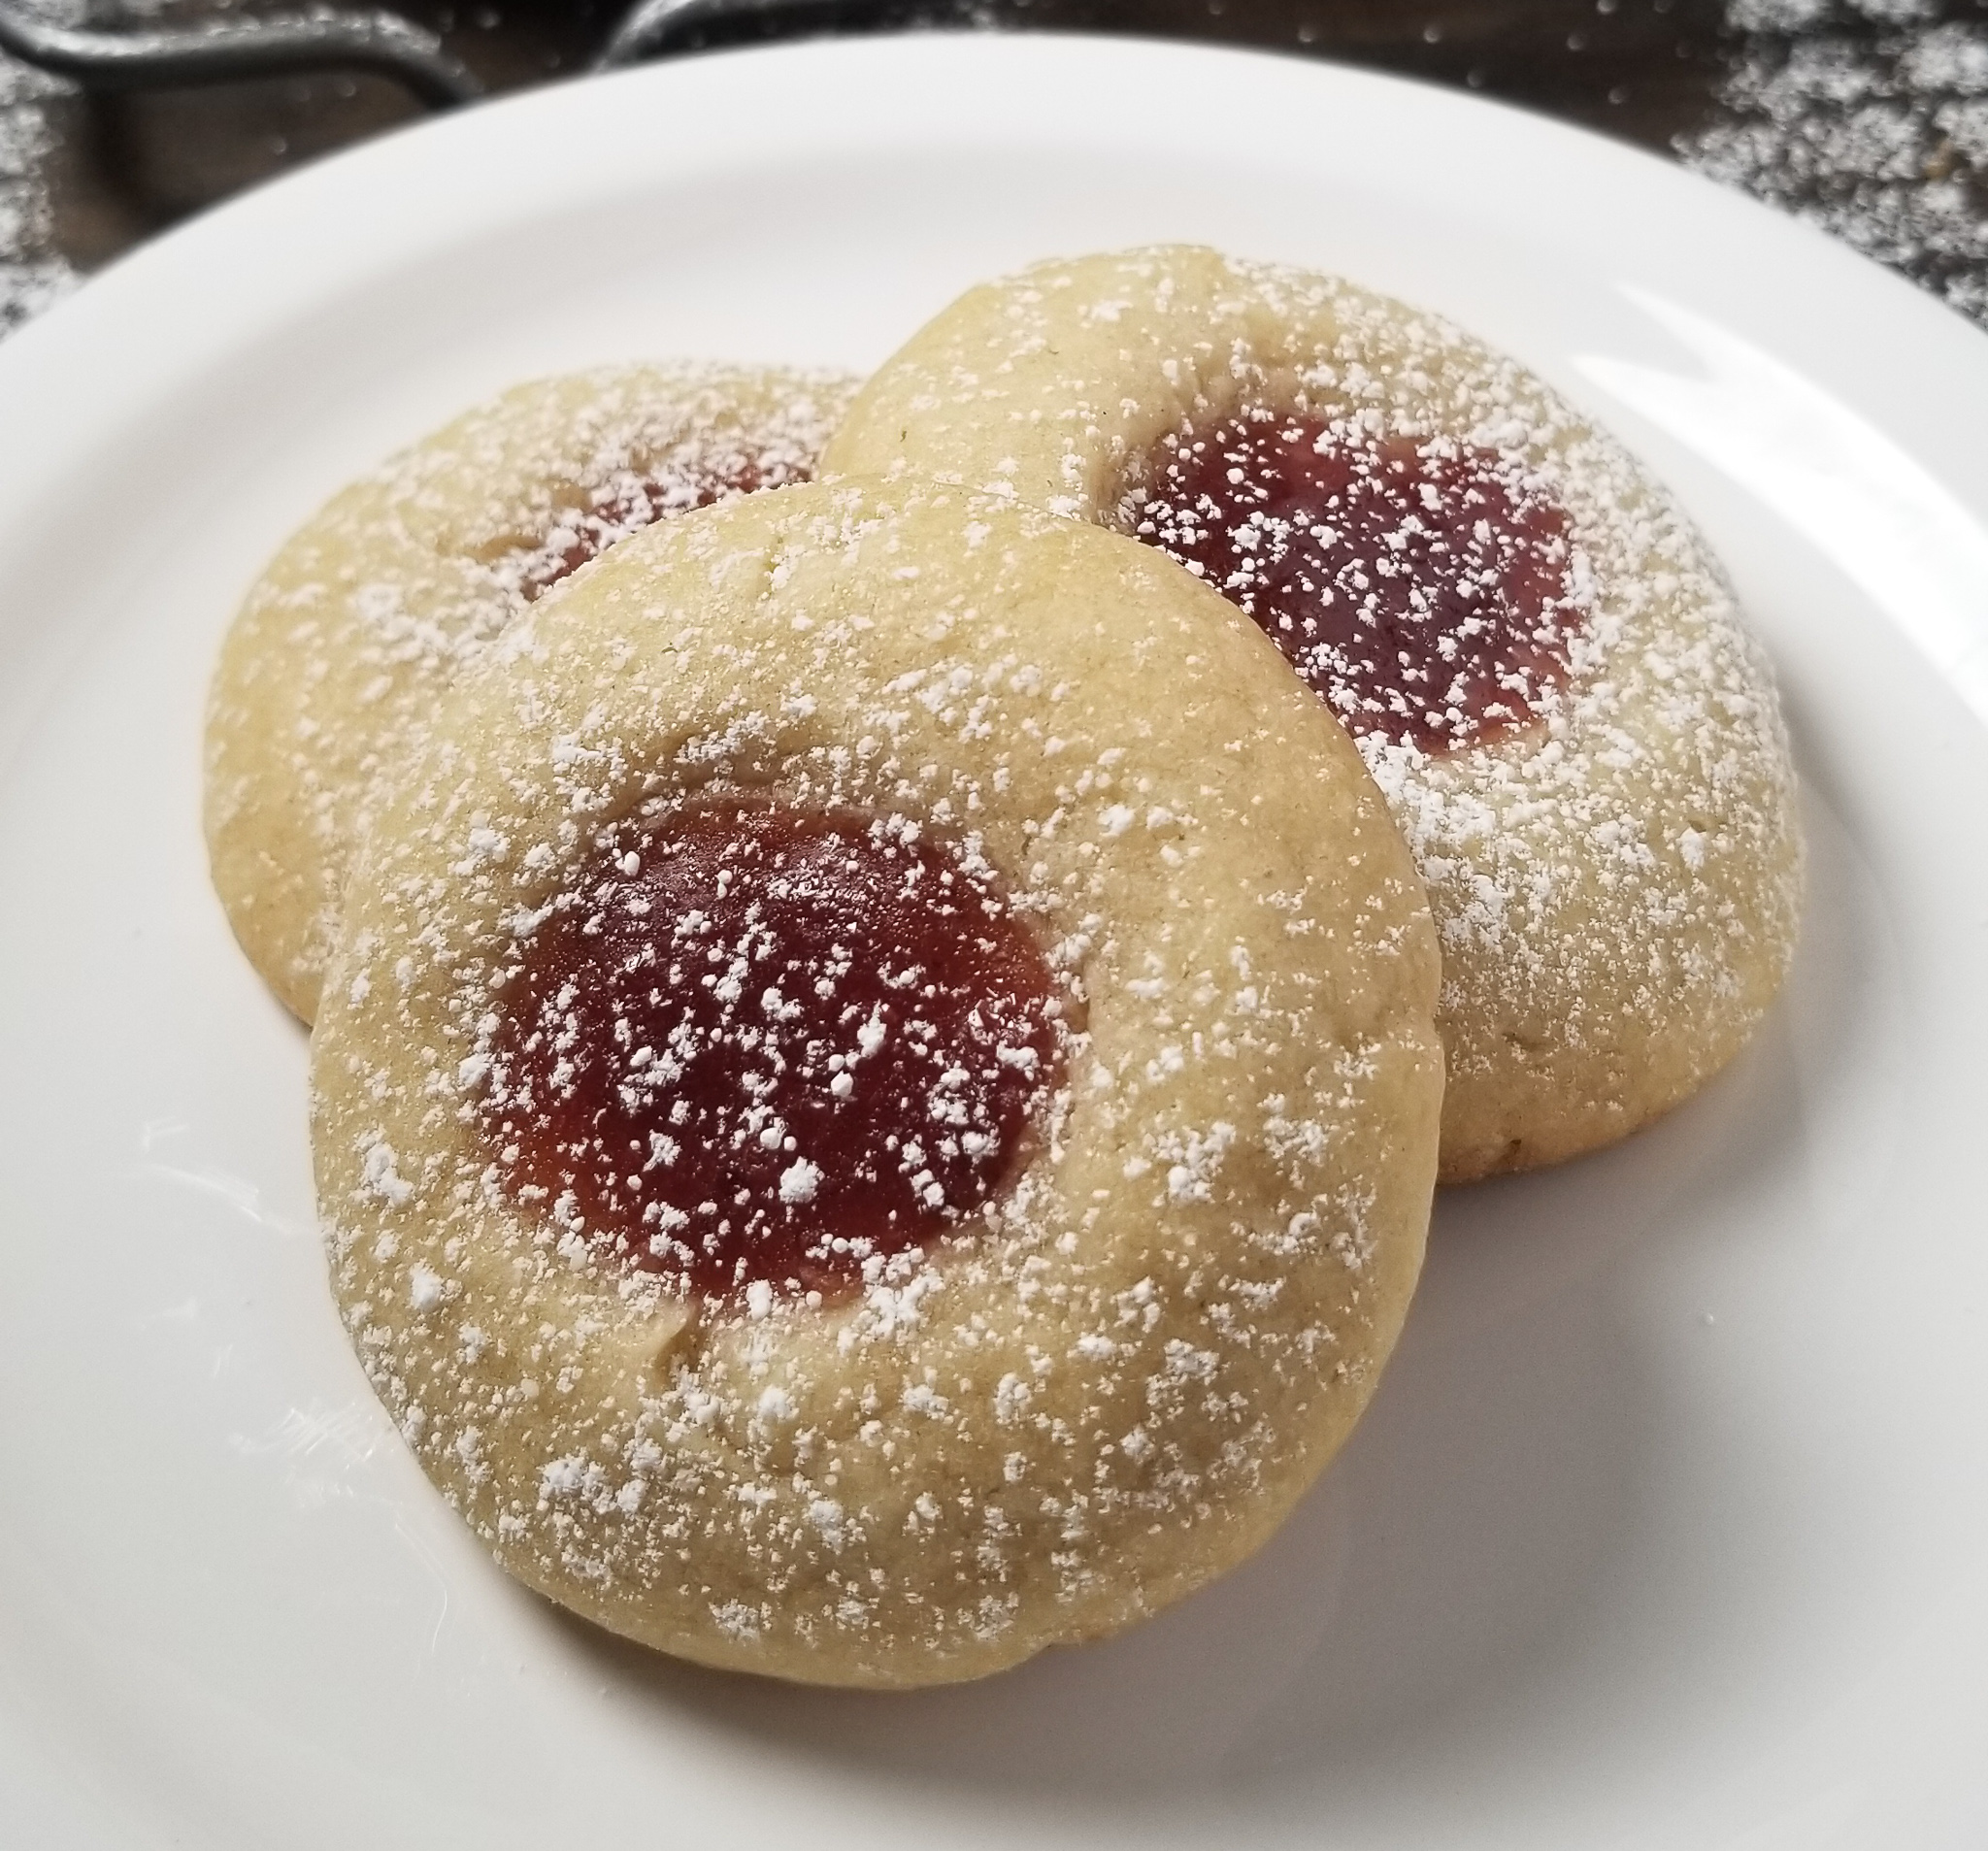
Strawberry Thumbprint Cookies with California Strawberry Jam
Ingredients
Method
- In a stand mixer fitted with the paddle attachment, cream together the softened butter, granulated sugar, and brown sugar on medium speed until light and fluffy, about 2 minutes. Add the egg and vanilla extract, and mix until combined.
- In a separate bowl, whisk together the flour, baking soda, and salt. Gradually add the dry ingredients to the butter mixture, mixing on low speed until just incorporated. Avoid overmixing.
- Wrap the dough tightly in plastic wrap and refrigerate for 30 to 45 minutes, until firm enough to handle.
- While the dough chills, remove the strawberry jam from the fridge and let it come to room temperature. Stir it well to loosen its consistency.
- Preheat your oven to 375°F (190°C). Line two baking sheets with parchment paper.
- Scoop about 1.5 tablespoons of dough and roll it into a smooth ball. Place the balls on the prepared baking sheets, spacing them about 2 inches apart.
- Using your thumb or the back of a round measuring spoon, gently press an indentation into the center of each dough ball. Be careful not to press all the way through to the bottom.
- Spoon about 1/2 teaspoon of the jam into each indentation.
- Bake the cookies for 9 to 11 minutes, until the edges are lightly golden and a toothpick inserted into the cookie (avoiding the jam) comes out clean.
- Transfer the cookies to a wire rack and let them cool completely. Once cool, dust generously with powdered sugar.
Nutrition
Notes
Tried this recipe?
Let us know how it was!Source: Nutritional Information
Which strawberry jam is best for this strawberry thumbprint cookie recipe?
I recommend a good-quality strawberry jam from California strawberries. Seedless jam gives a smoother look, but jam with seeds works great too. Avoid jam with big fruit chunks, as they can make the indentations uneven. Stir the jam well before using to loosen it up. If it’s too thick, microwave it for 10 seconds.
Can I add icing to these thumbprint cookies?
Yes, absolutely. Instead of dusting with powdered sugar, you can drizzle the cooled cookies with a simple vanilla icing. Mix 1/2 cup powdered sugar with 1 tablespoon milk and 1/4 teaspoon vanilla extract. Drizzle over the cookies and let it set for about 30 minutes. It adds a beautiful glossy finish and extra sweetness.