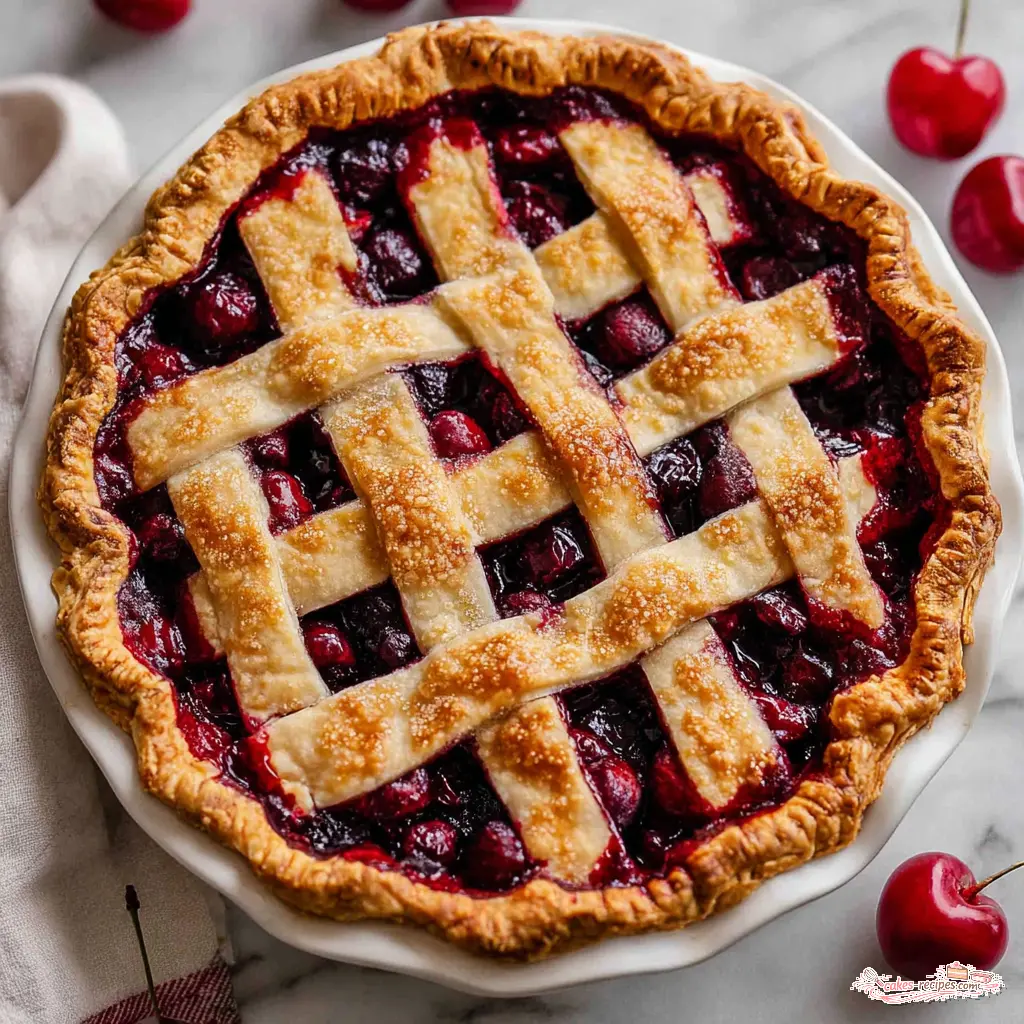
Why This Cherry Pie Recipe Works
I still remember the first time I made a cherry pie from scratch. I was maybe twenty-two, living in a tiny apartment in Houston, and I’d invited a few friends over for a summer BBQ. I thought I’d be clever and make dessert myself instead of picking up a store-bought one. Big mistake. The filling was a soupy mess that ran all over the plate, the bottom crust was soggy, and the top crust? Burnt around the edges. Honestly, it was a disaster. My friends were nice about it, but I knew. I knew I could do better.
So I went back to the drawing board. I tested this cherry pie recipe maybe six or seven times that summer, tweaking the cornstarch ratio, playing with the baking temperature, and figuring out the real secret to a flaky crust. And you know what? I finally nailed it. This is the one. The filling is thick and glossy, not runny. The crust is buttery and flaky, not tough. And the flavor? Pure summer in a slice. Trust me on this.
What makes this cherry pie recipe different? First, we use an all-butter crust. No shortening, no lard. Just cold butter, flour, and ice water. It gives you that rich flavor and those beautiful flaky layers. Second, we let the filling sit and macerate while you prep the crust. This draws out the natural juices, which we then thicken with cornstarch so you get a perfect set every time. And third, we start the pie at a high temperature to set the crust, then lower it to let the filling bubble and thicken without burning. It’s a game changer.
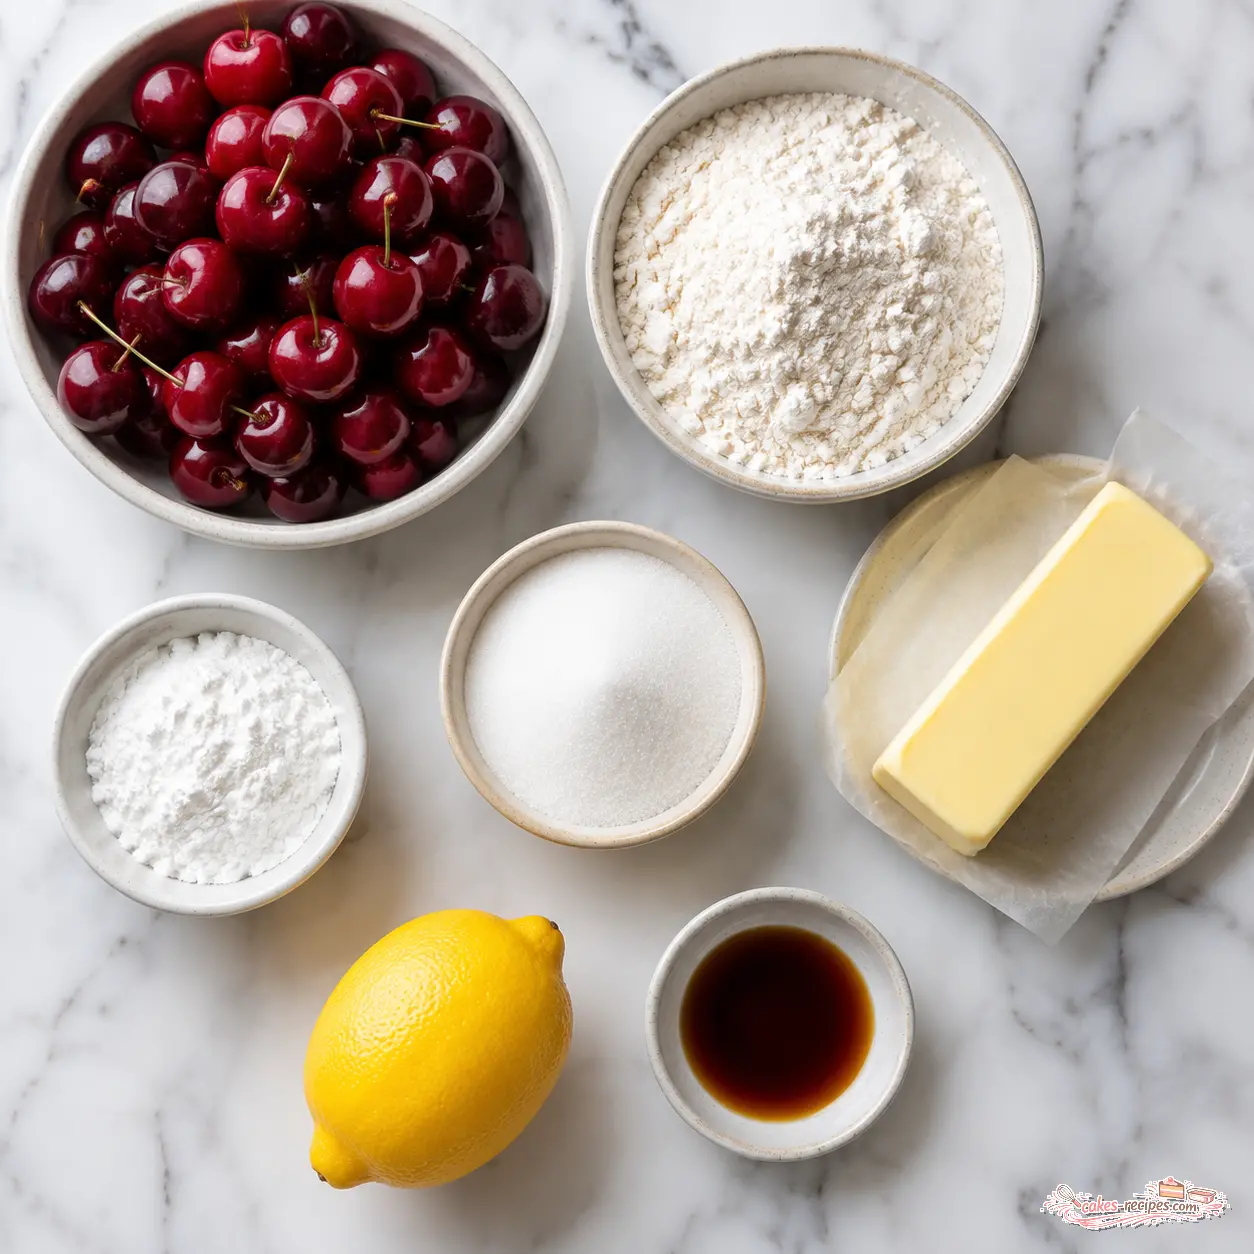
Key Ingredients for the Best Cherry Pie
Let’s talk about what goes into this cherry pie. The ingredient list is short and sweet, which means each one matters. No stress, I’ll walk you through it.
Cherries: This recipe calls for sweet cherries, about 2 1/2 pounds. You want them pitted and halved. Fresh is best when they’re in season, but frozen works too. If you’re using frozen, just thaw them in a colander and discard the excess liquid before mixing. For a more intense flavor, you can use a mix of sweet and tart cherries. If you go all tart, bump the sugar up to 1 cup.
Cornstarch: This is your thickening agent. It gives that beautiful glossy, jammy texture. No flour, no tapioca. Cornstarch is the way to go here. It sets up cleanly and doesn’t leave a chalky aftertaste.
Butter: We use unsalted butter in both the crust and the filling. For the crust, it needs to be cold. Like, straight-from-the-fridge cold. That’s how you get those flaky layers. For the filling, you dot a little butter on top before adding the top crust. It adds richness and helps the filling set.
Almond Extract: This is optional, but I highly recommend it. A tiny splash (1/4 teaspoon) makes the cherry flavor sing. It’s one of those little touches that makes people say, “Wow, what’s in this?”
And that’s pretty much it. Sugar, lemon juice, vanilla, salt. Simple stuff you probably already have.
How to Make Cherry Pie Step by Step
Alright, let’s do this. I’m going to break this cherry pie recipe into four main stages. Each one builds on the last, so take your time. You’ve got this.
Stage 1: Make the Filling and Prep the Crust
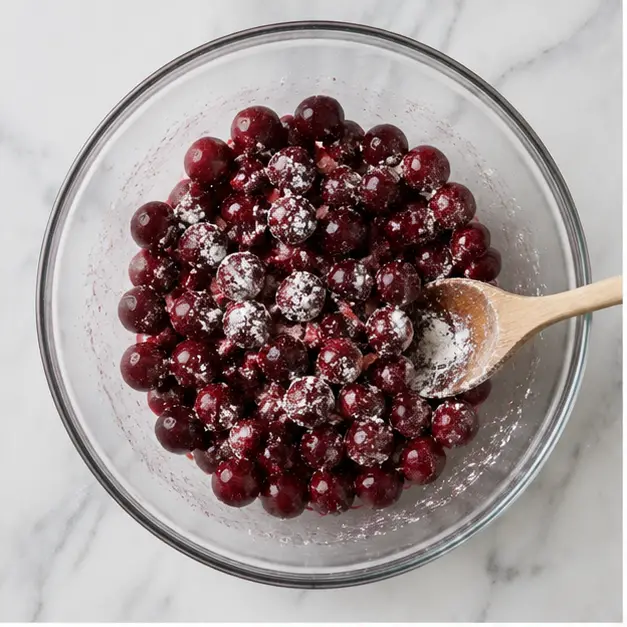
Start with the filling. In a large bowl, combine your pitted and halved cherries with the sugar, cornstarch, lemon juice, vanilla, salt, and that splash of almond extract if you’re using it. Stir it all together until no white streaks of cornstarch remain. Then let it sit. This is important. The cherries will start releasing their juices, which is exactly what we want. While that’s happening, you can make your pie crust.
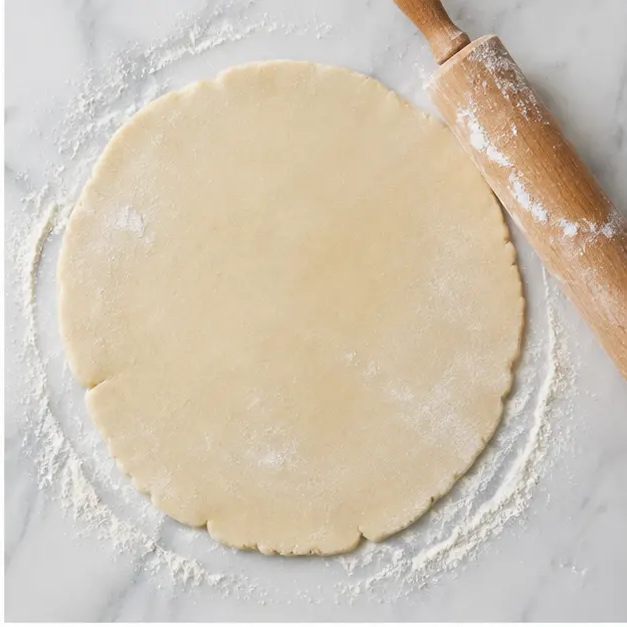
For the crust, I use a food processor because it’s fast and keeps the butter cold. Pulse the flour, sugar, and salt together. Add the cold butter cubes and pulse until the largest pieces are the size of small peas. Then add ice water, one tablespoon at a time, pulsing after each addition. The dough should look shaggy and crumbly but hold together when you pinch it. Turn it out onto a floured surface, divide it in half, shape each half into a flat disk, and wrap one in plastic wrap. Pop that in the fridge. Roll the other disk into a 12-inch circle and transfer it to your pie plate. Then put that in the fridge too. Keeping everything cold is the secret to a flaky crust.
Stage 2: Assemble the Pie
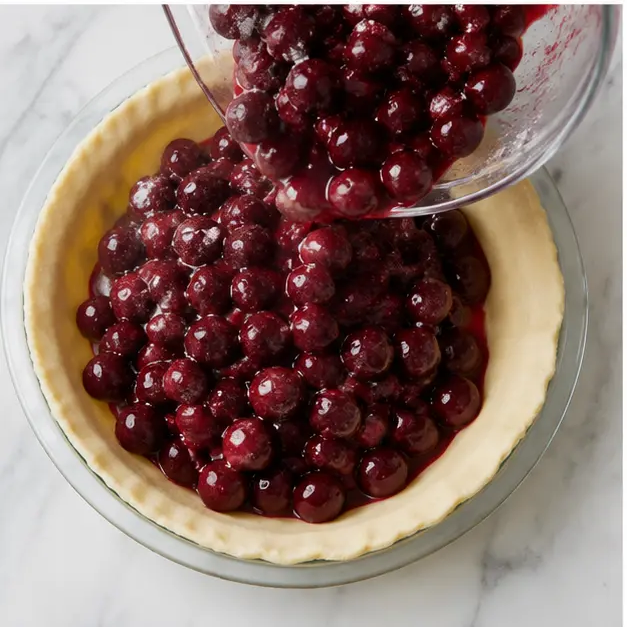
Take the bottom crust out of the fridge. Give your filling a good stir, then pour it (juices and all) into the crust. Dot the top with those little cubes of butter. Now, take the other dough disk out of the fridge and roll it into a 12-inch circle. Place it on top, trim the overhang to 1/2 inch, fold the edges under, and crimp. Don’t forget to cut a few steam vents in the top so the filling can bubble out.
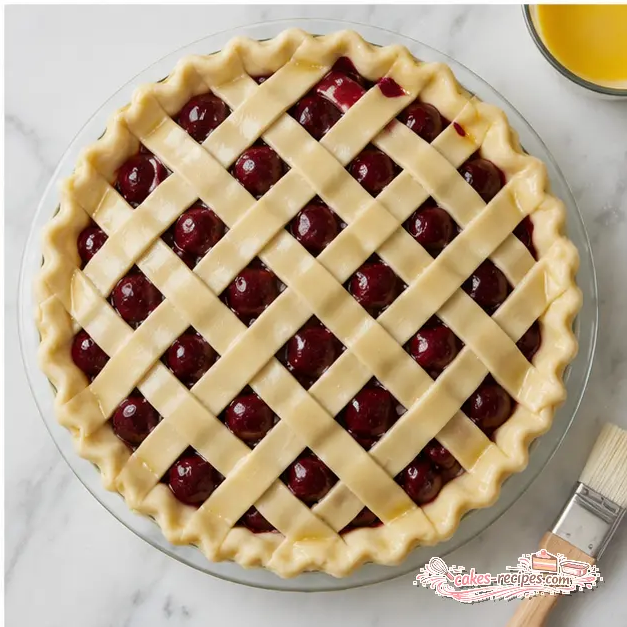
If you’re feeling fancy, do a lattice top. Cut the rolled dough into strips, lay them across the pie, and weave them over and under. It looks impressive but it’s actually super easy. I’ll walk you through it in the recipe card below.
Stage 3: Egg Wash and Chill
Whisk an egg with a tablespoon of milk and brush it all over the top crust. This gives you that gorgeous golden brown finish. Sprinkle with coarse sugar if you want a little crunch. Now here’s a step a lot of people skip: chill the assembled pie in the fridge for 20 minutes. This helps the crust hold its shape in the oven. While it’s chilling, preheat your oven to 400°F with a rack in the lower third.
Stage 4: Bake and Cool
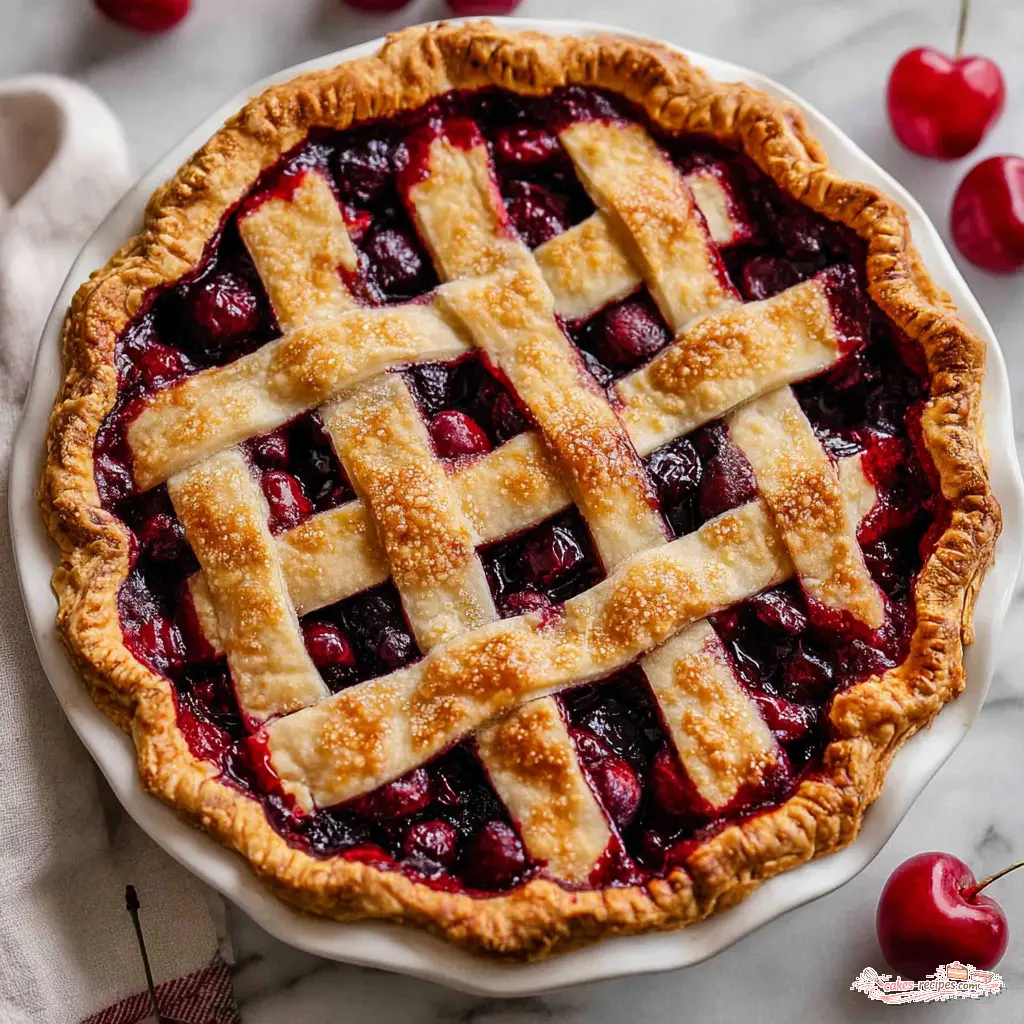
Bake the pie at 400°F for 20 minutes. Then reduce the temperature to 350°F and bake for another 40 to 50 minutes. You’re looking for the filling to be bubbling vigorously through the vents. If the crust starts browning too quickly, tent it loosely with foil after about 30 minutes total. When it comes out of the oven, it should be golden and gorgeous.
Now for the hardest part: let it cool completely. I know, I know. The smell is intoxicating. But if you slice into it while it’s still warm, the filling won’t be set and you’ll get a runny mess. Let it cool on a wire rack for at least 3 hours. Trust me, it’s worth the wait.
Tips for a Perfect Cherry Pie
I’ve made this cherry pie recipe more times than I can count, and I’ve learned a few things along the way. Here are my best tips to make sure yours turns out perfect.
- Keep everything cold. For the flakiest crust, your butter and water need to be ice cold. If your kitchen is warm, pop the flour and bowl in the fridge for 10 minutes before you start.
- Don’t overwork the dough. Overmixing develops gluten, which makes the crust tough. Mix just until it comes together. A few visible butter chunks are a good thing.
- Use a cherry pitter. Honestly, this is a game changer. It saves time and keeps your hands from looking like you committed a crime. You can find one at any kitchen store or on Amazon.
- Adjust sugar based on your cherries. Sweet cherries need less sugar. Tart cherries need more. Taste your cherries before you add the sugar and adjust accordingly.
- Bake on a lower rack. This helps the bottom crust cook through and prevents a soggy bottom. It’s a simple trick that makes a big difference.
- Don’t skip the cooling time. I said it before and I’ll say it again. Cooling is not optional. It’s when the filling sets up and becomes sliceable.
Common Cherry Pie Mistakes and How to Fix Them
❌ Soggy bottom crust: Bake the pie on a lower oven rack and make sure your filling isn’t too liquidy. Letting the filling sit and macerate helps, as does dotting with butter.
❌ Runny filling: You didn’t use enough cornstarch, or you didn’t let the pie cool completely. Stick to the recipe measurements and be patient.
❌ Burnt crust edges: Your oven runs hot, or you didn’t tent the pie with foil. Cover the edges with foil or a pie shield after the first 30 minutes.
❌ Dull crust: You skipped the egg wash. It’s a small step but it makes a huge difference in the final look.
How to Store and Freeze Cherry Pie
This cherry pie is a crowd favorite, but if you have leftovers, here’s how to handle them.
At room temperature: You can leave it out for up to 8 hours. Just cover it loosely with foil or a clean kitchen towel.
In the fridge: Store leftovers in the refrigerator for up to 3 days. I like to bring it back to room temperature before serving, or you can reheat individual slices in the microwave for about 15 seconds.
To freeze: Let the baked pie cool completely, then wrap it tightly in plastic wrap and foil. It’ll keep in the freezer for up to 3 months. Thaw it overnight in the fridge before serving. You can also reheat it at 325°F for 5-10 minutes if you want that fresh-baked feel.
Make ahead: You can prep the pie crust and the filling up to 3 days ahead. Store them separately in the fridge. When you’re ready to bake, just assemble and go. Super easy.
Frequently Asked Questions
This cherry pie recipe is the one I turn to every summer. It’s the pie I bring to Fourth of July parties and family gatherings. It’s the pie that gets the “Oh wow, you made this?” reaction every single time. And honestly, it’s not that hard once you know the tricks. The all-butter crust, the thick glossy filling, the golden lattice top. It all comes together to create something truly special.
So grab some fresh cherries, clear your counter, and get ready to bake. This will be the best pie you’ve ever made. I promise. And if you want more inspiration, come find me on Pinterest where I’m always sharing my favorite party desserts and baking tips.
Classic California Cherry Pie
Ingredients
Method
- In a large bowl, combine the pitted and halved cherries, sugar, cornstarch, lemon juice, vanilla extract, salt, and almond extract (if using). Stir until the cornstarch is fully incorporated and no white streaks remain. Let the mixture sit at room temperature while you prepare the crust; the cherries will begin to release their juices.
- In a food processor fitted with the steel blade, pulse together the flour, sugar, and salt. Add the cold butter cubes and pulse 8 to 10 times, until the largest butter pieces are the size of small peas. (Alternatively, you can make the crust by hand: whisk the dry ingredients in a large bowl, then cut in the butter using a pastry cutter.)
- Add the ice-cold water, 1 tablespoon at a time, pulsing after each addition, until the dough just begins to come together. It should look shaggy and slightly crumbly but hold together when pinched.
- Turn the dough out onto a lightly floured surface and gather it into a ball. Divide it in half, shape each half into a flat disk, and wrap one disk tightly in plastic wrap. Place the wrapped disk in the refrigerator.
- On a lightly floured surface, roll the remaining disk into a 12-inch circle. Carefully transfer it to a 9-inch deep-dish pie plate, gently pressing it into the bottom and up the sides. Trim any excess dough to a 1/2-inch overhang. Place the pie plate in the refrigerator while you roll the top crust.
- Remove the chilled bottom crust from the refrigerator. Stir the cherry filling again, then pour it (with all the juices) into the crust. Dot the filling with the small cubes of butter.
- Take the remaining dough disk from the refrigerator and roll it out to a 12-inch circle. Place the top crust over the filling. Trim the overhang to 1/2 inch, then fold the edges under and crimp with your fingers or a fork. Cut several steam vents in the top crust.
- For a lattice top: Cut the rolled dough into strips about 3/4 to 1 1/4 inches wide. Lay the longest strip across the center of the pie. Place more strips parallel to the first, spaced about 1/2 inch apart. Fold back alternating strips and weave the perpendicular strips over and under to create a lattice. Trim and crimp the edges.
- In a small bowl, whisk together the egg and milk. Lightly brush this mixture over the top crust (and lattice strips, if using). Sprinkle with coarse sugar if desired.
- Place the pie in the refrigerator for 20 minutes to chill. Meanwhile, preheat your oven to 400°F with a rack positioned in the lower third.
- Bake the pie on the lower rack at 400°F for 20 minutes. Then, reduce the oven temperature to 350°F and continue baking for 40 to 50 minutes more, until the filling is bubbling vigorously through the vents. If the crust starts browning too quickly, loosely cover the pie with aluminum foil after about 30 minutes of total baking.
- Let the pie cool completely on a wire rack, at least 3 hours, before slicing. This allows the filling to set properly.
Nutrition
Notes
Tried this recipe?
Let us know how it was!Source: Nutritional Information
Do I need to par-bake the crust for this cherry pie?
No, you don’t need to par-bake the crust for this cherry pie recipe. Starting the pie at a high temperature (400°F) and baking it on a lower rack helps the bottom crust cook through without pre-baking. Just make sure your filling isn’t too liquidy and let the pie cool completely before slicing.