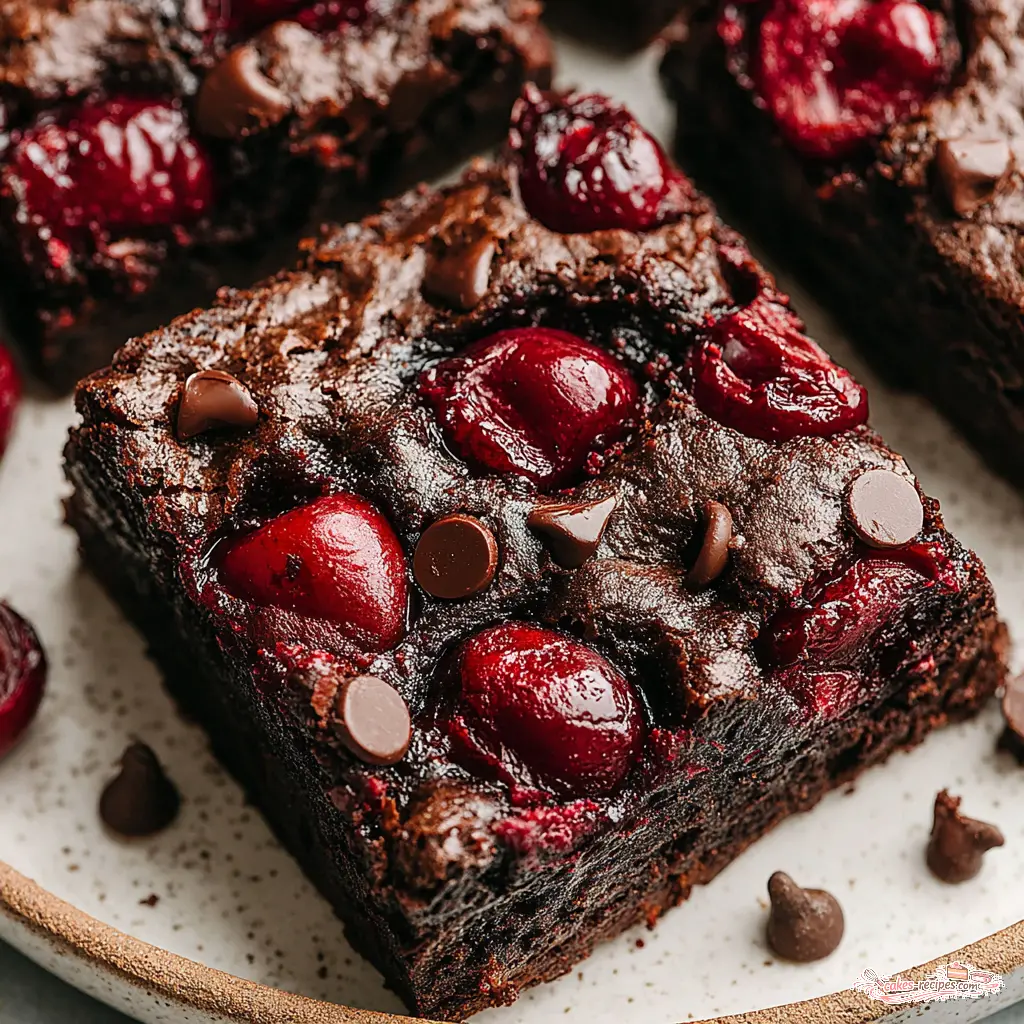
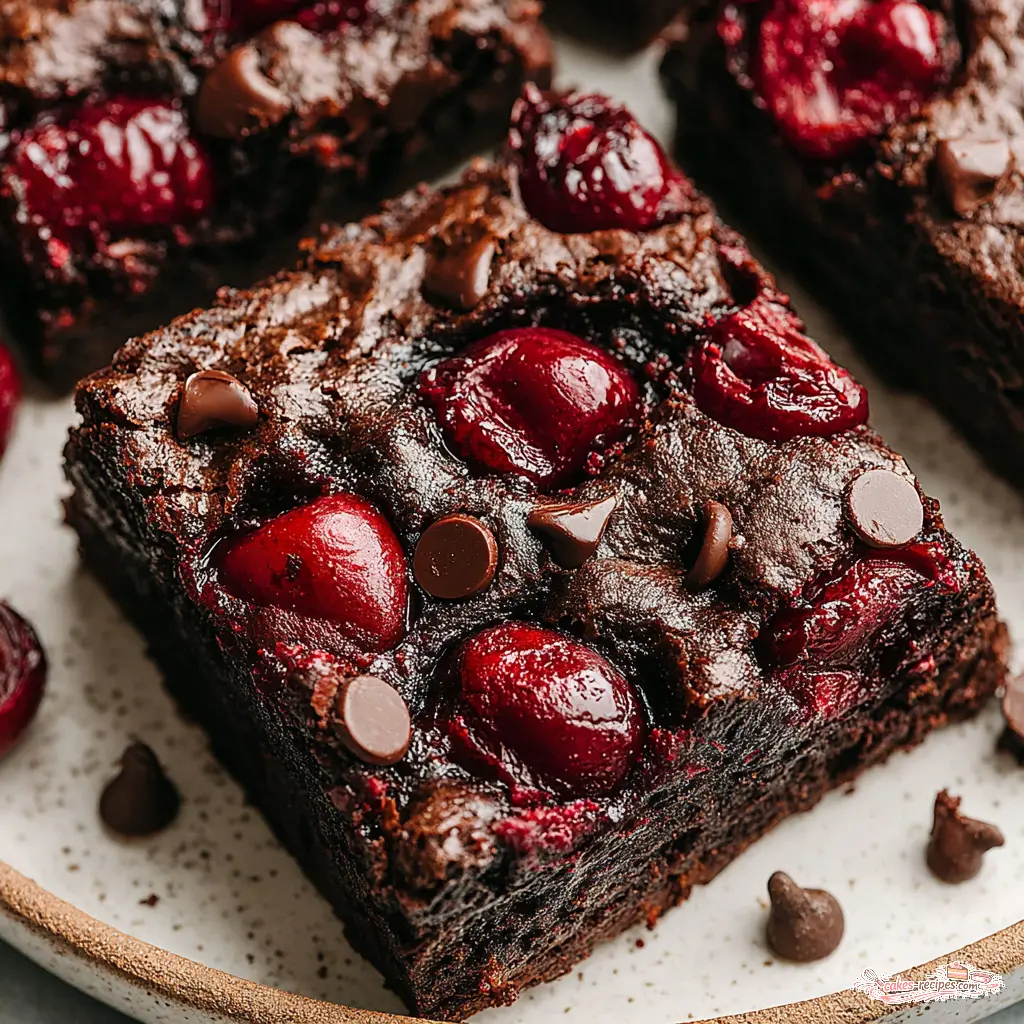
California Cherry Chocolate Brownies
Ingredients
Method
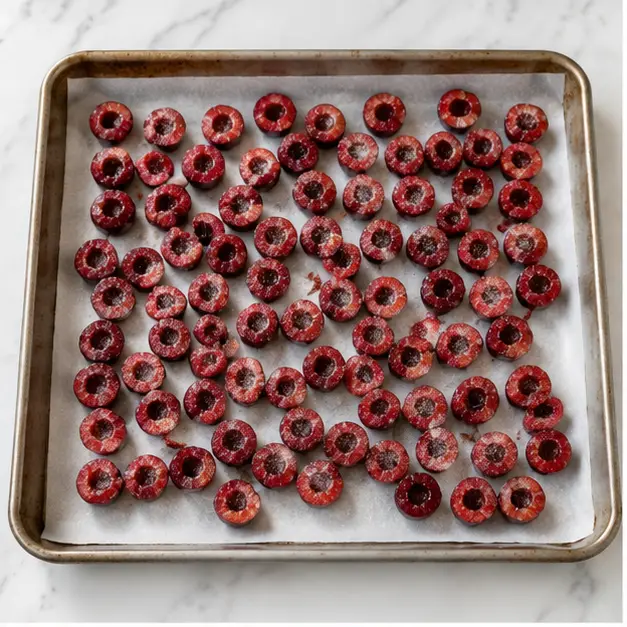
- Preheat the oven to 400°F. Line a baking sheet with parchment paper. Spread the cherry halves in a single layer on the sheet and sprinkle with the 1 tablespoon of sugar. Roast for 10 minutes, then remove from oven and let cool completely on the sheet.
- Reduce the oven temperature to 325°F. Grease an 8x8-inch baking pan with nonstick spray, then line the bottom and two opposite sides with a parchment sling, leaving overhang. Spray the parchment again.
- In a medium bowl, whisk together the flour, cocoa powder, cornstarch, and salt. Set aside.
- In a large mixing bowl, using an electric mixer with the whisk attachment, beat the 1 1/3 cups sugar, whole eggs, and egg yolk on high speed for 5 minutes, until thick and pale.
- With the mixer on low, add the melted butter, oil, and vanilla, mixing just until combined. Remove the bowl from the mixer. Gently fold in the dry ingredients with a rubber spatula, taking care not to deflate the batter.
- Reserve half of the cooled roasted cherries for topping. Fold the remaining half of the cherries and 3/4 cup of the chocolate chips into the batter until evenly distributed. Pour the batter into the prepared pan and spread into an even layer.
- Bake for 40 to 50 minutes, until the edges are set and a toothpick inserted near the center comes out with moist crumbs. The center should still look slightly underdone. Immediately sprinkle the remaining 1/4 cup chocolate chips on top. Let the brownies cool completely in the pan on a wire rack.
- Once cool, place the pan in the freezer for 15 minutes to make slicing easier. Use the parchment sling to lift the brownies out of the pan. Top with the reserved roasted cherries, then cut into 16 squares and serve.
Nutrition
Notes
Tried this recipe?
Let us know how it was!Why This Recipe Works
Nothing says summer like fresh cherries, except maybe brownies so why not combine them? That’s the kind of thinking that leads to these ultra-fudgy chocolate cherry brownies. I’ve been perfecting this recipe for years, and I think I’ve finally cracked the code on getting cherries to stay suspended in the batter instead of sinking to the bottom like little fruit anchors.
Here’s the thing about cherry brownies recipe attempts I’ve seen online: they either use cherry pie filling (too sweet, too gelatinous) or they just toss fresh cherries in and hope for the best. That never works. The cherries release moisture, the brownies get soggy, and you end up with a sad, wet layer at the bottom. Not the result you want.
My approach? Roast the cherries first. It concentrates their flavor, draws out excess moisture, and makes them play nice with the batter. Plus, roasting brings out that jammy sweetness that pairs so perfectly with dark chocolate. This chocolate cherry dessert is the kind of thing that disappears at potlucks I’ve seen it happen.
Key reasons this works:
- Roasting cherries concentrates flavor and removes excess moisture
- Dutch-process cocoa gives a darker, richer chocolate taste
- Cornstarch in the flour helps create that fudgy, not cakey texture
- The extra egg yolk adds richness and structure without drying things out
- Chilling before slicing gives you those clean, bakery-style edges
I’ve been teaching my niece about chocolate percentages, and she’s seven. She can identify 60% versus 70% dark chocolate by taste. Last week she rejected a chocolate cake at a birthday party because it was ‘too spongy.’ The other parents looked at me like I’d created a monster. But she’s not wrong texture matters. And these brownies? They’re the opposite of spongy. They’re dense, fudgy, and absolutely loaded with cherry goodness.
Ingredients for Chocolate Cherry Brownies
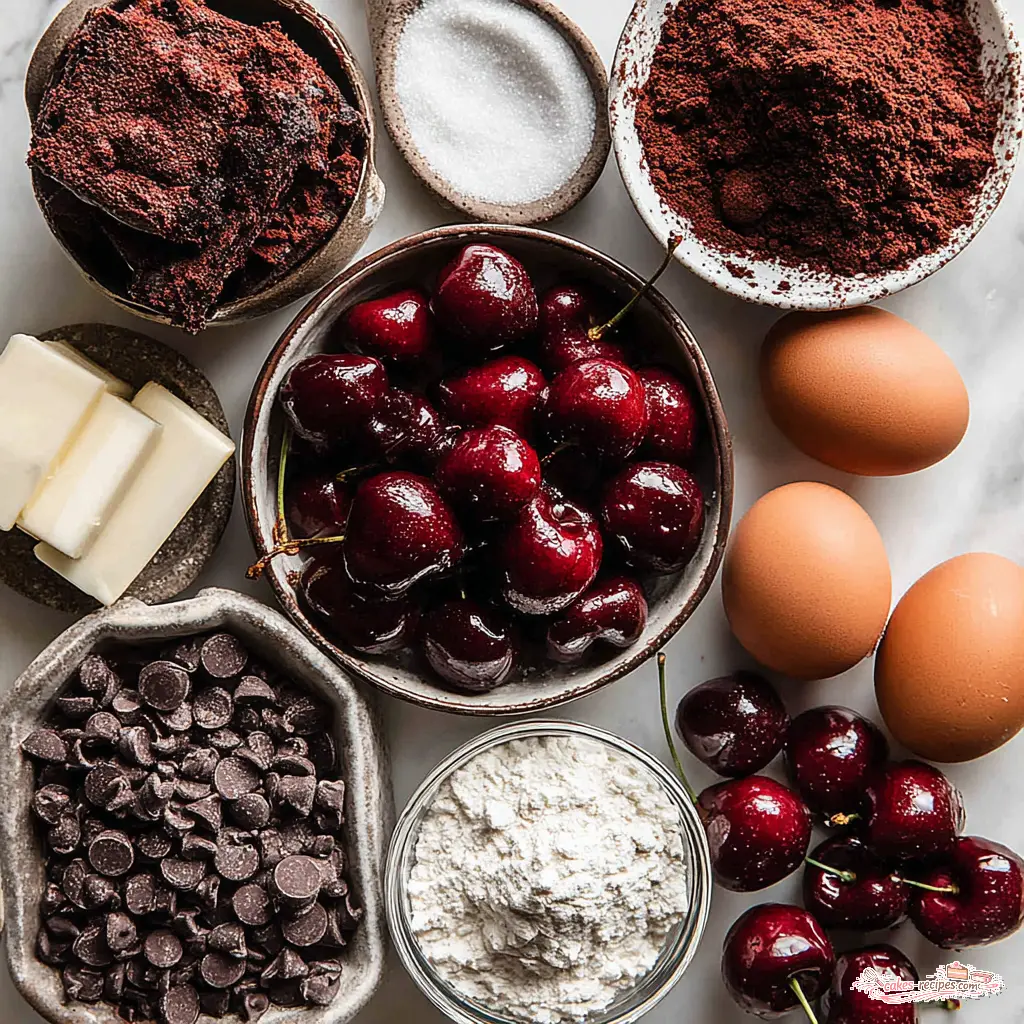
Let me walk you through what you’ll need. This isn’t complicated most of these are pantry staples but a few choices make a real difference.
For the Roasted Cherries:
- Fresh cherries about 2 cups, pitted and halved. Sweet Bing or Rainier work beautifully. If you’re using frozen, thaw and drain them first, then pat dry. Canned cherries? Drain well. Cherry pie filling? Save it for something else it’s too sweet and has that gelatinous texture that doesn’t work here.
- A tablespoon of sugar just to help them caramelize in the oven. That’s it.
For the Brownie Batter:
- Sugar 1 1/3 cups granulated. This gives structure and sweetness, plus that crackly top we all love.
- Eggs 2 large whole eggs plus 1 extra yolk, all at room temperature. The extra yolk is the secret to richness without making things cakey.
- Butter and oil 5 tablespoons melted butter for flavor, 1/3 cup vegetable oil for moisture. The oil keeps them fudgy even after cooling.
- Vanilla extract 1 teaspoon, pure if you’ve got it.
- Flour, cocoa, cornstarch, salt 3/4 cup all-purpose flour, 3/4 cup Dutch-process cocoa (sifted!), 1 tablespoon cornstarch, 1 teaspoon kosher salt. The cornstarch is the trick for that tender, fudgy crumb.
- Semi-sweet chocolate chips 1 cup total, divided. 3/4 cup goes in the batter, 1/4 cup gets sprinkled on top right after baking.
That’s it. No weird ingredients, no special equipment. Just good chocolate, good cherries, and a little patience.
How to Roast Cherries for Brownies
This step is worth the extra 10 minutes. Trust me on this. Roasting cherries transforms them from juicy summer fruit into concentrated little flavor bombs that won’t wreck your brownie texture.
Here’s what happens: when you roast cherries at 400°F, the heat draws out moisture that would otherwise make your brownies soggy. The natural sugars caramelize, intensifying that sweet-tart cherry flavor. And the cherries soften just enough that they’ll melt into the brownie batter instead of staying firm and separate.
The process is simple:
- Preheat your oven to 400°F
- Line a baking sheet with parchment
- Spread your pitted, halved cherries in a single layer
- Sprinkle with that tablespoon of sugar
- Roast for 10 minutes
- Let them cool completely on the sheet
That cooling step is important. If you add hot cherries to the batter, they’ll start melting the butter and chocolate before you even get to the oven. Room temperature or slightly warm is fine just not straight-out-of-the-oven hot.
You’ll notice the cherries look slightly wrinkled and a bit glossy after roasting. That’s exactly right. They should smell incredible like cherry pie filling but more concentrated. This is the kind of thing that makes your kitchen smell like summer.
Step-by-Step Instructions
Alright, let’s get into the actual baking. I’ll walk you through the four main stages. Each one builds on the last, and I’ll explain the why behind each step.
Stage 1: Prep Your Pan and Dry Ingredients
Once your cherries are roasted and cooling, reduce the oven to 325°F. Grease an 8×8-inch baking pan with nonstick spray, then line the bottom and two opposite sides with a parchment sling. Leave enough overhang to use as handles later. Spray the parchment again this ensures the brownies release cleanly.
In a medium bowl, whisk together the flour, cocoa powder, cornstarch, and salt. Set this aside. Sifting the cocoa is worth it Dutch-process cocoa tends to clump, and you don’t want dry pockets in your batter.
Stage 2: Beat the Eggs and Sugar
In a large mixing bowl, using an electric mixer with the whisk attachment, beat the sugar, whole eggs, and egg yolk on high speed for 5 minutes. Yes, five full minutes. Set a timer. The mixture should become thick, pale, and almost ribbon-like when you lift the whisk, the batter should fall back in a slow, thick ribbon that holds its shape for a moment.
This is where the magic happens. Beating the eggs and sugar this long incorporates air, which gives the brownies that crackly, shiny top. It’s the same technique my mom used for her French-inspired cakes she’d beat eggs and sugar until they were pale and fluffy, and I never understood why until culinary school. The air bubbles expand in the oven, creating that signature crust.
Stage 3: Add Wet and Dry Ingredients
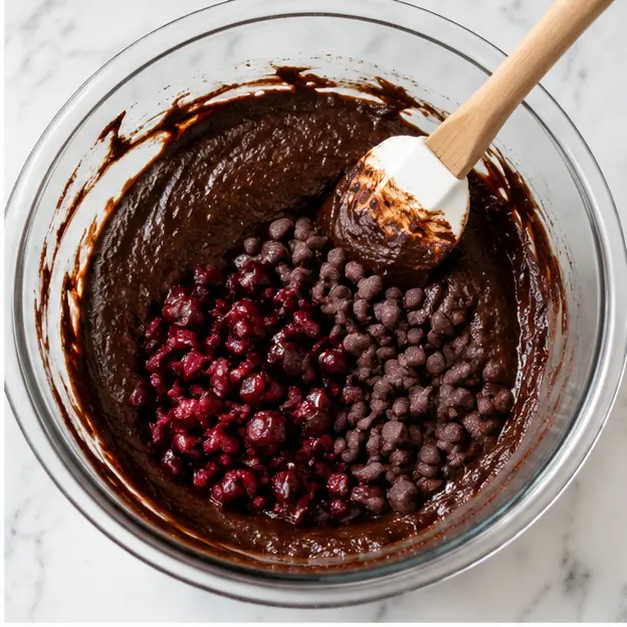
With the mixer on low, add the melted butter, oil, and vanilla. Mix just until combined you don’t want to deflate all that air you just built up. Remove the bowl from the mixer and switch to a rubber spatula.
Gently fold in the dry ingredients. I say ‘gently’ because this is where people mess up. Overmixing develops gluten, which makes brownies cakey. You want to fold until you can’t see any more streaks of flour, then stop. A few small lumps are fine.
Reserve half of your cooled roasted cherries for topping. Fold the remaining half of the cherries and 3/4 cup of the chocolate chips into the batter. The flour coating on the cherries (from the dry ingredients) helps them stay suspended. That’s the science the flour creates friction that keeps them from sinking.
Stage 4: Bake and Finish
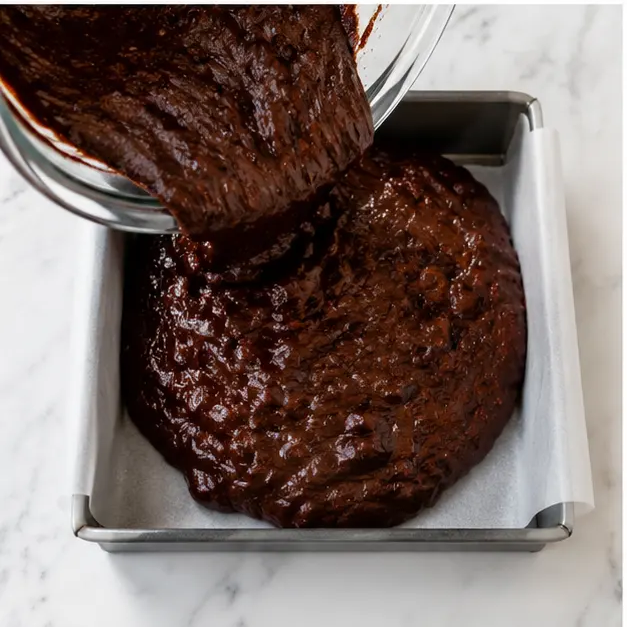
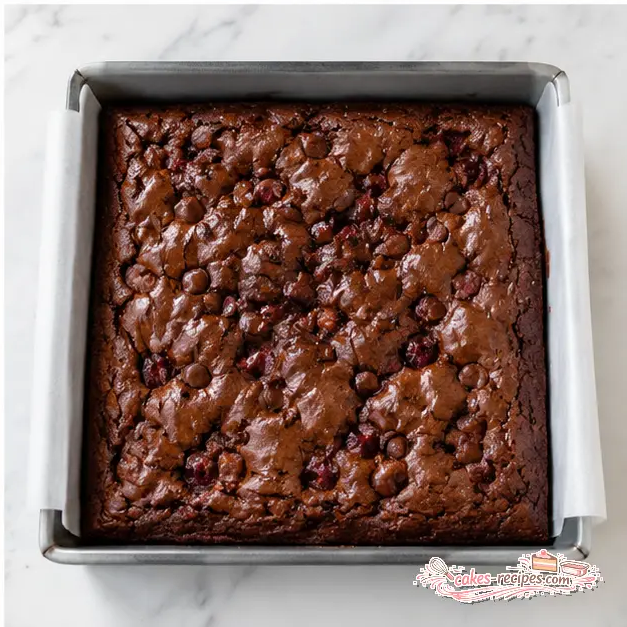
Pour the batter into your prepared pan and spread it into an even layer. Bake for 40 to 50 minutes at 325°F. The edges should be set, and a toothpick inserted near the center should come out with moist crumbs not wet batter, but not clean either. The center should still look slightly underdone.
Here’s a watch-out-for-this warning: brownies continue baking as they cool in the pan. If you wait until the toothpick comes out clean, they’ll be overbaked and cakey. Pull them when the center still jiggles slightly. That’s the sweet spot.
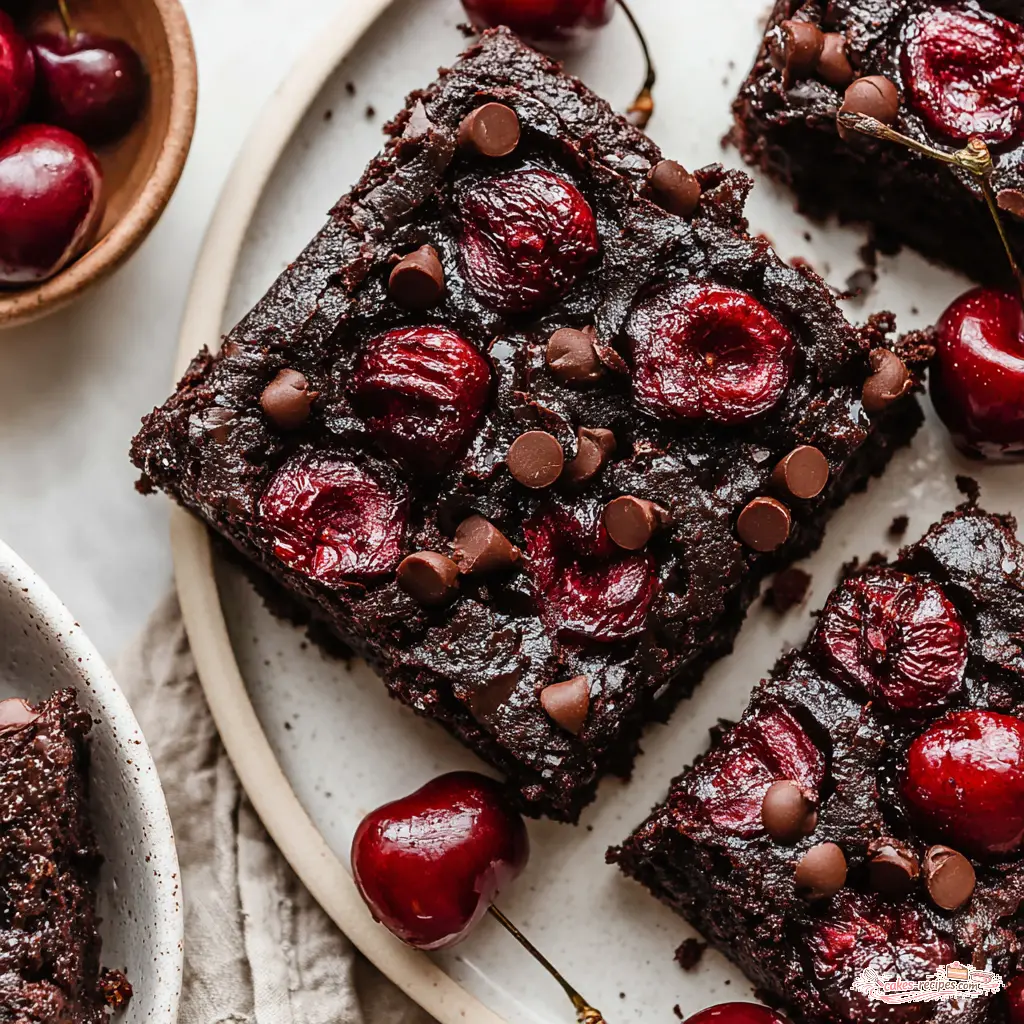
Immediately after removing from the oven, sprinkle the remaining 1/4 cup chocolate chips on top. Let the brownies cool completely in the pan on a wire rack. Once cool, pop the pan in the freezer for 15 minutes this makes slicing so much easier. Use the parchment sling to lift the brownies out, top with your reserved roasted cherries, cut into 16 squares, and serve.
Tips for Fudgy Brownies
I’ve made enough brownies in my life to know what goes wrong and how to fix it. Here are the things I’ve learned the hard way.
❌ Mistake: Overmixing the batter
✅ Solution: Mix only until the dry ingredients disappear. A few streaks are fine. Overmixing develops gluten, which gives you cakey, tough brownies instead of fudgy ones.
❌ Mistake: Overbaking
✅ Solution: Pull the brownies when a toothpick comes out with moist crumbs, not clean. The center should still look slightly underdone. They’ll continue baking as they cool.
❌ Mistake: Slicing before completely cooled
✅ Solution: Let the brownies cool completely, then chill in the fridge or freezer for 15 minutes. This firms up the chocolate and gives you clean, sharp edges.
More tips for perfect texture:
- Use room temperature eggs cold eggs seize the butter and create a denser batter
- Beat the eggs and sugar for the full 5 minutes that’s what creates the shiny, crinkly top
- Dutch-process cocoa is worth seeking out it’s darker, richer, and less acidic than natural cocoa
- Let the base mix with the eggs for the full time to produce crinkly brownie tops
- Only mix the batter until you can no longer see the dry ingredients; over mixing can dry out the brownies
These are the same tips I give my niece when she’s helping me bake. She’s seven and can already identify overbaked brownies by sight. I’m not sure if that’s a parenting win or a sign of obsession, but I’ll take it.
Variations to Try
This chocolate cherry brownies recipe is a great base for experimentation. Here are a few ways to change it up without messing with the fundamental structure.
Cherry variations:
- Frozen cherries thaw, drain, and pat dry before using. Add an extra minute or two to the roasting time.
- Canned cherries drain very well and skip the sugar sprinkle since they’re usually packed in syrup.
- Dried cherries these won’t sink at all. Rehydrate them in hot water for 10 minutes, drain, then fold in. They’ll give you chewy bursts of flavor.
Chocolate variations:
- Use 70% dark chocolate chunks instead of semi-sweet chips for a more intense chocolate flavor
- Swap white chocolate chips for a different sweetness profile
- Add a swirl of peanut butter or almond butter on top before baking
Nut variations:
- Toast 1/2 cup chopped almonds, walnuts, or pecans and fold them in with the cherries
- For a California twist, use toasted almonds from the Central Valley they add a nice crunch
Other ideas:
- Bake the batter in muffin tins for individual brownie bites (reduce bake time to 20-25 minutes)
- Top with whipped cream for a Black Forest brownie experience
- Drizzle with chocolate syrup or caramel after baking
- For gluten-free brownies, use Bob’s Red Mill 1-1 Gluten Free Baking Flour
- For vegan brownies, use a vegan brownie recipe and add the roasted cherries
These are all optional additions, obviously. The base recipe is already excellent these just give you room to play.
Storage and Make-Ahead Tips
These brownies keep surprisingly well, which is good because they’re perfect for making ahead. Here’s how to store them for maximum freshness.
At room temperature: Store in an airtight container for up to 3 days. The texture stays fudgy and the cherries stay moist. Layer parchment between brownie squares to prevent sticking.
In the fridge: They’ll keep for up to a week, and the texture actually gets even fudgier when cold. Let them come to room temperature before serving for the best flavor.
In the freezer: These freeze beautifully for up to 3 months. Wrap each brownie square individually in plastic wrap, then place in a freezer-safe bag or container. To thaw, leave them at room temperature for about an hour, or pop them in the microwave for 15-20 seconds.
Reheating: If you want that just-baked experience, warm individual brownies in the microwave for 10-15 seconds, or in a 300°F oven for 5 minutes. The chocolate chips will get melty again, and the cherries will warm through.
Make-ahead tip: You can roast the cherries up to 2 days in advance and keep them in the fridge. The brownie batter itself should be baked right away don’t let it sit around.
Frequently Asked Questions
I hope this chocolate cherry brownies recipe becomes a staple in your kitchen. It’s one of those desserts that feels special enough for company but easy enough for a Tuesday night. There’s something magical about biting into a brownie and finding a warm, jammy cherry that contrast of rich chocolate and bright fruit is just perfect.
If you make these, I’d love to hear how they turned out. Tag me on social media or share your photos on Pinterest I’m always looking for inspiration from people who actually try my recipes.
Source: Nutritional Information
What kind of chocolate is best for brownies?
For these chocolate cherry brownies, I prefer semi-sweet chocolate chips or a 60-70% dark chocolate bar chopped into chunks. Semi-sweet gives you that classic brownie sweetness without being cloying. If you want a deeper, more intense chocolate flavor, go with 70% dark chocolate.
Can I make this in a 9×9 inch pan?
Yes, but your brownies will be thinner and will bake faster start checking at 30 minutes instead of 40. You might also need to reduce the cherry and chocolate chip amounts slightly since the surface area is larger.
How do I get clean brownie slices?
Cool the brownies completely, then chill in the freezer for 15 minutes. Use a sharp knife and wipe it clean between each cut. The parchment sling makes lifting them out of the pan easy without damaging the edges.
Can I make this in a 9x13u0022 pan?
You can, but the brownies will be much thinner and bake faster check at 25 minutes. I’d recommend doubling the recipe for a 9×13 pan to get a decent thickness. Keep an eye on the baking time.
Why are my brownies cakey?
Overmixing or overbaking are the usual culprits. Mix the batter only until the dry ingredients disappear, and pull the brownies when a toothpick comes out with moist crumbs, not clean. The center should still look slightly underdone.
Do I have to add chocolate chips?
Not at all the brownies will still be rich and chocolatey from the cocoa powder. The chips add extra pockets of melted chocolate, but if you prefer a smoother texture, leave them out or swap them for chopped nuts.
Can I use natural cocoa powder?
You can, but the flavor and color will be different. Natural cocoa is more acidic and lighter in color, while Dutch-process gives a darker, milder, more fudgy result. If using natural cocoa, the brownies might be slightly less rich.