
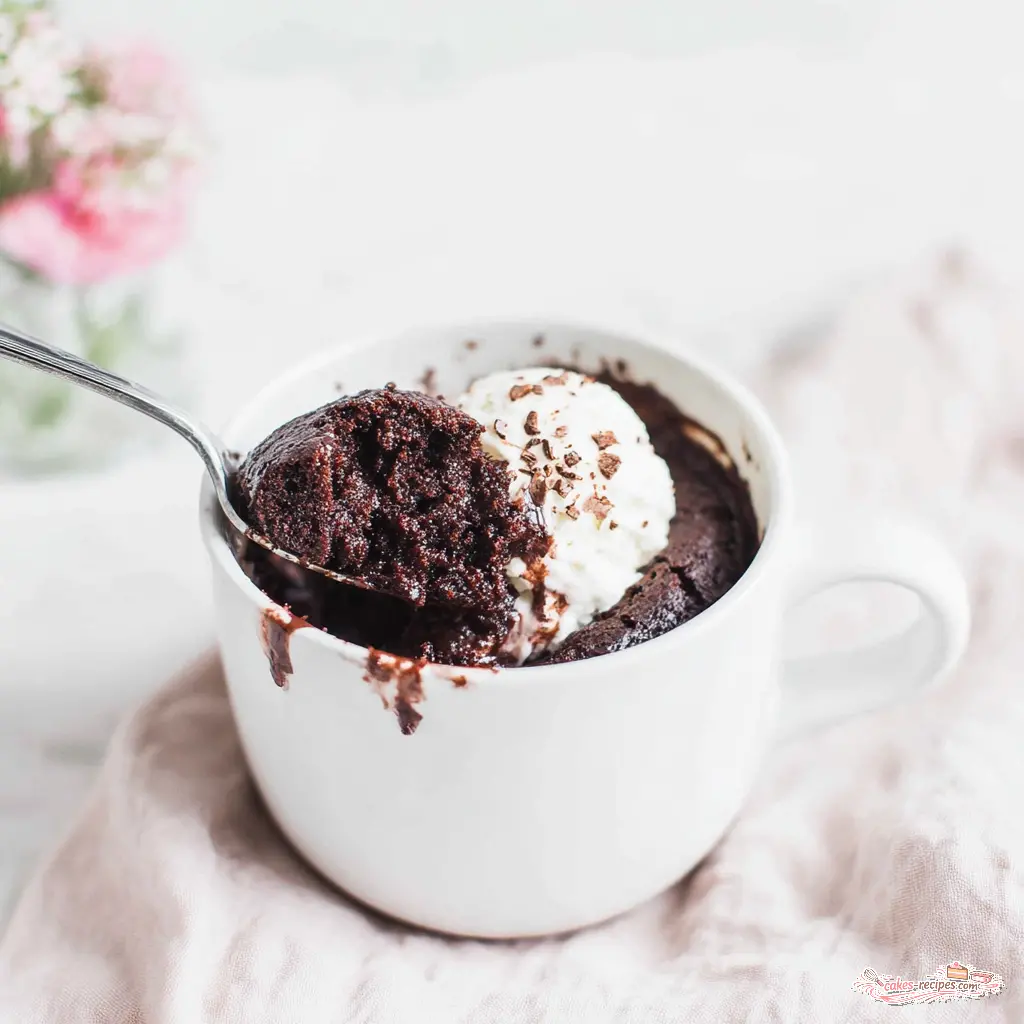
That Late-Night Chocolate Craving, Solved
It’s 10:30 PM. The kids are finally asleep. You’re exhausted, but your brain is screaming for something chocolate. Not a granola bar. Not a handful of chips. A real dessert. Something warm, fudgy, and deeply satisfying.
I’ve been there more times than I can count. And for years, my solution was either a sad square of dark chocolate or a trip to the freezer for ice cream. Neither felt like a victory.
Then I started playing around with the idea of a chocolate mug cake. A single serving cake you can make in a mug, in the microwave, in under five minutes. No oven. No giant mixing bowl. No leftover cake tempting you at midnight.
But here’s the thing. Most mug cake recipes are terrible. Dry, spongy, rubbery. They taste like punishment, not dessert. I should know. My first attempts were so bad, my niece (the seven-year-old chocolate critic) took one bite and said, “Uncle Marcus, this tastes like brown, not like chocolate.” She wasn’t wrong.
So I kept testing. And testing. And testing. Until I landed on this version. A moist chocolate mug cake that’s rich, tender, and actually tastes like a real chocolate cake. No eggs needed. No special skills. Just one mug, five minutes, and a whole lot of chocolate satisfaction.
What Is a Chocolate Mug Cake?
Let’s keep this simple. A chocolate mug cake is exactly what it sounds like. A small chocolate cake that you mix and cook in a single mug, using your microwave. It’s the ultimate 5 minute dessert for when you need a quick chocolate fix but don’t want to bake an entire cake.
The concept isn’t new. People have been making mug cakes for years. But the execution is where most recipes fall apart. They use eggs (which make it rubbery), they use too much flour (which makes it dry), or they just don’t understand microwave timing (which makes it either raw or tough).
This recipe is different. It’s a single serving cake that’s designed to be forgiving. The batter comes together in about a minute. The microwave does the rest. And because it’s eggless mug cake, you don’t have to worry about that weird spongey texture that plagues most mug cakes.
Think of it as your emergency dessert. The one you can make with pantry staples when the craving hits and you need something now. No planning ahead. No trip to the store. Just you, a mug, and chocolate.
Why This Is the Best Recipe
I’m not going to claim this is the only chocolate mug cake recipe on the internet. But I will say it’s the one I’ve made more than any other. And I’ve made a lot of mug cakes.
Here’s why this one works:
- No eggs. Most mug cake recipes call for an egg, but a whole egg is too much liquid for such a small cake. It makes the texture tough and spongey. This recipe is naturally eggless mug cake, so the crumb stays tender.
- Oil instead of butter. Butter adds water content that can make the cake gummy. Oil keeps it moist and gives it that fudgy texture you want from a fudgy mug cake.
- Chocolate hazelnut spread in the center. This is the secret weapon. Dropping a spoonful of chocolate hazelnut spread into the batter creates a molten, gooey center. It’s like a lava cake in a mug.
- Perfect single serving. This small batch chocolate cake is designed for one person. No leftovers to tempt you. No waste. Just pure, guilt-free indulgence.
I’ve tested this recipe at least thirty times. I’ve tried different flours, different milks, different cocoa powders. I’ve overcooked it (dry), undercooked it (soupy), and everything in between. This version is the sweet spot. It’s the one that makes you close your eyes on the first bite.
Ingredients You’ll Need
You probably already have most of these in your pantry. That’s the beauty of this mug cake recipe easy enough for any night of the week.
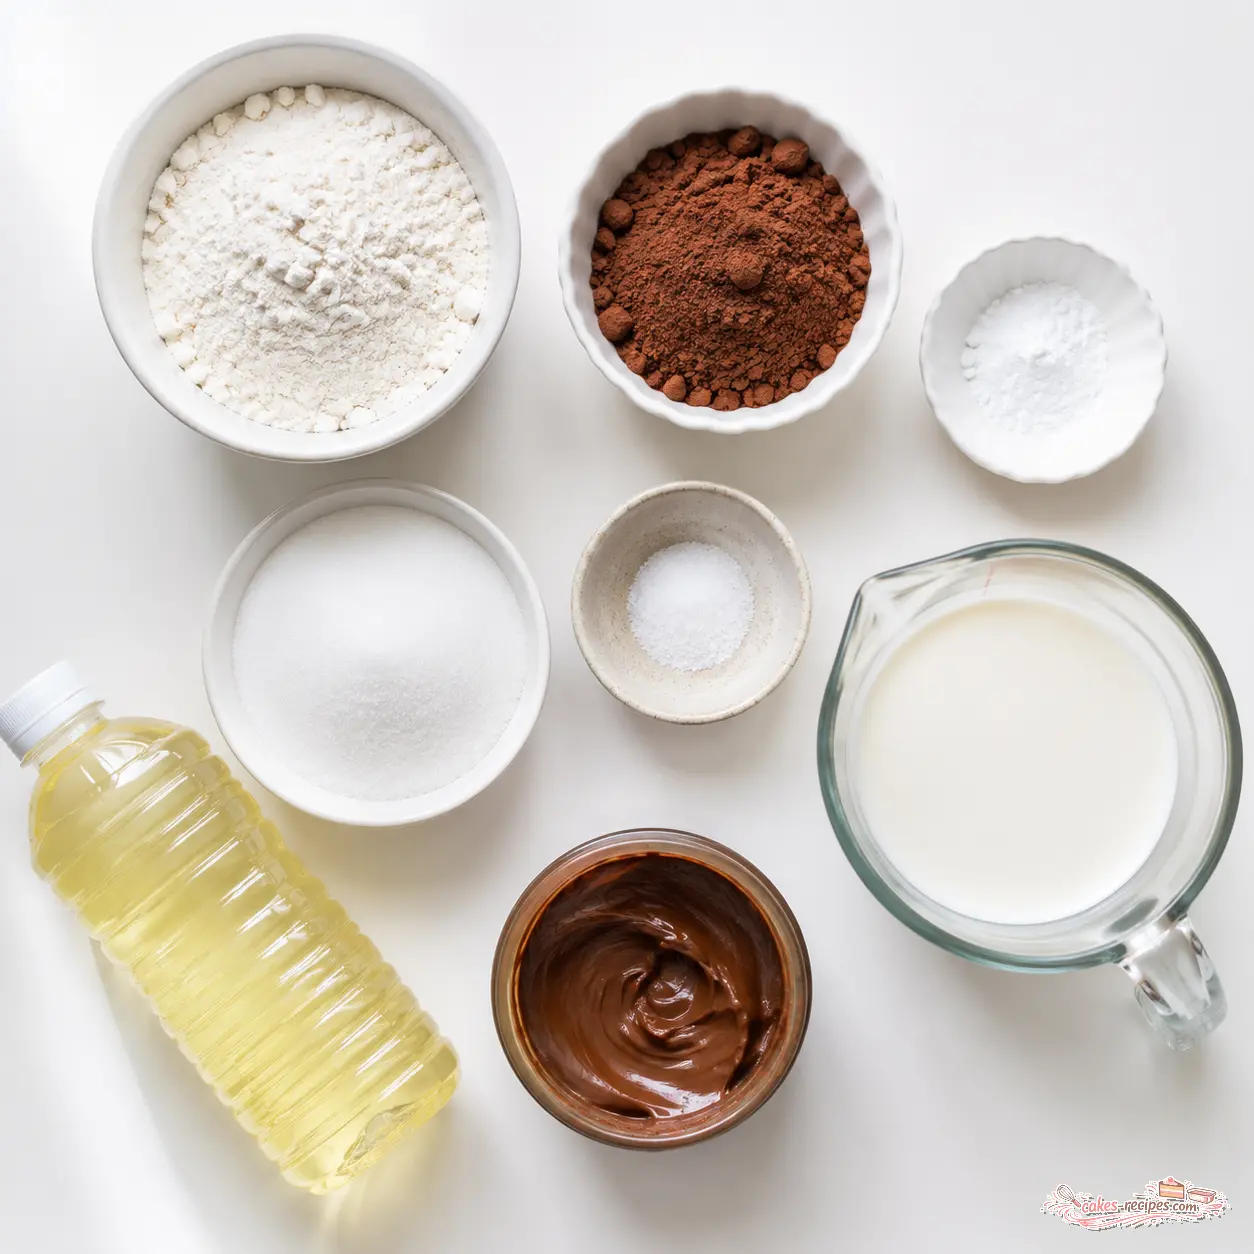
- All-purpose flour. The base of the cake. Nothing fancy here.
- Unsweetened cocoa powder. Use natural cocoa powder for the brightest chocolate flavor. I prefer it over Dutch-processed for mug cakes because it reacts better with the baking powder.
- Baking powder. The leavening agent. This is what makes the cake rise in the microwave.
- Granulated sugar. Just enough sweetness to balance the cocoa.
- Kosher salt. A tiny pinch makes the chocolate taste more chocolatey. If you only have table salt, use half the amount.
- Whole milk. Adds richness. But don’t worry, we’ll cover dairy-free options below.
- Vegetable oil. Any neutral oil works. Canola, sunflower, grapeseed. Avoid olive oil unless you want a savory note.
- Chocolate hazelnut spread. The surprise center. You can also use mini chocolate chips or even a chunk of your favorite chocolate bar.
That’s it. Eight ingredients, most of which you probably have right now. No eggs, no butter, no fuss. This is the kind of microwave chocolate dessert that saves your evening.
Substitutions and Variations
One of the things I love about this recipe is how flexible it is. I’ve made it for friends with dietary restrictions, and it adapts beautifully. Let me walk you through the most common swaps.
Dairy-Free Chocolate Mug Cake
Making this a dairy free mug cake is straightforward. Substitute the whole milk with any plant-based milk. Almond milk, oat milk, soy milk, they all work. I’ve tested this with oat milk and it’s fantastic. Just make sure you use an unsweetened version so you don’t throw off the sugar balance. Skip the chocolate hazelnut spread or use a dairy-free version. Some brands make vegan chocolate hazelnut spreads now.
Vegan Mug Cake
This recipe is already naturally vegan-friendly since there are no eggs. To make it a proper vegan mug cake, just follow the dairy-free substitutions above. Use plant-based milk and a vegan chocolate spread. That’s it. You’re done.
Flavor Variations
The base recipe is a classic chocolate cake. But sometimes you want to mix things up. Here are some of my favorite add-ins:
- Peanut butter. Drop a big dollop of peanut butter into the center instead of the chocolate hazelnut spread. The combination of chocolate and peanut butter is unbeatable.
- Caramel. A small scoop of caramel sauce in the center creates a gooey, sweet surprise.
- White chocolate chips. Sprinkle a few on top before microwaving for little pockets of sweetness.
- Sea salt. A tiny pinch of flaky sea salt on top after cooking elevates the chocolate flavor.
- Mini M&M’s. My niece’s favorite. She insists they make the cake “more fun.”
Healthier Swaps
If you’re watching your sugar or calories, you can make some adjustments. Cut the sugar in half, or substitute with a granulated sweetener like monk fruit. Replace the oil with unsweetened applesauce (the cake will be slightly less rich but still delicious). Use white whole wheat flour instead of all-purpose. None of these will ruin the cake, though the texture will be a bit different.
How to Make a Chocolate Mug Cake
This is where the magic happens. The process is ridiculously simple, but there are a few details that make the difference between a dry disappointment and a moist, fudgy triumph.
Let me walk you through the four major stages.
Stage 1: Mix the Dry Ingredients
In a small bowl, whisk together the flour, cocoa powder, baking powder, sugar, and salt. You want them evenly combined. No clumps of cocoa powder hiding in there. This takes about 30 seconds.
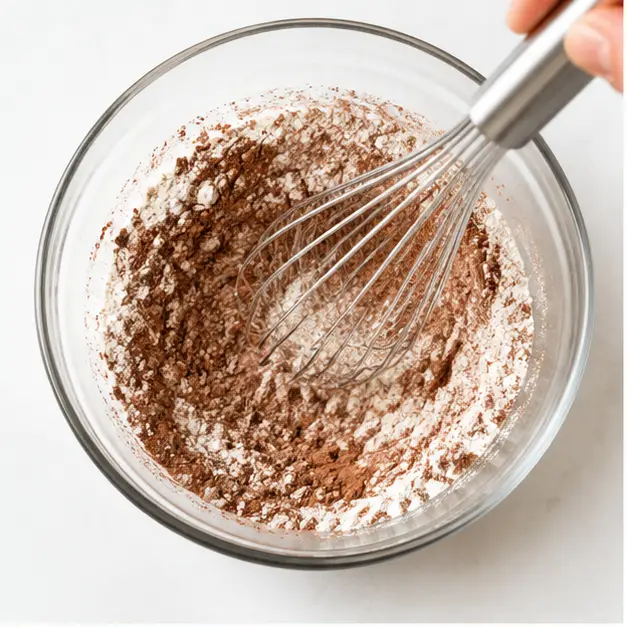
Why whisk? Because baking powder needs to be distributed evenly throughout the flour. If it’s clumped in one spot, your cake will rise unevenly. Trust me, I learned this the hard way. My first few attempts had one side of the cake puffing up like a souffle and the other side flat as a pancake.
Stage 2: Add the Wet Ingredients
Add the milk and vegetable oil to the dry mixture. Whisk until the batter is smooth and no clumps remain. It should be thick but pourable, like a standard cake batter.
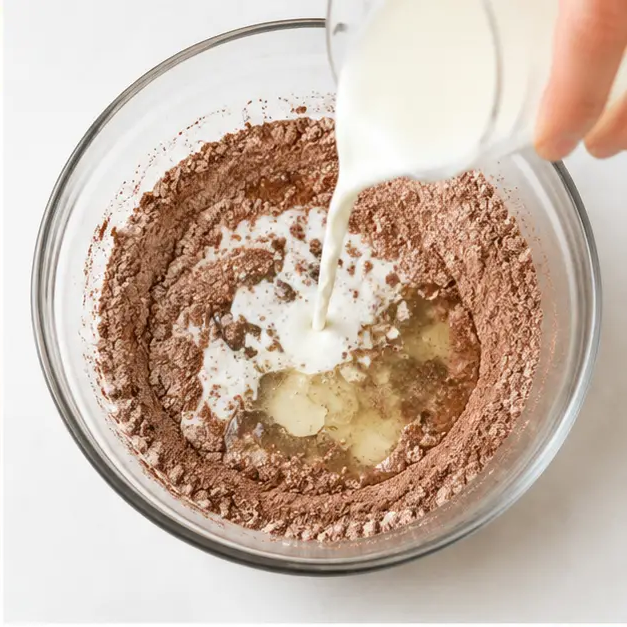
Here’s a tip I learned from my mom, who spent years perfecting her chocolate cake technique. Don’t overmix. Once the flour is incorporated, stop. Overmixing develops gluten, and gluten makes cake tough. We want tender, not tough.
Stage 3: Pour and Add the Center
Pour the batter into a microwave-safe mug that holds at least 12 ounces. This is important. A standard coffee mug is usually 10 to 12 ounces, but you want room for the cake to rise without spilling over. I use a 14-ounce mug and it works perfectly.
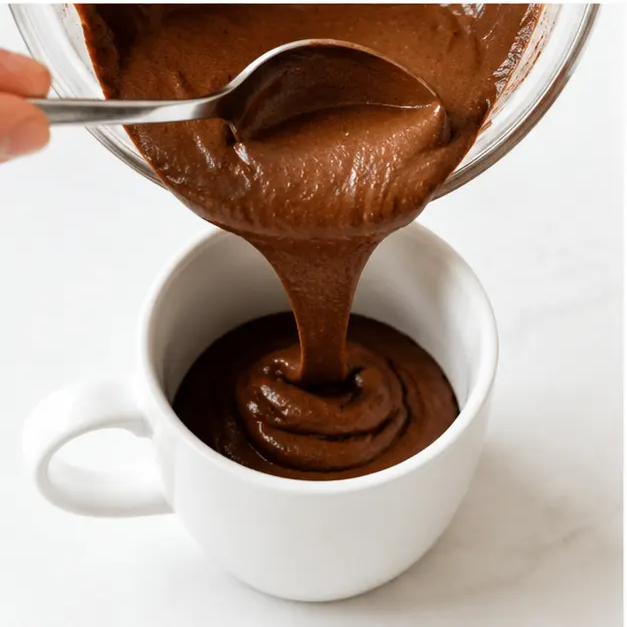
Now for the secret step. Drop the chocolate hazelnut spread (or mini chocolate chips) into the center of the batter. Do not stir. The heat from the microwave will melt it naturally, creating a molten center. If you stir it in, it just becomes chocolate batter. You want that concentrated pocket of gooey goodness.
Stage 4: Microwave and Enjoy
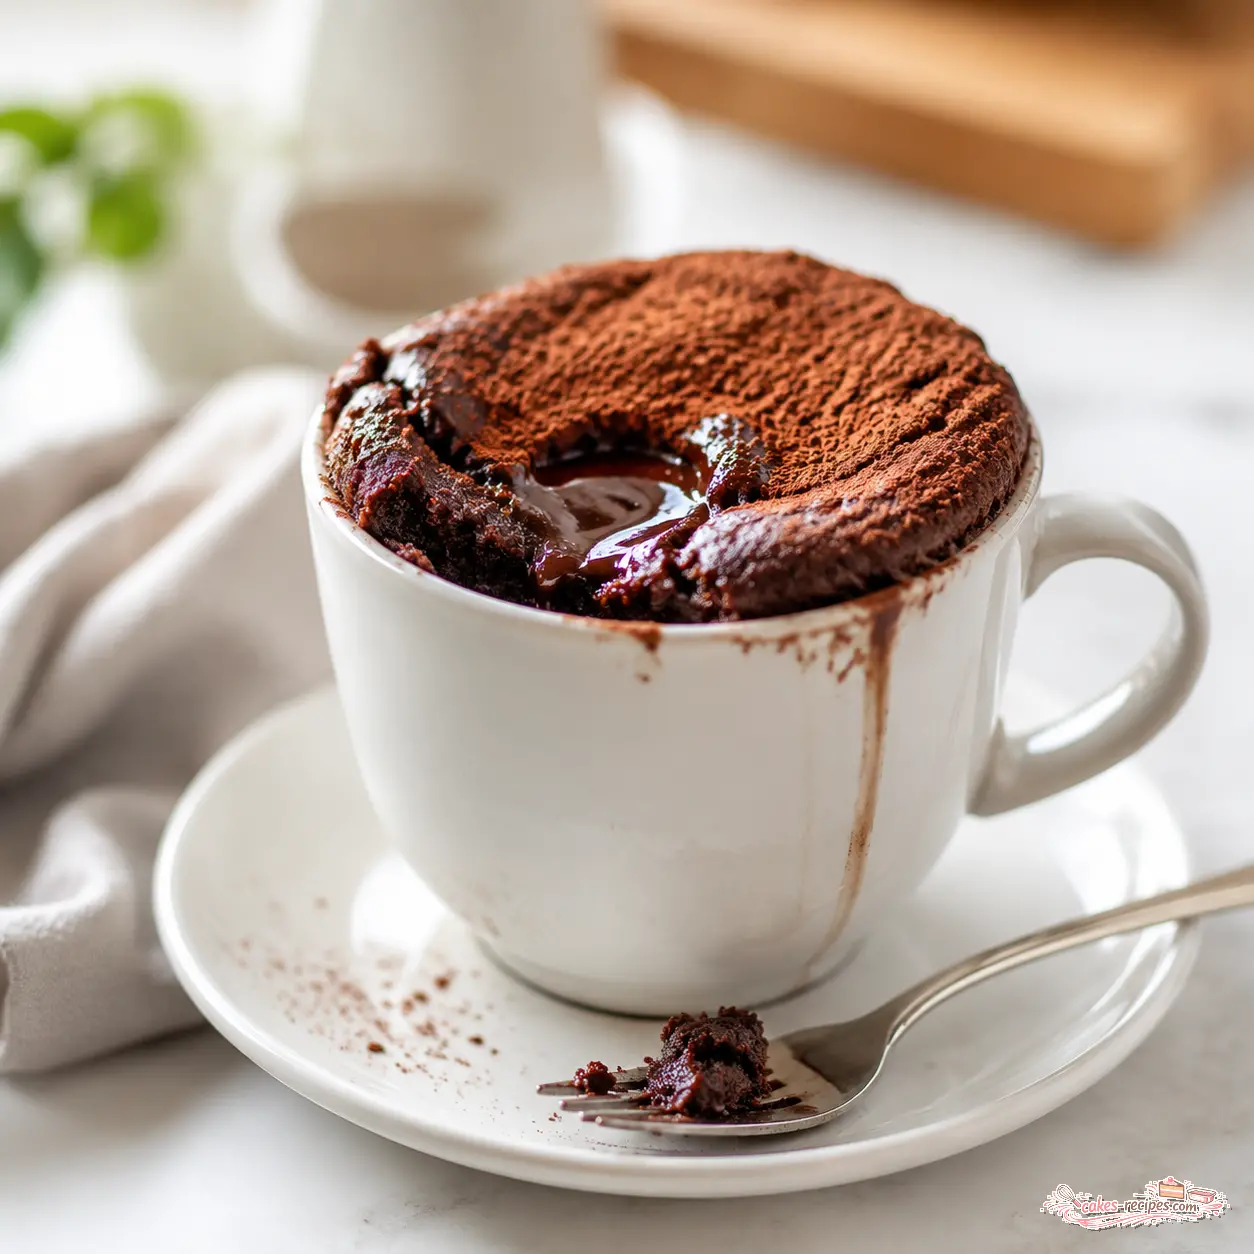
Place a paper towel in the microwave and set the mug on top. This catches any overflow. Microwave on high power for 70 to 90 seconds. Start checking at 70 seconds. The cake should be set on top but still slightly moist in the center.
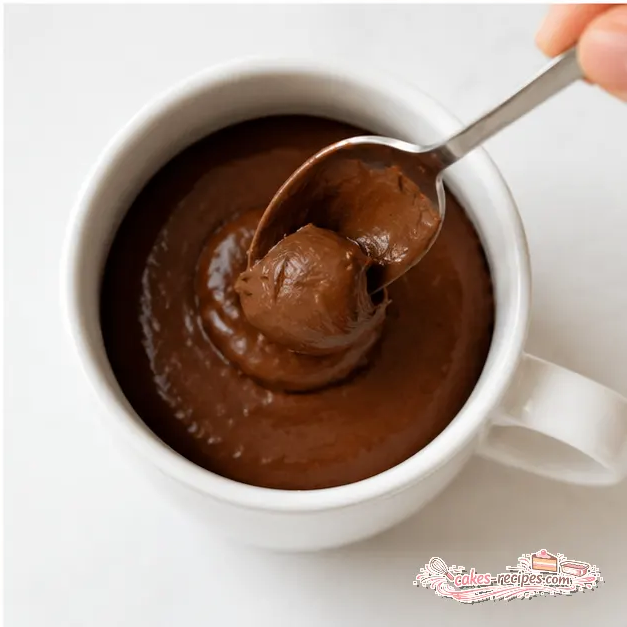
Every microwave is different. A 900-watt microwave will need closer to 90 seconds. A 1200-watt microwave might be done at 65 seconds. The first time you make this, check it at 70 seconds. If the top is still wet and jiggly, give it another 10 seconds. If it looks dry and the edges are pulling away from the mug, you’ve gone too far.
Let the cake rest in the microwave for about a minute after cooking. The residual heat finishes setting the center. Then carefully remove the mug (it’s hot!) and dig in immediately.
Tips for Success
After dozens of test batches, I’ve compiled a list of tips that will help you nail this chocolate mug cake on your first try. Because nobody wants a failed dessert when all they wanted was a quick chocolate fix.
Microwave Wattage Matters
The single biggest variable. Microwaves vary wildly in power. If yours is 900 watts or less, start with 90 seconds. For 1000 watts or more, try 70 seconds first. The difference between perfect and overcooked is about 10 seconds. I keep a notebook with my microwave settings for different recipes. It sounds obsessive, but it saves me from dry cake.
- Mug size matters. A taller, narrower mug takes longer to cook than a shorter, wider mug. The wider surface area allows more even cooking. If you’re using a tall mug, add 10 seconds to the cooking time.
- Use a paper towel. Always place a paper towel under the mug. Even if you think your mug is big enough, overflow can happen. The paper towel makes cleanup instant.
- Stop cooking early. The cake continues to cook from residual heat after you stop the microwave. If it looks almost done at 70 seconds, take it out. It will finish setting as it rests.
- Don’t skip the rest. Let the cake sit in the microwave for 1 minute after cooking. This allows the center to finish setting without overcooking the edges.
- Eat immediately. This is a single serve chocolate cake meant to be enjoyed fresh. It will dry out if left to sit. The whole point is instant gratification, so don’t wait.
Common Mistakes (and How to Fix Them)
Sometimes things go wrong. Here’s what to look for and how to fix it next time.
- ❌ Dry, spongey cake. You overcooked it. Reduce the cooking time by 10 seconds next time. Also check your mug size.
- ✅ Solution: Start checking at 60 seconds. Every microwave is different, and it’s better to undercook slightly than overcook.
- ❌ Raw, gooey center. You undercooked it. Add 10 seconds next time. But also check that your batter wasn’t too thick. If you added extra flour, it needs more time.
- ✅ Solution: Make sure you measured the flour correctly. Spoon it into the measuring cup, don’t scoop directly. Scooping packs the flour and adds too much.
- ❌ Cake overflowed. Your mug is too small. Use a mug that holds at least 12 ounces. Also, don’t fill the mug more than halfway with batter.
- ✅ Solution: Use a larger mug or reduce the batter slightly. A standard coffee mug is often too small.
- ❌ Cake is gummy. You might have overmixed the batter, which develops too much gluten. Or you used too much liquid.
- ✅ Solution: Mix just until combined. And measure your milk carefully. Too much liquid makes the cake gummy instead of fluffy.
How to Store and Reheat
Let’s be real. This chocolate mug cake is best eaten immediately. That’s the whole point. But if you somehow have leftovers, here’s what to do.
Storage is tricky because mug cakes dry out fast. If you must save it, cover the mug tightly with plastic wrap and store at room temperature for up to 24 hours. Do not refrigerate. The fridge will make it dry and sad.
To reheat, microwave for 15 to 20 seconds. Check it at 15 seconds. You just want to warm it through, not cook it again. If you have a toaster oven, you can also warm it at 300°F for about 5 minutes. But honestly, it’s never as good as fresh.
My advice? Just make it when you want it. It takes two minutes. There’s no reason to make it ahead. This is a quick chocolate fix, not a meal prep recipe.
Frequently Asked Questions
Over the years, I’ve answered a lot of questions about this recipe. Here are the most common ones.
Go Make Your Mug Cake
Look, I know there are a million dessert recipes out there. But this chocolate mug cake is the one that actually delivers. It’s fast. It’s easy. It’s satisfying. And it doesn’t require any special skills or equipment.
The next time you’re craving something sweet, skip the packaged snacks and make this instead. It takes less time than driving to the store for ice cream. And it tastes a hundred times better.
I’d love to hear how it turns out for you. Share your mug cake victory in the comments. Tell me what add-ins you tried. Did you go with peanut butter? Caramel? Did you make it dairy-free? I read every comment, and I’m always happy to help troubleshoot.
And if you’re looking for more dessert inspiration, come find me on Pinterest. I’m always pinning new recipes there. It’s where I share all my chocolate experiments, the successes and the failures. Trust me, you’ll want to see the failures. They’re educational.
Now go make your mug cake. Your chocolate craving isn’t going to wait.
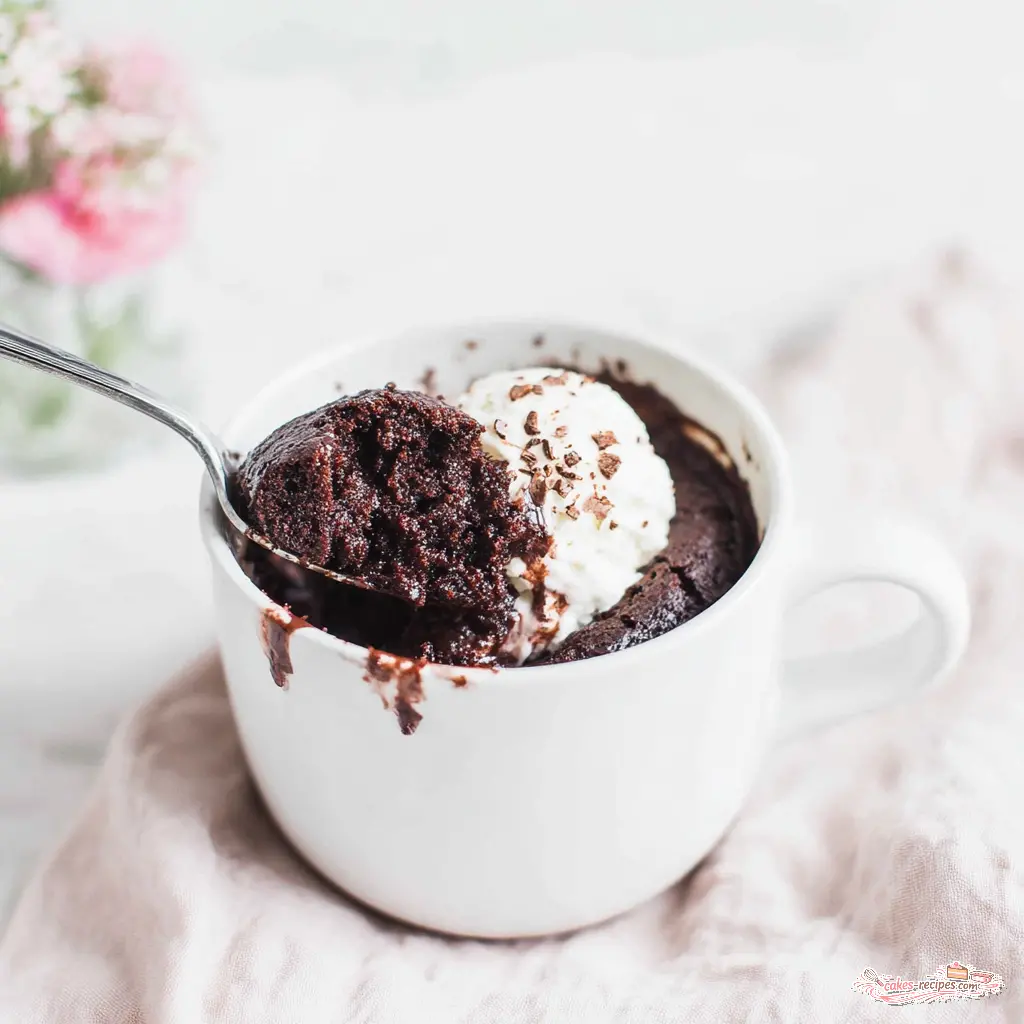
Ultimate Moist Chocolate Mug Cake
Ingredients
Method
- In a small bowl, whisk together the flour, cocoa powder, baking powder, sugar, and salt until evenly combined.
- Add the milk and vegetable oil, then whisk until the batter is smooth and no clumps remain.
- Pour the batter into a microwave-safe mug that holds at least 12 ounces, leaving enough room for the cake to rise without spilling over.
- Drop the chocolate hazelnut spread or mini chocolate chips into the center of the batter. Do not stir—the heat will sink them in naturally.
- Place a paper towel in the microwave and set the mug on top to catch any overflow.
- Microwave on high power for 70 to 90 seconds, depending on your microwave wattage (start checking at 70 seconds). The cake should be set on top but still slightly moist in the center.
- Carefully remove the mug from the microwave and enjoy immediately.
Nutrition
Notes
Tried this recipe?
Let us know how it was!Source: Nutritional Information
Why is this chocolate mug cake made without eggs?
A whole egg is too much liquid for a single serving cake. It makes the texture spongey and rubbery. This eggless mug cake uses oil instead, which keeps the crumb tender and moist. The result is a fudgy, rich cake that doesn’t taste like a sad substitute.
Can I make this with self-raising flour?
You can, but the texture will be different. Self-raising flour has baking powder and salt already added. If you use it, skip the baking powder and reduce the salt slightly. The cake will be a bit more spongey than the original recipe. I prefer all-purpose for a denser, fudgier result.
Can this mug cake be made in the oven?
I haven’t tested this recipe in the oven, so I can’t give you exact times. Mug cakes are designed for the microwave’s quick, even heating. If you try the oven, use a small ramekin and bake at 350°F, checking after 10 minutes. But honestly, the microwave is the whole point of this recipe.
Can I make it dairy-free?
Absolutely. Substitute the whole milk with almond milk, oat milk, or soy milk. Use a dairy-free chocolate hazelnut spread or skip it entirely. The cake will still be moist and delicious. I’ve tested it with oat milk and it works perfectly. This makes a great dairy free mug cake.
How long should I cook it?
Microwave on high for 70 to 90 seconds. Start checking at 70 seconds. The cake should be set on top but still slightly moist in the center. Microwave wattage varies, so adjust based on your machine. A 900-watt microwave needs about 90 seconds. A 1200-watt microwave needs about 70 seconds.
What if my mug is a different size?
Mug size affects cooking time. A taller, narrower mug takes longer to cook than a shorter, wider one. If your mug is smaller than 12 ounces, reduce the batter slightly to prevent overflow. If it’s larger, the cake will cook faster. Adjust the microwave time by 5 to 10 seconds as needed.















One Response
Finally, a mug cake that isn’t dry and spongy! I added the extra tablespoon of sugar and it was perfectly sweet. The hazelnut spread made it extra decadent. This is my new go-to late-night treat.