
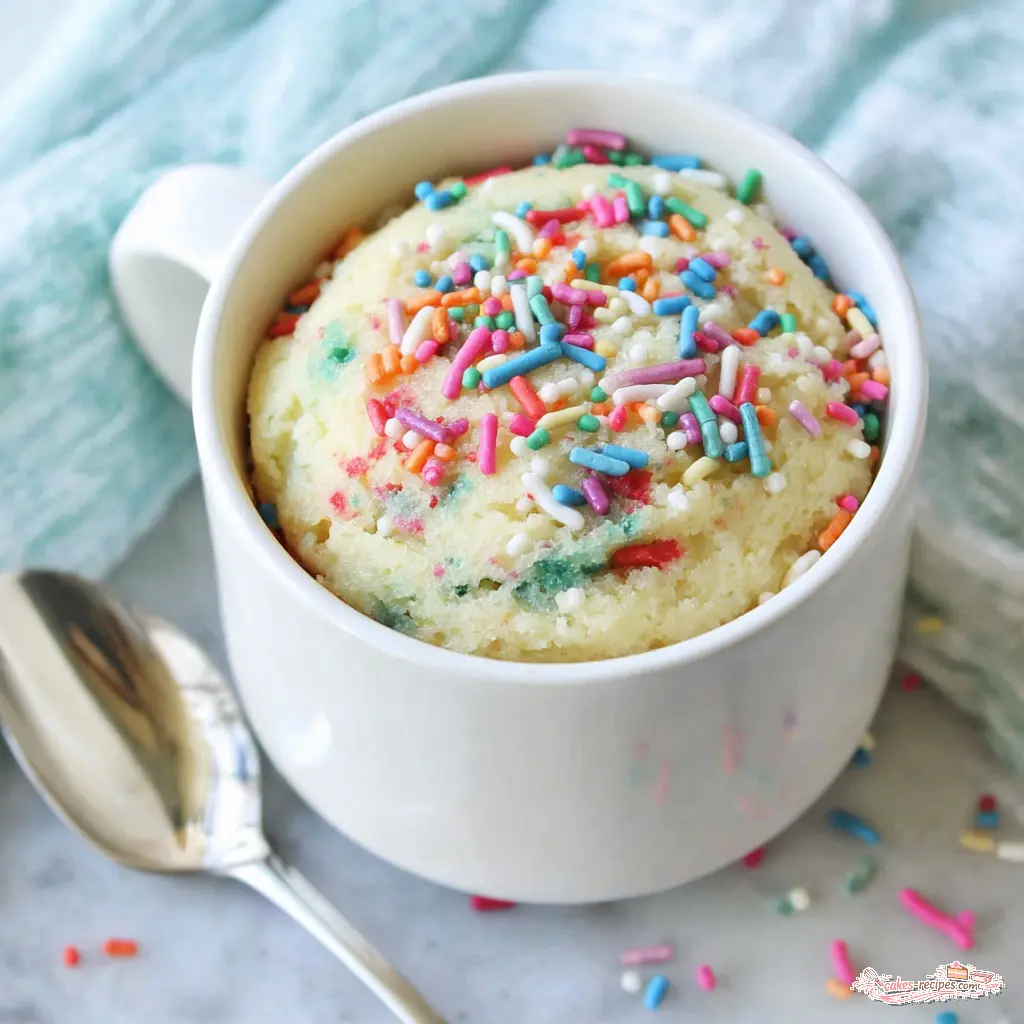
What Is a Vanilla Mug Cake?
You know when you need dessert in 2 minutes flat? Like, right now? That’s exactly what a vanilla mug cake is for. It’s a single serve cake that you mix up right in a mug and cook in the microwave. No oven, no big bowl, no fuss. Just a warm, fluffy, vanilla-scented little cake that’s all yours.
I grew up in Lyon spending summers at my grandmother Mimi’s pâtisserie. I’d stand on a crate behind the counter, watching her pipe perfect rosettes on tiny cakes. She’d let me try, and mine would look like melting blobs. She’d display them anyway with a little sign that said ‘Sophie’s Special.’ I learned that presentation is an act of love, and everyone starts with melting blobs. This vanilla mug cake? It’s like that small, beautiful, and totally doable.
This isn’t some dry, rubbery mess you might remember from bad mug cake experiments. This one is moist, tender, and has that real vanilla flavor that makes you close your eyes for a second. And it’s ready in under five minutes. How cute is that?
Why You’ll Love This Recipe
Oh my goodness, where do I start? This is my go-to when the kids ask for dessert and I just can’t face turning on the oven. In the summer, when it’s 100°F outside here in Austin, the last thing I want is to heat up the whole house for one little cake. The microwave is my hero.
- It’s so fast. We’re talking 4 minutes of prep and 1 minute of cooking. That’s it.
- Single serving perfection. No leftovers calling your name from the fridge. Just one perfect little cake just for you.
- Pantry ingredients. You probably have everything already. Flour, sugar, milk, butter, vanilla, baking powder. That’s it.
- No special equipment. Just a mug and a spoon. My five-year-old son can almost make this himself (he’s the Chief Cupcake Taster in our house, so he’s very invested).
- Totally foolproof. Seriously. I once forgot the egg in a different mug cake recipe and it was basically a pancake still good! But this recipe doesn’t even use an egg, so you can’t mess that up.
This is the kind of quick vanilla dessert that makes you feel like a hero parent. Or just a hero to yourself on a Tuesday night when you need something sweet. Love that for you.
Ingredients You’ll Need
Let’s talk about what goes into this vanilla mug cake. The ingredient list is short and sweet, which I love. Nothing weird, nothing you have to hunt down at a specialty store. Just basic baking staples.
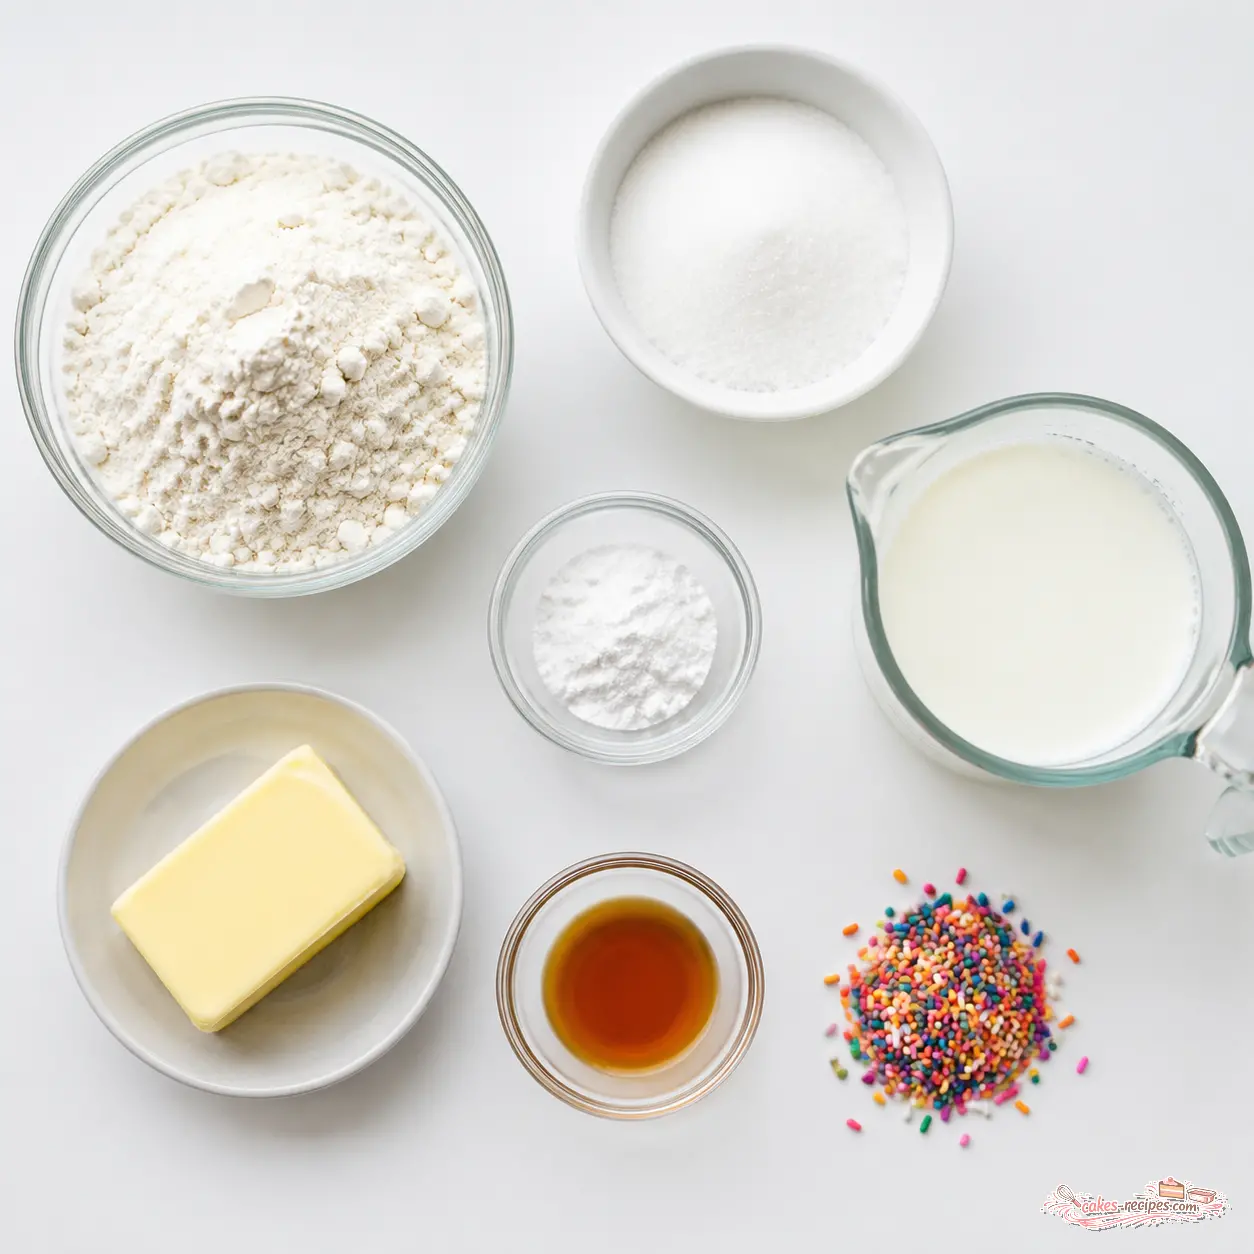
- All-purpose flour (4 tablespoons): The base of our cake. Regular AP flour works perfectly here. No need for anything fancy.
- Granulated sugar (2 tablespoons): Just enough sweetness without being overwhelming. You could cut it in half if you prefer less sweet, but I like it as is.
- Baking powder (1/2 teaspoon): This is what makes it rise and get fluffy. Make sure yours is fresh expired baking powder is the #1 reason mug cakes don’t rise. I learned that the hard way.
- Whole milk (1/4 cup): Gives the cake moisture and a tender crumb. You can use 2% or even skim, but whole milk makes it richer.
- Unsalted butter (1 1/2 tablespoons, melted): For that buttery flavor and soft texture. Melt it in the microwave for about 15 seconds before you start.
- Vanilla extract (1/2 teaspoon): The star of the show. Use real vanilla extract, not imitation, if you can. It makes a difference.
- Rainbow sprinkles (1 tablespoon): Totally optional, but so fun. They make it feel like a party in a mug. I like using jimmies (the little cylinder-shaped ones) because they don’t bleed their color into the batter as much.
That’s it. Seven ingredients. You’ve got this.
How to Make a Vanilla Mug Cake
This is where the magic happens. The whole process takes maybe 4 minutes, and most of that is just stirring. I’ll walk you through the four main stages so you know exactly what to look for.
Stage 1: Grease Your Mug (Optional But Helpful)
First, grab a microwave-safe mug. I like using a wide mug rather than a tall skinny one it lets the cake bake more evenly. Lightly grease the inside with a little butter or oil. This is optional, but it makes the cake slide out easier if you want to turn it onto a plate. I tend to skip this step honestly, because I usually eat it straight from the mug. But if you’re serving it to someone special, go ahead and grease it.
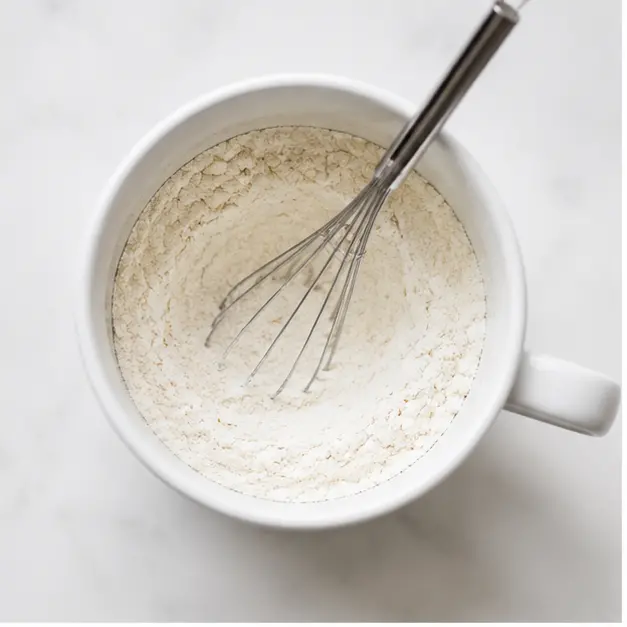
Now, add your dry ingredients right into the mug. The flour, sugar, and baking powder. Whisk them together with a fork or a small whisk until they’re thoroughly combined. This is important you want that baking powder evenly distributed so the cake rises uniformly. A few seconds of whisking is all it takes.
Stage 2: Add the Wet Ingredients
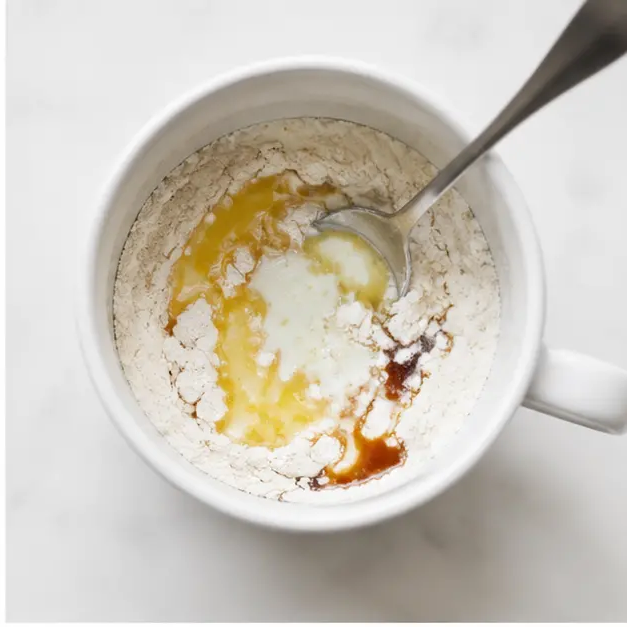
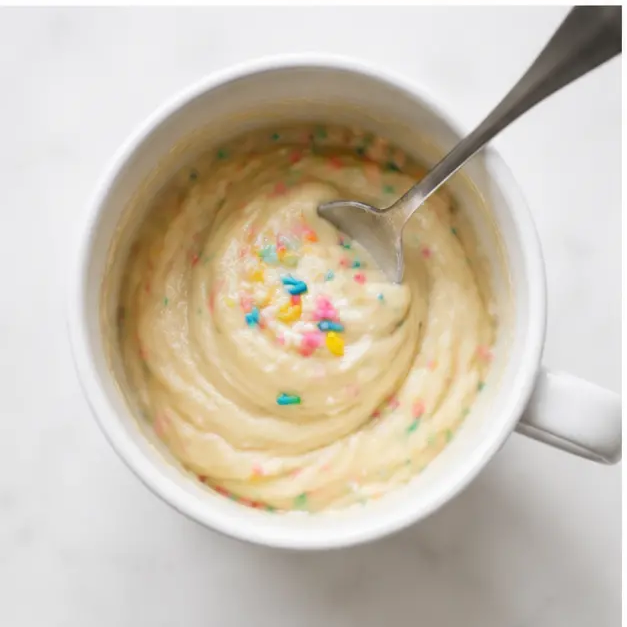
Pour in the milk, the melted butter, and the vanilla extract. Now stir everything together until the batter is smooth. A few lumps are totally fine don’t overmix! Overmixing develops the gluten and makes the cake tough. Just stir until you don’t see any dry flour pockets. About 15 seconds of gentle stirring.
If you’re using sprinkles, gently fold them in now. Don’t go crazy stirring you want those pretty colors to stay intact, not turn the whole batter pink.
Stage 3: Microwave It
This is the tricky part, because all microwaves are different. My microwave at home is 950 watts, and 45 seconds to 1 minute is the sweet spot. But if you have a 1200-watt microwave, you might only need 45 seconds. If you have a 700-watt one, it could take up to 2 minutes.
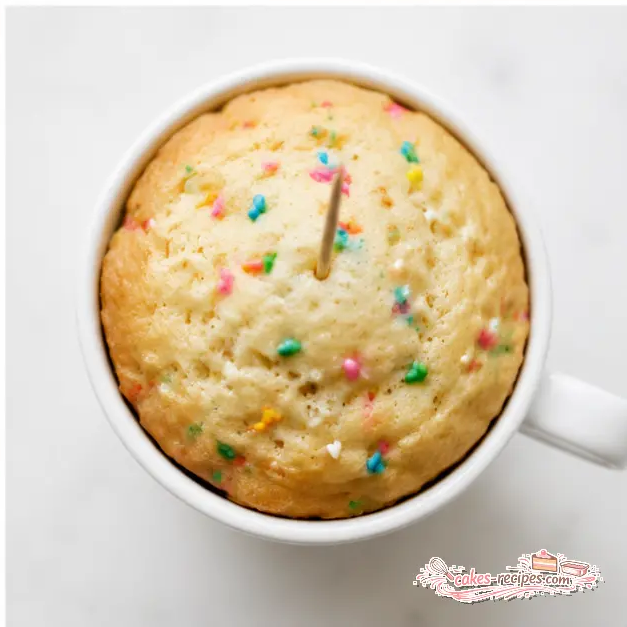
Here’s my advice: start with 1 minute. Then check it. Insert a toothpick into the center if it comes out clean, it’s done. If not, add 15 to 30 seconds more. The cake will rise quite a bit as it cooks, so make sure your mug isn’t too full. I’ve had it overflow before, and that’s a sticky mess in the microwave. Not fun.
The trick with mug cakes is to stop cooking earlier than you think. You want it to be soft on the inside, and the cake will continue to cook as it cools. So if it looks just barely set, that’s perfect.
Stage 4: Cool and Enjoy
Carefully remove the mug from the microwave it will be hot! Let it cool for 1 to 2 minutes. I know it’s hard to wait, but trust me. The cake needs that time to finish setting up. If you dig in too soon, it might be a little gummy in the center.
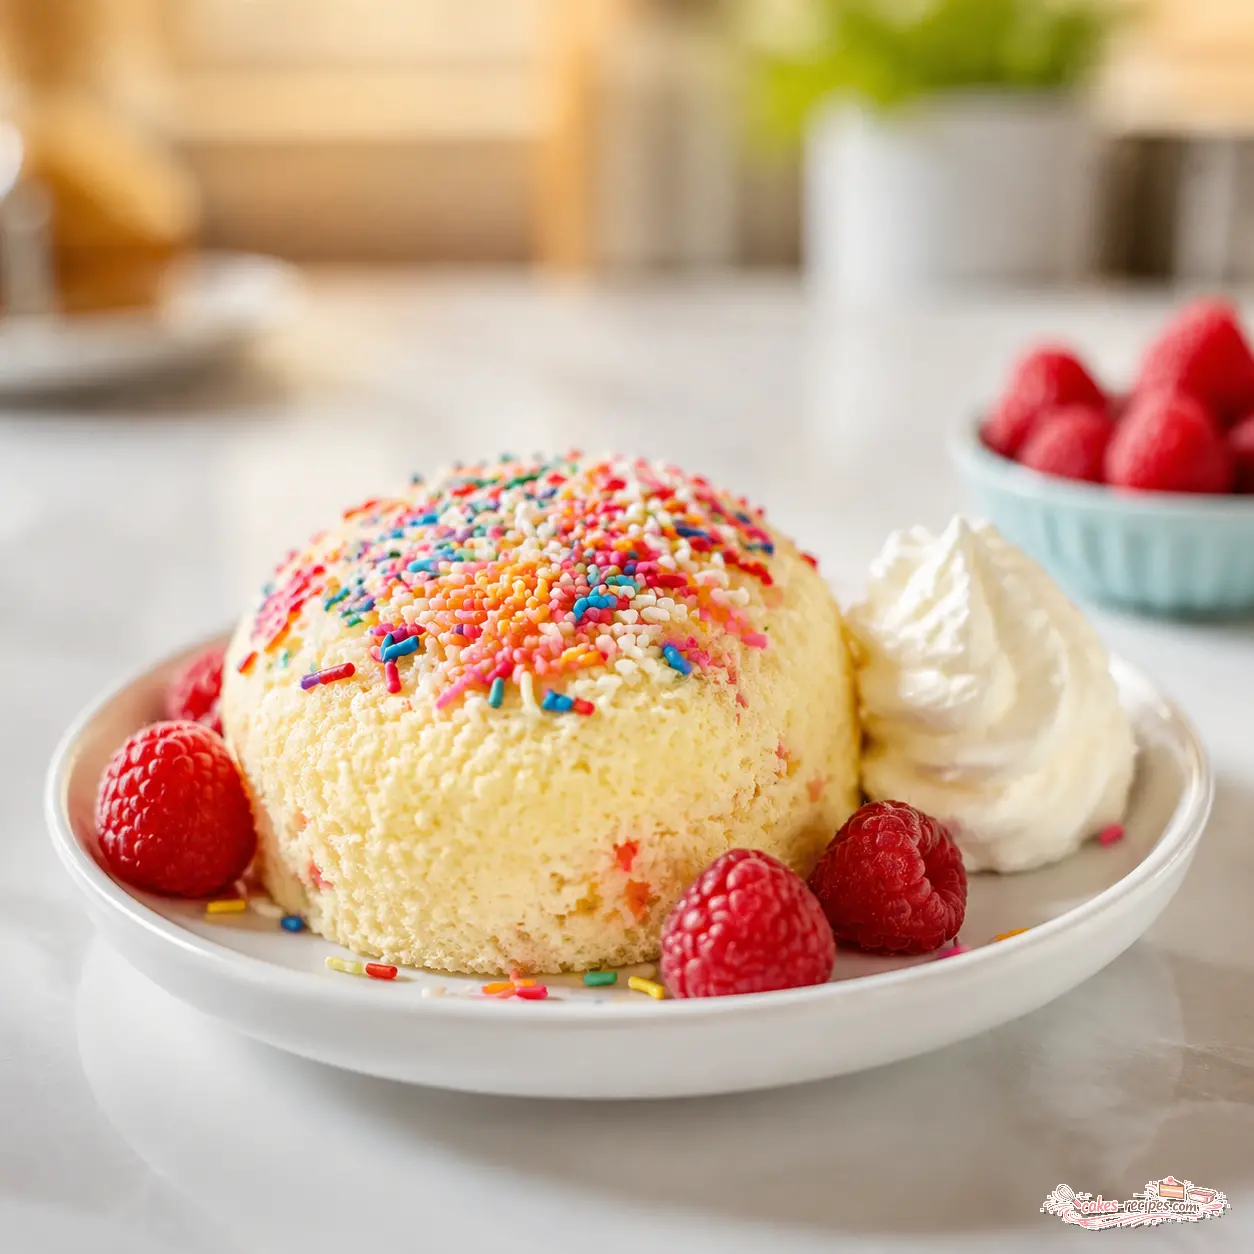
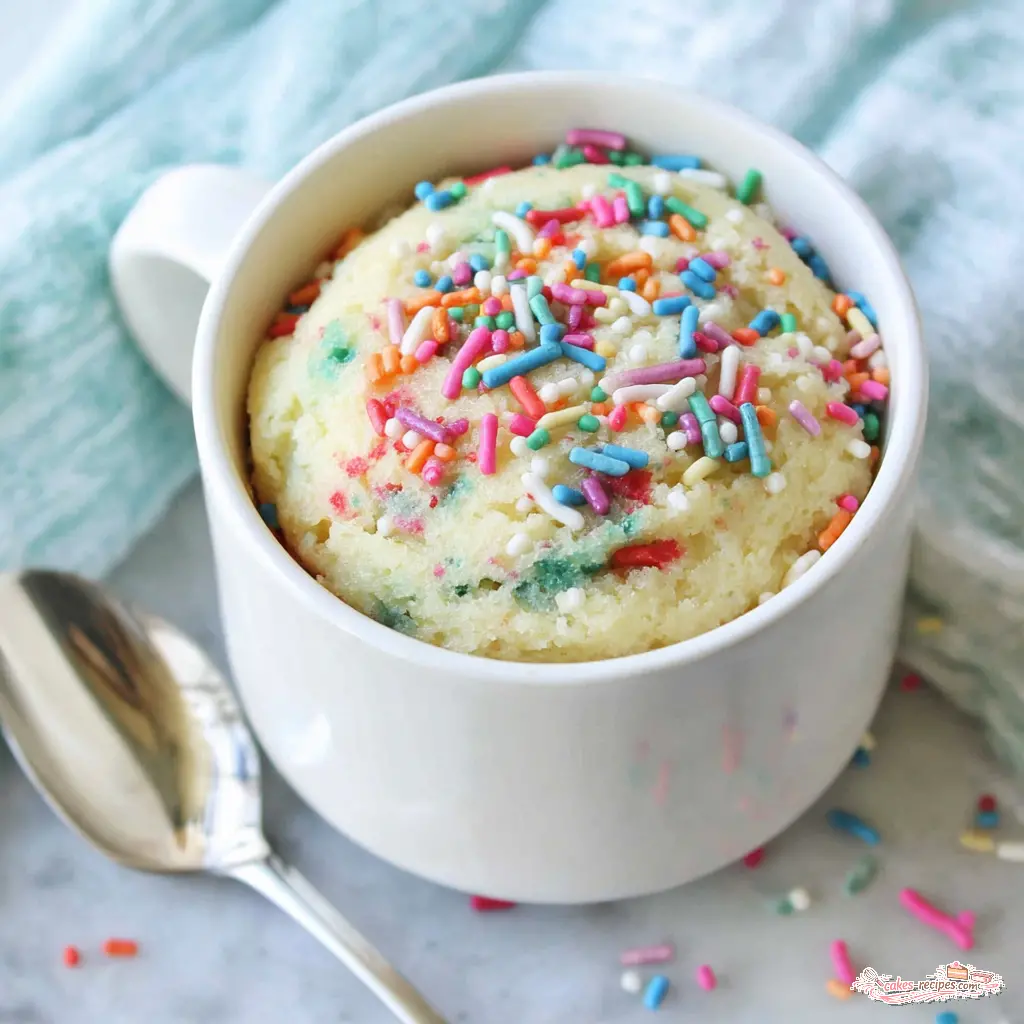
You can eat it straight from the mug (my preferred method, especially on a busy weeknight), or turn it out onto a small plate. If you greased the mug, it should slide right out. Top it with whipped cream, a scoop of vanilla ice cream, or just extra sprinkles. Grab a spoon and dig into your warm, fluffy vanilla mug cake. Perfect for a quick, satisfying dessert any time.
Pro Tips for the Best Mug Cake
I’ve made a lot of mug cakes in my day. Some were amazing, some were… learning experiences. Here are my best tips to make sure yours turns out perfect every time.
Common Mistakes and Fixes
❌ Overmixing the batter: This makes the cake tough and rubbery. Stir just until combined a few lumps are fine.
❌ Over-microwaving: This is the #1 killer of mug cakes. Start with less time and add more if needed. A dry, rubbery cake is a sad thing.
❌ Using a mug that’s too small or tall/narrow: The cake needs room to rise. A wide mug is better because it bakes more evenly. If your mug is too narrow, the center might stay raw while the edges are overcooked.
❌ Using nonpareils sprinkles: Those tiny round balls bleed their color into the batter and make it look muddy. Use jimmies (the little cylinders) instead. They hold their color much better.
❌ Using a mug with metallic paint or trim: Metal in the microwave is a big no-no. It can spark and damage your microwave. Stick with plain ceramic or glass mugs.
One more thing let the cake rest in the microwave for about a minute after it finishes cooking. The residual heat continues to cook the center gently, and it helps the texture set up perfectly. I know you’re eager to eat it, but that one minute makes a difference.
Variations and Add-In Ideas
This vanilla mug cake is a great base for all kinds of fun variations. Here are some of my favorites, all totally optional.
- Chocolate chip: Swap the sprinkles for 1 tablespoon of chocolate chips. Mini chips work great because they distribute more evenly.
- Peanut butter: Add a small scoop of peanut butter (about 1 teaspoon) and swirl it into the batter before microwaving. So good.
- Cinnamon sugar: Add 1/4 teaspoon of cinnamon to the dry ingredients and sprinkle a little cinnamon sugar on top after cooking.
- Coconut: Fold in 1 tablespoon of shredded coconut for a tropical twist.
- Nutella: Drop a small scoop of Nutella into the center of the batter before microwaving. It melts into a gooey surprise.
- Chopped nuts: Add 1 tablespoon of chopped almonds or walnuts for some crunch.
For dietary swaps, here’s what I’ve found works:
- Dairy-free: Substitute the whole milk with almond milk, oat milk, or soy milk. Use melted coconut oil or a dairy-free butter alternative instead of the butter. The texture will be slightly different a bit less tender but still delicious.
- Lower sugar: Cut the sugar in half, or substitute with a granulated sweetener like monk fruit or stevia. You could also leave out the sprinkles to reduce sugar further.
- Gluten-free: Use a 1:1 gluten-free all-purpose flour blend. I’ve had good luck with Bob’s Red Mill. The texture might be a bit more delicate, so handle gently.
- Egg-free: This recipe doesn’t use an egg anyway, so you’re good! If you’re adapting another recipe that calls for an egg, you can substitute with 1 extra tablespoon of milk.
Serving and Topping Ideas
This vanilla mug cake is wonderful on its own, but toppings make it even better. Here are some of my favorite ways to serve it.
- Whipped cream: A big dollop of homemade or store-bought whipped cream. So simple, so good.
- Vanilla ice cream: A scoop of ice cream on top of a warm mug cake is a classic for a reason. The melty contrast is perfect.
- Fresh berries: Strawberries, raspberries, blueberries whatever you have. They add a fresh, tart contrast to the sweet cake.
- Caramel or chocolate sauce: A drizzle of sauce makes it feel extra fancy.
- Powdered sugar: A light dusting of powdered sugar through a small strainer looks beautiful and adds a touch of sweetness.
- Extra sprinkles: Because more sprinkles is always a good idea.
In the summer, I love topping mine with fresh strawberries from the farmers’ market and a big spoonful of whipped cream. It feels like a little celebration, even on a random Tuesday.
How to Store Leftovers
Honestly, this is a single serve cake, so leftovers are rare in my house. But if you somehow don’t finish it, here’s what to do.
Store the mug cake right in the mug, covered with plastic wrap or aluminum foil. Keep it at room temperature for up to 1 day. If you want to keep it longer, you can refrigerate it for up to 2 days. The texture will be denser after refrigeration, but it’s still tasty.
To reheat, just pop the mug back in the microwave for 10 to 15 seconds. That’s usually enough to warm it through without drying it out. You can also eat it cold it’s like a little vanilla pound cake, and honestly, I kind of love it that way.
If you want to prep ahead, you can mix the dry ingredients and store them in a small bag or container. Then when you’re ready, just add the wet ingredients and microwave. That’s a great back-to-school treat for the kids they can make it themselves with a little supervision.
Frequently Asked Questions
I hope you love this vanilla mug cake as much as I do. It’s become my go-to for those moments when I need something sweet, fast, and comforting. My son has already requested it for his after-school snack this week, and I’m happy to oblige. Go make your mug cake I promise it’ll work!
If you try it, I’d love to know how it turns out. Share your creations with me on Pinterest I’m always looking for inspiration and love seeing your beautiful mug cakes. Happy baking, friends!
Best Vanilla Mug Cake Recipe
Ingredients
Method
- Lightly grease the inside of a microwave-safe mug with a little butter or oil to prevent sticking, though this step is optional.
- In the mug, whisk together the all-purpose flour, granulated sugar, and baking powder until thoroughly combined. This ensures the cake rises evenly and has a light texture.
- Add the milk, melted butter, and vanilla extract to the dry ingredients. Stir until the batter is smooth. If using sprinkles, gently fold them in now.
- Microwave on high for 1 to 2 minutes, depending on your microwave's wattage. Start with 1 minute and test doneness by inserting a toothpick into the center; if it comes out clean, the cake is done. If not, continue microwaving in 15- to 30-second increments.
- Carefully remove the mug from the microwave (it will be hot) and let it cool for 1 to 2 minutes. Enjoy directly from the mug or turn it out onto a plate. Top with whipped cream, vanilla ice cream, or extra sprinkles if desired.
- Grab a spoon and dig into your warm, fluffy vanilla mug cake. Perfect for a quick, satisfying dessert any time.
Nutrition
Notes
Tried this recipe?
Let us know how it was!Source: Nutritional Information
Can you make mug cakes dairy free?
Absolutely. Swap the whole milk for almond milk, oat milk, or soy milk I’ve tested all three and they work great. Use melted coconut oil or a dairy-free butter like Miyoko’s instead of the butter. The texture will be slightly less tender, but still fluffy and delicious.
Can you reheat a vanilla mug cake?
Yes! Just pop the mug in the microwave for 10 to 15 seconds. That’s usually enough to warm it through without drying it out. Don’t overdo it, or it’ll get rubbery. You can also eat it cold it tastes like a little vanilla pound cake, which is honestly pretty great.
Can you eat mug cakes cold?
Totally. If you don’t finish it or just prefer cold desserts, go for it. The texture firms up a bit in the fridge, almost like a dense little vanilla cake. I’ve been known to eat leftover mug cake straight from the fridge as a midnight snack. No judgment here.
What kind of mug do I use for mug cakes?
Use a microwave-safe ceramic or glass mug, at least 12 ounces in capacity. Wide mugs are better than tall skinny ones because the cake bakes more evenly. Avoid mugs with metallic paint or trim they can spark in the microwave. A standard coffee mug works perfectly.
Is it safe to eat mug cakes?
Yes, as long as you cook them thoroughly. Use a toothpick to check doneness it should come out clean. The cake is fully cooked when it reaches an internal temperature of about 200°F. Just make sure your mug is microwave-safe and you’re good to go.















3 Responses
I made this for my daughter’s after-school snack and it was a huge hit! I didn’t have sprinkles, so I added a few chocolate chips instead. It came out perfectly moist and fluffy. Do you think I could use almond milk instead of regular milk without changing the texture too much?
I’m so glad your daughter loved it! Yes, almond milk works great—just use an unsweetened variety and add an extra teaspoon of sugar if you like it sweeter. The texture stays nice and tender!
This was okay, but I found it a little too sweet for my taste. Next time I’ll try reducing the sugar to 1½ tablespoons. The vanilla flavor was lovely, though, and it really is fast to make. Perfect for a quick fix.