Classic California Glazed Donuts
Ingredients
Method
- Scald the milk: In a small saucepan over medium-low heat, warm the milk, stirring constantly, until it reaches 180°F or begins to steam. Remove from heat and let cool to 115°F on a thermometer.
- Proof the yeast: In a large mixing bowl, whisk together 1 cup of flour, sugar, yeast, and salt. Pour in the warm milk, then whisk in the olive oil, egg yolks, and vanilla extract until smooth. Cover the bowl with plastic wrap and let rest at room temperature for 10 to 15 minutes, until bubbles appear on the surface.
- Knead the dough: Using a firm spatula, stir in the remaining 1 1/2 cups of flour, adding just enough until the dough comes together and no longer sticks to the bowl. If needed, add the last 2 tablespoons of flour. Knead the dough by hand in the bowl for about 5 minutes, dusting your hands lightly with flour if it's too sticky. The dough should be soft and slightly tacky.
- First rise: Cover the bowl with plastic wrap and set in a warm place, such as a 100°F oven, for 45 minutes, or at room temperature for 1 1/2 to 2 hours, until the dough has doubled in size.
- Roll and cut: Turn the dough out onto a lightly floured surface. Roll it to about 1/4 to 1/3 inch thick. Use a donut cutter to cut out 11 to 12 donuts and donut holes. Gently press the scraps together and re-roll to cut additional donuts if desired.
- Second rise: Place the donuts and donut holes on a parchment-lined baking sheet, spacing them so they aren't touching. Cover with a clean tea towel and let rise in a warm spot for 20 minutes, or at room temperature for 45 minutes, until puffed.
- Make the glaze: In a medium bowl, whisk together the powdered sugar, 5 tablespoons of water, and vanilla extract until smooth. Set aside.
- Heat the oil: In a Dutch oven or deep fryer fitted with a clip-on thermometer, heat about 2 inches of oil to 375°F.
- Fry the donuts: Once the donuts have puffed, carefully fry 2 at a time for 45 to 60 seconds per side, flipping once, until golden brown. Use a slotted spoon to transfer them to a paper towel-lined plate for just a few seconds.
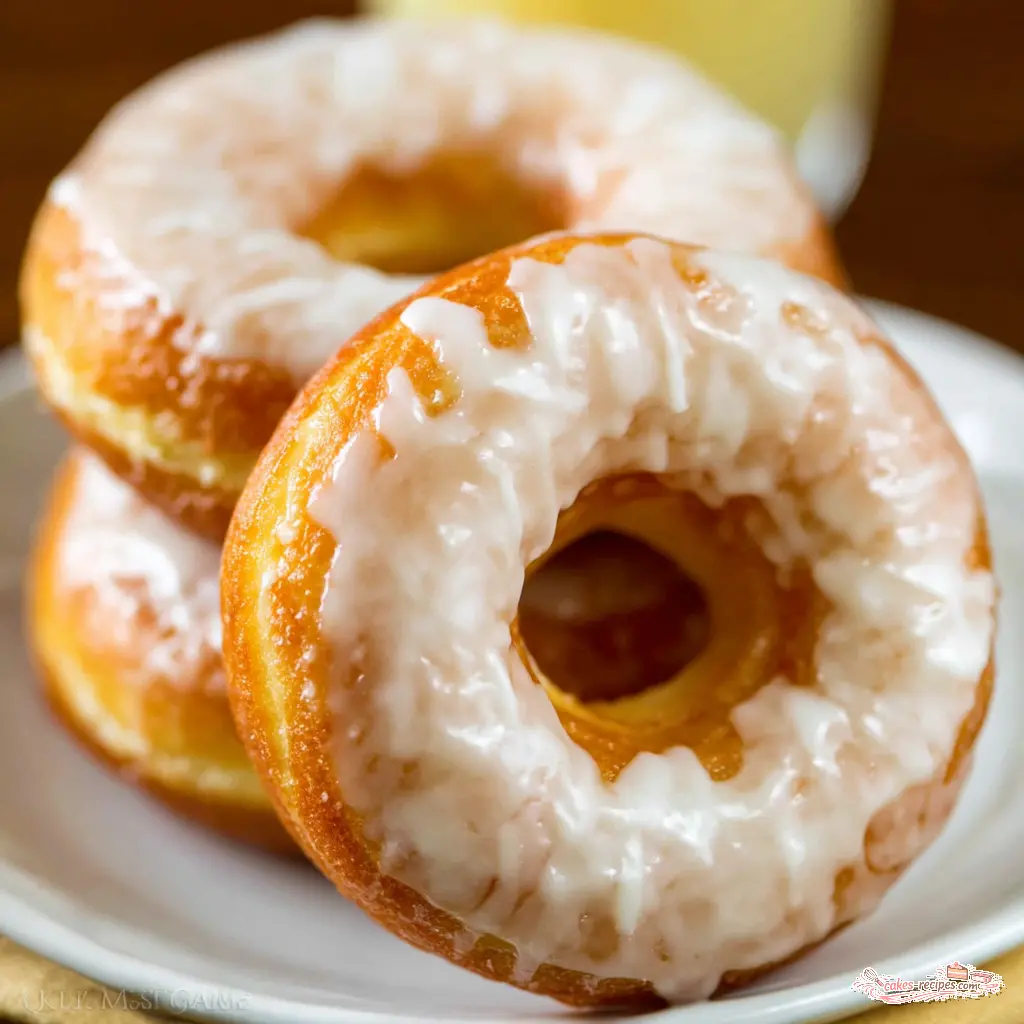
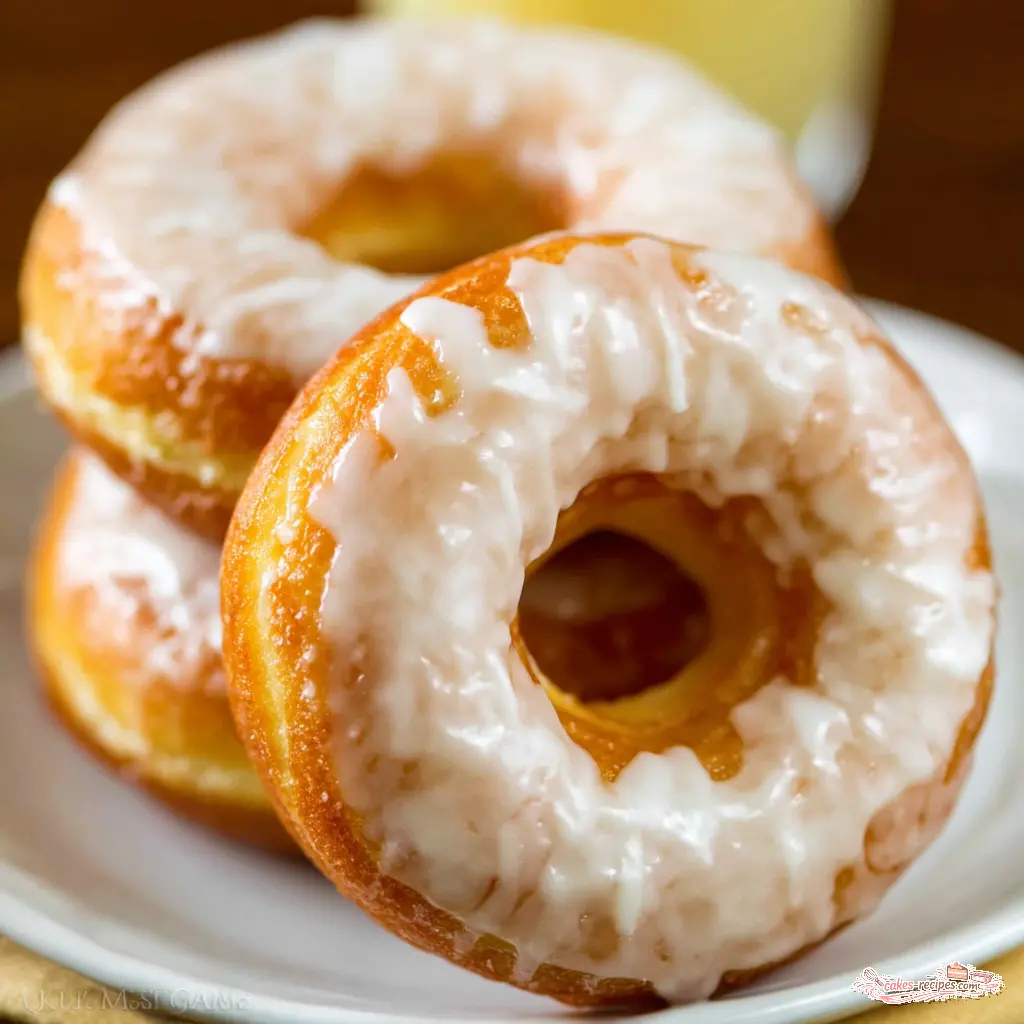
- Glaze: While still warm, dip each donut into the glaze, turning to coat both sides. Place on a wire rack set over a baking sheet to let the excess drip off.
- Fry the donut holes: Fry the donut holes in 2 batches for about 30 to 45 seconds total, then glaze them as well. Serve the donuts once the glaze has set.
Nutrition
Notes
Tried this recipe?
Let us know how it was!Why This Recipe Works
You know that morning when nothing but a warm, glazed donut will do? The kind that’s still slightly warm, with a glaze that crackles just a little when you bite into it. I’ve been there more times than I can count. And for the longest time, I thought making them at home was just… too much. Too messy, too technical, too likely to end in a pile of greasy disappointment.
But here’s the thing I’ve learned after years of testing: homemade glazed donuts are absolutely doable. What I’ve found is that this particular recipe strikes the perfect balance. It uses instant yeast (so no fussing with proofing times), a straightforward dough that comes together in one bowl, and a glaze that sets to that beautiful glossy finish we all crave. The result? Light, airy donuts that taste like they came from a bakery, but with the satisfaction of knowing you made them yourself.
This works for me because it’s forgiving. The dough is soft and easy to handle, the frying window is generous, and even if your donuts aren’t perfectly round (mine rarely are), they still taste incredible. Take your time with each step, and you’ll be rewarded with the best glazed donuts you’ve ever had outside of a Krispy Kreme drive-through.
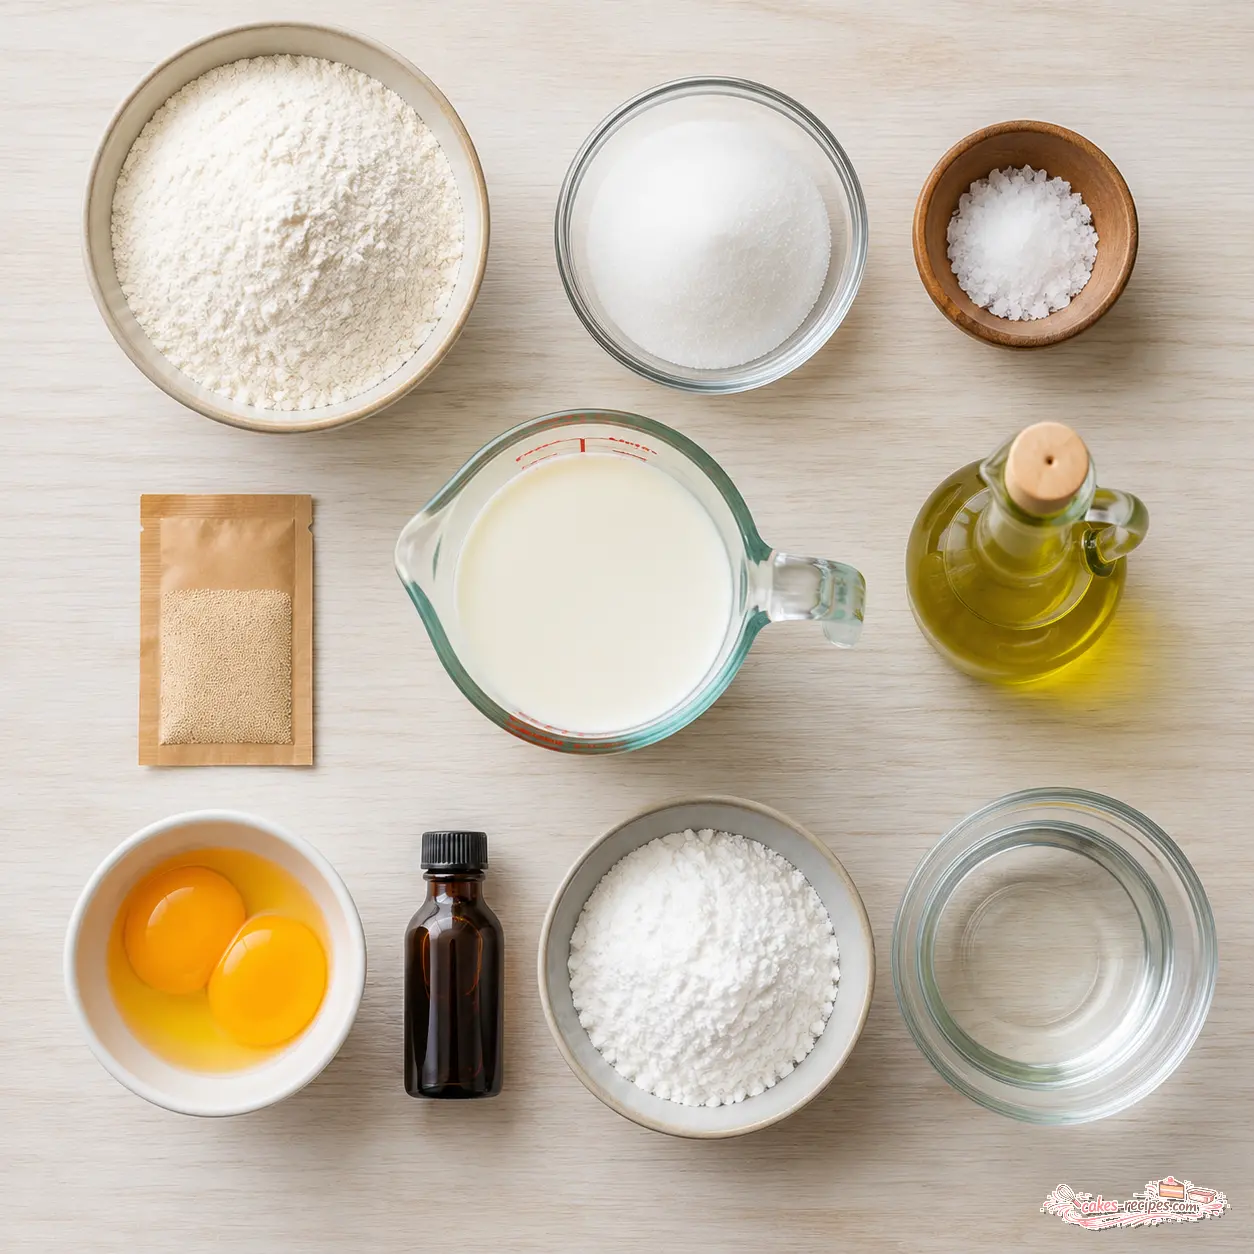
Key Ingredients for Glazed Donuts
Let’s talk about what goes into these beauties. The ingredient list is short, but each one plays a specific role. Understanding that makes the whole process feel less like following a script and more like cooking.
- All-purpose flour This is the backbone. I’ve tested bread flour vs all purpose here, and all-purpose gives a softer, more tender crumb. That’s exactly what we want for a light and fluffy donut.
- Instant yeast One packet (about 2 1/4 teaspoons) is all you need. Instant yeast doesn’t need to be proofed in water first, but I still like to give it a head start with the warm milk. More on that in a moment.
- Whole milk Scald it first, then let it cool to 115°F. This step is crucial. Scalding denatures the milk proteins, which helps the dough absorb the liquid better and results in a softer texture. Whole milk is a must for tender dough.
- Light olive oil Or avocado oil. You want a neutral oil here, not extra virgin. It adds moisture without overpowering the flavor.
- Egg yolks Just the yolks. They add richness and tenderness. Save the whites for an omelet or meringue.
- Vanilla extract Pure, if you have it. It adds that warm, familiar note to both the dough and the glaze.
- Powdered sugar The base of the glaze. One pound (about 4 cups) makes enough to coat all the donuts generously.
The beauty of this recipe is its simplicity. No fancy ingredients, no hard-to-find items. Just pantry staples that come together to create something magical.
The #1 Tip: Don’t Overwork the Dough
If there’s one thing I want you to remember from this entire article, it’s this: don’t overwork the dough. The first time I made these, my dough looked like a sad blob. I kept adding flour because it felt sticky, and then I kept kneading because it didn’t feel smooth enough. The result? Dense, tough donuts that were more like bread than the airy pillows I was after.
What I’ve learned since then is that this dough needs a gentle hand. Knead it just until it comes together and feels smooth about 5 minutes by hand. It should be soft and slightly tacky, not dry. If it sticks to your hands a little, that’s okay. A light dusting of flour on your hands is better than adding more flour to the dough.
Here’s the thing: over-kneading develops too much gluten, which makes the donuts tough. Under-kneading leaves them dense. But there’s a sweet spot, and you can feel it. The dough should spring back slowly when you poke it. That’s what we want.
How to Make Glazed Donuts Step by Step
Let me walk you through the process. I’ll break it into four main stages, each with its own tips and tricks. Be patient with it the payoff is worth it.
Stage 1: Prepare the Dough
Start by scalding the milk. In a small saucepan over medium-low heat, warm the milk, stirring constantly, until it reaches 180°F or just begins to steam. Don’t let it boil you just want it hot enough to change the protein structure. Then let it cool to 115°F. A candy thermometer is perfect for this, but any instant-read thermometer will work.
While the milk cools, whisk together 1 cup of flour, the sugar, yeast, and salt in a large mixing bowl. Pour in the warm milk, then whisk in the olive oil, egg yolks, and vanilla extract. You’ll have a thin, smooth batter. Cover the bowl with plastic wrap and let it rest for 10 to 15 minutes. You’re looking for bubbles to appear on the surface that’s the yeast waking up and doing its job.
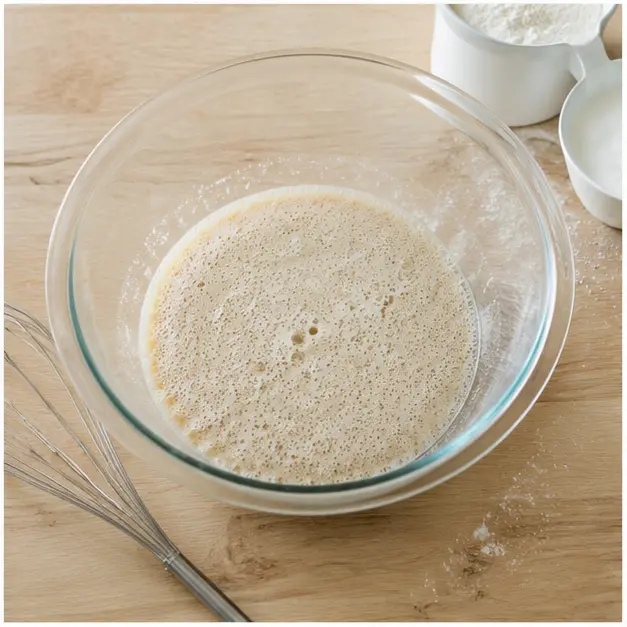
Stage 2: Knead and First Rise
Now, using a firm spatula, stir in the remaining 1 1/2 cups of flour. Add just enough until the dough comes together and no longer sticks to the bowl. If you need the last 2 tablespoons, add them. Then knead the dough by hand in the bowl for about 5 minutes. Dust your hands lightly with flour if it’s too sticky, but remember slightly tacky is good.
Cover the bowl with plastic wrap and set it in a warm place. I like to use my oven with just the light on it stays around 100°F, which is perfect. Let it rise for 45 minutes in a warm spot, or 1 1/2 to 2 hours at room temperature. You want the dough to double in size. It should look puffy and feel soft when you poke it.
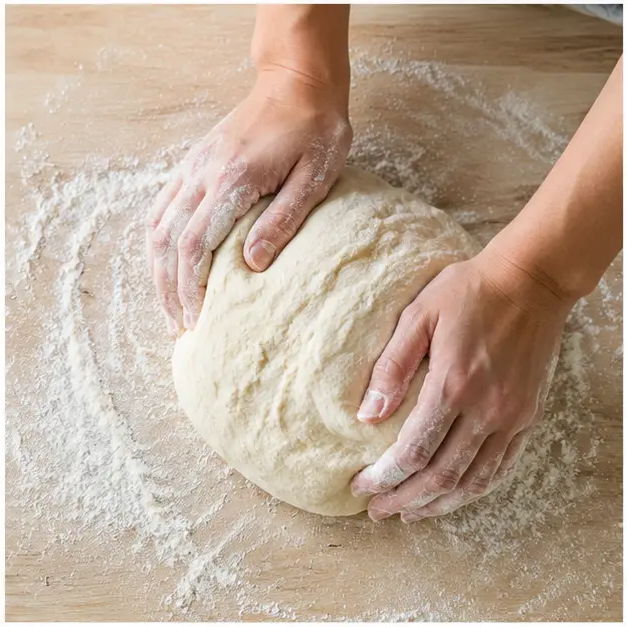
Stage 3: Shape and Second Rise
Turn the dough out onto a lightly floured surface. Roll it to about 1/4 to 1/3 inch thick. Don’t roll it too thin, or the donuts will be flat. Use a donut cutter to cut out 11 to 12 donuts and donut holes. If you don’t have a donut cutter, a 3-inch round cutter and a 1-inch round cutter work perfectly. Gently press the scraps together and re-roll to cut additional donuts if you want.
Place the donuts and donut holes on a parchment-lined baking sheet, spacing them so they aren’t touching. Cover with a clean tea towel and let them rise in a warm spot for 20 minutes, or at room temperature for 45 minutes. They should look puffed up and pillowy. This second rise is what gives them that light, airy texture.
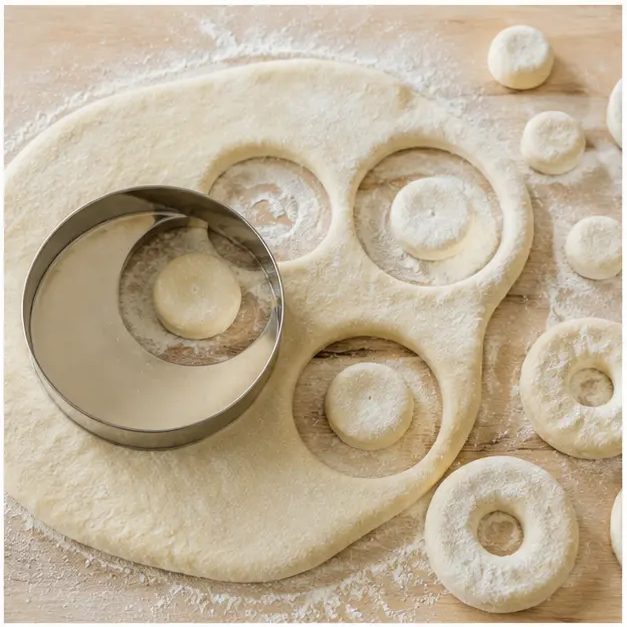
Stage 4: Fry and Glaze
While the donuts are on their second rise, make the glaze. In a medium bowl, whisk together the powdered sugar, 5 tablespoons of water, and vanilla extract until smooth. It should be thick but pourable. If it’s too thick, add another tablespoon of water. Set it aside.
In a Dutch oven or deep fryer fitted with a clip-on thermometer, heat about 2 inches of oil to 375°F. This is the deep frying temperature you want not too hot, not too cool. If the oil is too cool, the donuts absorb oil and become greasy. Too hot, and they burn on the outside before cooking through.
Once the donuts have puffed, carefully fry 2 at a time for 45 to 60 seconds per side, flipping once, until golden brown. Use a slotted spoon to transfer them to a paper towel-lined plate for just a few seconds you don’t want them to sit too long or they’ll steam.
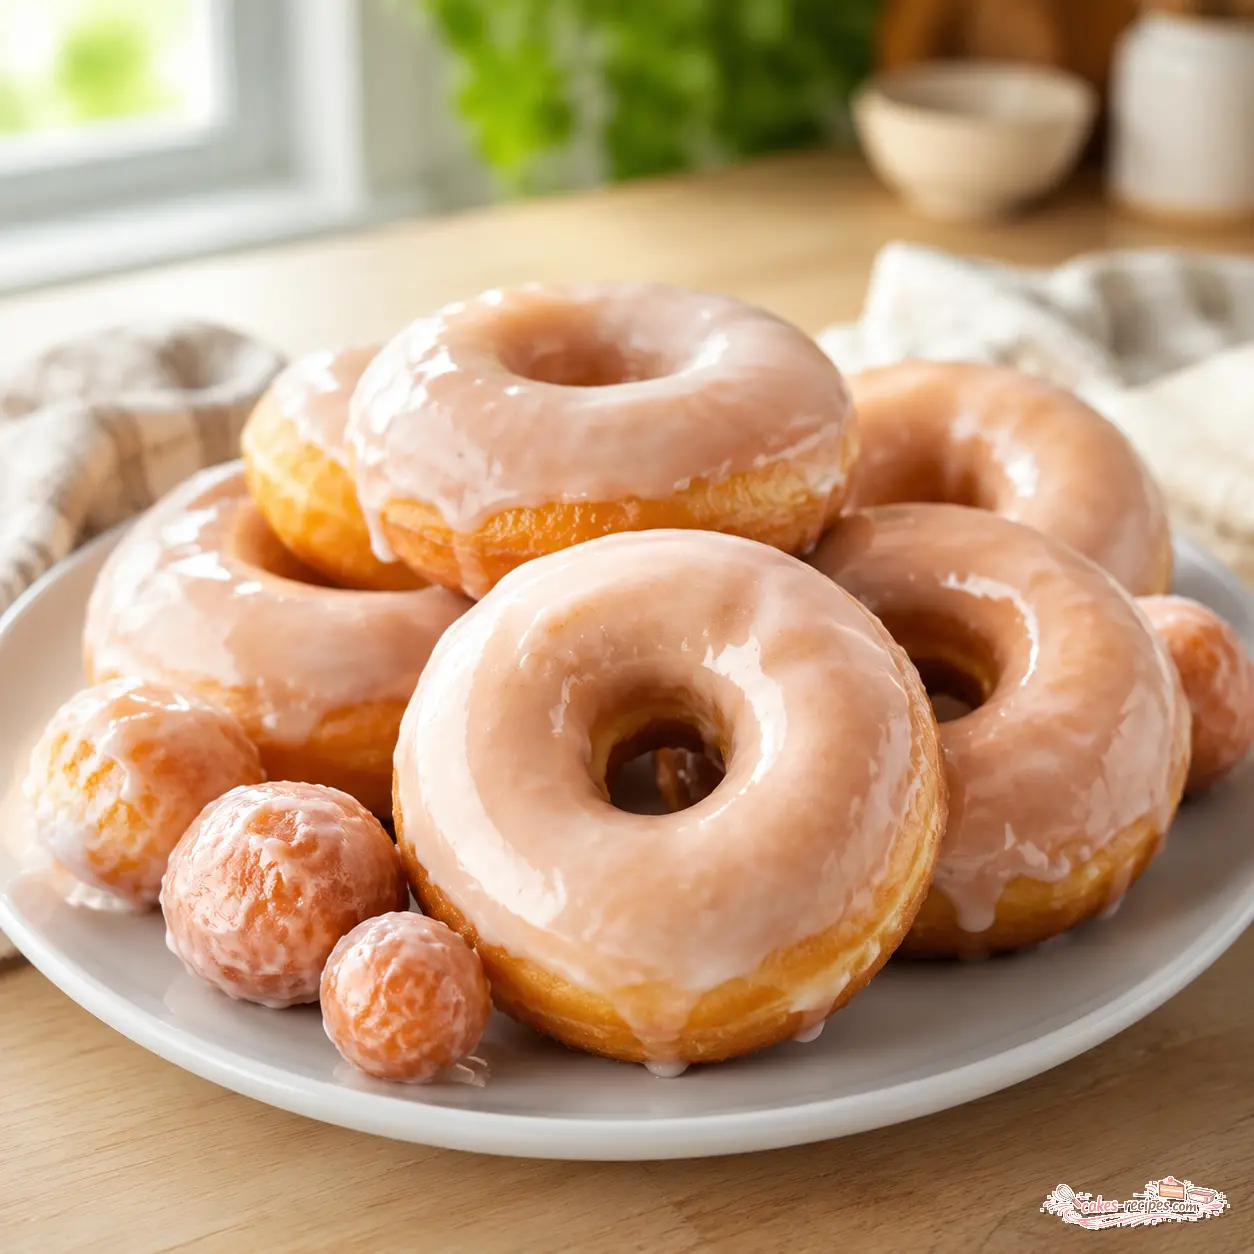
While still warm, dip each donut into the glaze, turning to coat both sides. Place on a wire rack set over a baking sheet to let the excess drip off. Fry the donut holes in 2 batches for about 30 to 45 seconds total, then glaze them too. Serve once the glaze has set, which takes about 5 to 10 minutes.
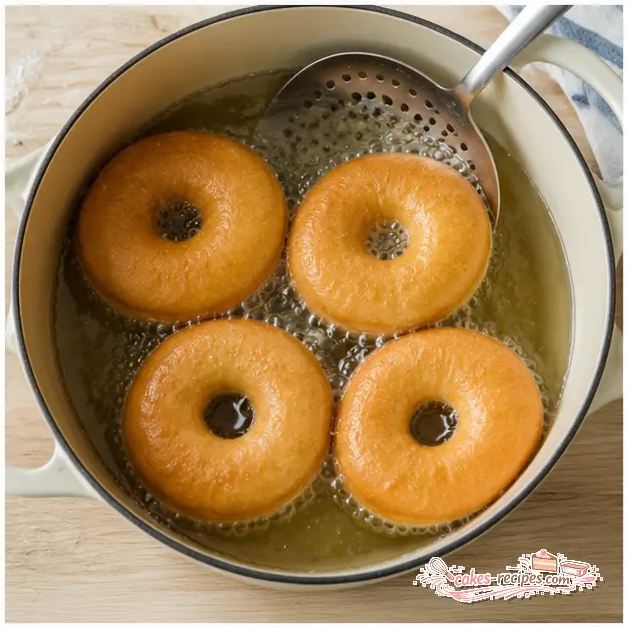
Frying Donuts: Keep a Watchful Eye
Frying can feel intimidating, but it’s really just about temperature control. Keep that oil at a steady 375°F. Use a clip-on thermometer to monitor it constantly. The temperature will drop when you add the donuts, so let it come back up between batches.
Here are a few things I’ve learned the hard way:
- ❌ Oil too cool → ✅ Greasy, heavy donuts. The oil soaks in instead of cooking the dough quickly.
- ❌ Oil too hot → ✅ Burnt outside, raw inside. The crust forms too fast, trapping raw dough.
- ❌ Frying too many at once → ✅ Fry 2 at a time. Crowding drops the oil temperature too much.
- ❌ Skipping the thermometer → ✅ Use a clip-on thermometer. Guessing leads to inconsistent results.
Fry the donuts in small batches and give them space. You’ll see them puff up and turn golden that’s the visual cue. The smell is incredible, too. Warm, yeasty, slightly sweet. It fills the whole kitchen.
Troubleshooting: Dense, Hard, or Greasy Donuts
Things don’t always go perfectly, and that’s okay. Here’s how to fix the most common issues:
- Dense donuts Usually means the dough was under-proofed or over-kneaded. Let it rise longer next time, and be gentler with the kneading.
- Hard donuts Too much flour. The dough should be soft and slightly tacky. Add flour sparingly.
- Greasy donuts Oil temperature was too low. Make sure it’s at 375°F before adding the donuts.
- Burnt outside, raw inside Oil was too hot. Lower the heat and let it come back to 375°F.
- Glaze is too thin Add more powdered sugar, a tablespoon at a time, until it thickens.
- Glaze is too thick Add water, a teaspoon at a time, until it reaches a pourable consistency.
Don’t stress if your first batch isn’t perfect. That’s how we learn. My first batch of homemade glazed donuts was a mess, but I kept at it, and now I can make them in my sleep. Well, almost.
Pro Tip: Glaze Consistency
The key to a perfect glaze: It should be thick enough to coat the back of a spoon but thin enough to drip off slowly. If it runs off the donut in a thin stream, it’s too thin. If it sits on top like a puddle, it’s too thick. Aim for a consistency like heavy cream.
Pro Tips for Perfect Glazed Donuts
Here are a few extra tips I’ve picked up along the way. These are the little things that make a big difference.
- Use a thermometer for the milk. 115°F is the sweet spot for yeast. Too hot kills it, too cool slows it down.
- Don’t skip the scalding step. It sounds fussy, but it really does make the dough softer. Trust me.
- Let the glaze set completely. Give it 5 to 10 minutes on the wire rack. The glaze will harden just enough to crackle when you bite into it.
- Work in a warm kitchen. Yeast loves warmth. If your kitchen is cold, the dough will take longer to rise.
- Use a donut proofing basket? Not necessary. A parchment-lined baking sheet works perfectly.
These are small adjustments, but they add up. The result is consistently light and fluffy donuts that are grease-free and absolutely delicious.
How to Store and Reheat Glazed Donuts
Let’s be real glazed donuts are best the day you make them. But if you have leftovers (unlikely, but possible), here’s what to do.
Store them in an airtight container at room temperature for up to 1 day. Don’t refrigerate them that dries them out and makes the glaze sticky. If you need to keep them longer, freeze the unglazed, fried donuts in a single layer. Then thaw and glaze before serving. They’ll taste almost as fresh as the day you made them.
To reheat, pop them in a 350°F oven for a few minutes, or in an air fryer at 325°F for 3 minutes. The glaze will soften and become glossy again. Microwaving works too, but only for a few seconds any longer and the donuts get tough.
For a classic California-style treat, serve these donuts with a hot cup of coffee or a glass of cold milk. That’s the perfect pairing.
Variations to Try
Once you’ve mastered the basic glazed donuts, feel free to experiment. Here are a few ideas, all optional:
- Chocolate glazed donuts Add 2 tablespoons of cocoa powder to the glaze and reduce the powdered sugar slightly. Whisk until smooth.
- Citrus glaze variation Replace the water in the glaze with fresh lemon or orange juice. It adds a bright, tangy note.
- Cinnamon sugar coating Skip the glaze and toss the warm donuts in a mix of granulated sugar and cinnamon. Simple and delicious.
- Jelly filled donuts Use a piping bag to fill the cooled donuts with your favorite jam or preserves. A bismarck vs glazed debate? Both are great, but filled donuts are a fun change.
These variations are easy to make and let you customize the donuts to your taste. The base recipe is so versatile.
Frequently Asked Questions
Now go fry some happiness and let me know how it goes! I’d love to hear about your homemade glazed donuts. Share your photos and tag me nothing makes my day like seeing a batch of golden, glazed beauties fresh from your kitchen. And if you’re looking for more inspiration, I’m always pinning new recipes over on my Pinterest board. Happy frying!
Source: Nutritional Information
Can I use this dough to make filled doughnuts?
Absolutely. After frying and cooling, use a piping bag fitted with a small tip to inject jam, pastry cream, or custard into the center. Just be gentle the donuts are delicate. A bismarck tip works best for even filling.
Can I make these doughnuts in an air fryer?
You can, but the texture won’t be quite the same. Air fryers don’t get hot enough for the quick, even cooking that deep frying provides. The donuts will be denser and less fluffy. If you try it, cook at 350°F for 3 to 4 minutes per side.
Can I bake this donut dough instead of frying?
Yes, but baked donuts are more like cake in texture. They won’t have that light, airy, yeast-risen crumb. If you bake them, use a donut pan and bake at 375°F for 8 to 10 minutes. Glaze them while still warm for best results.
What’s the best oil for frying donuts?
Use a neutral oil with a high smoke point, like canola, vegetable, or avocado oil. Light olive oil works too, as in this recipe. Avoid extra virgin olive oil or butter they burn at frying temperatures and affect the flavor.
Can I make the dough ahead?
Yes. After the first rise, punch down the dough, wrap it tightly in plastic wrap, and refrigerate it overnight. The next day, let it come to room temperature for about 30 minutes, then roll, cut, and proceed with the second rise. This actually develops more flavor.