
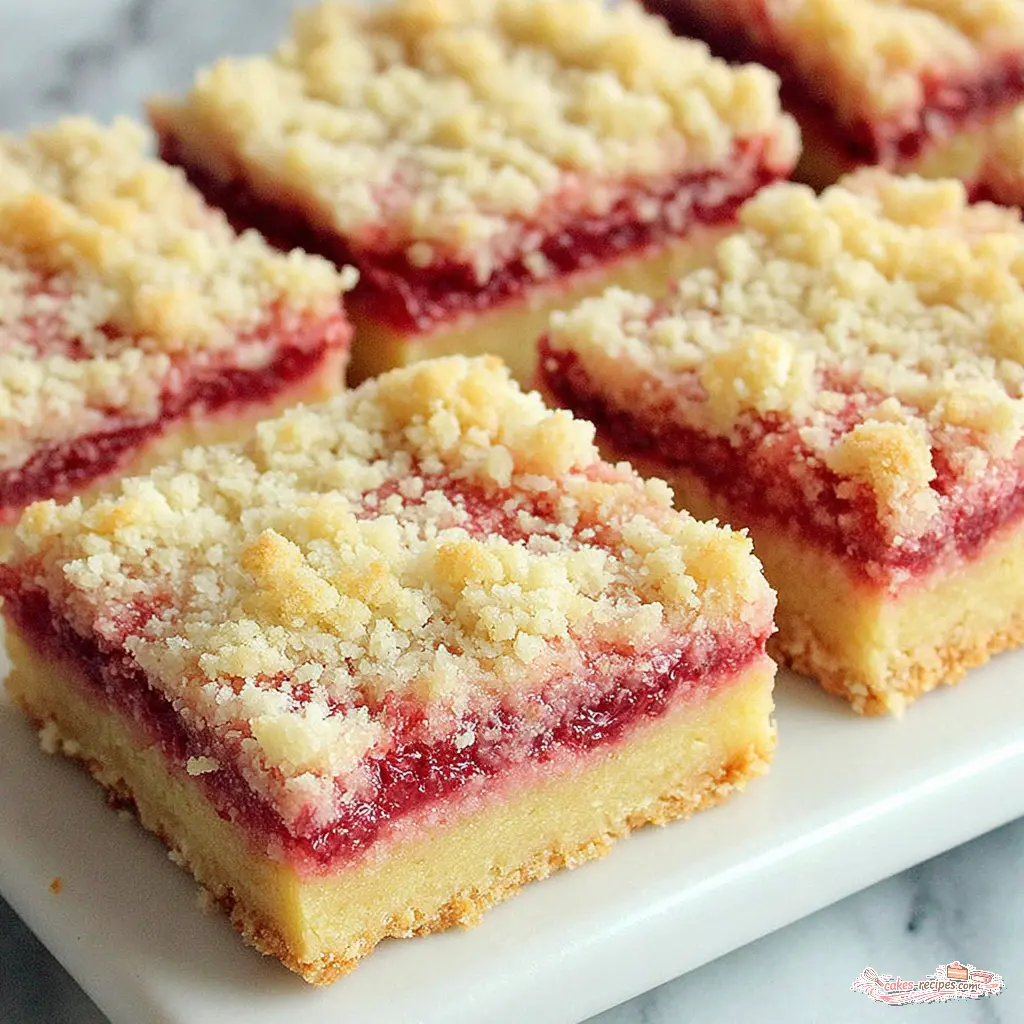
Why These Lemon Raspberry Bars Actually Work
There’s nothing quite like a lemon raspberry bar on a hot July afternoon. The buttery crumble, the bright citrus kick, those little pockets of jammy raspberries. Honestly, I’ve messed up more fruit bars than I care to admit. My first batch turned into raspberry soup. A gorgeous, soupy mess that looked nothing like the neat squares I’d imagined.
Here’s the thing. Most fruit bar recipes have a fatal flaw. They either end up with a soggy bottom crust, a runny filling, or a crumble topping that’s more like sand. But these lemon raspberry bars? They’re different. The secret is in the shortbread-style crust that gets pressed into the pan and stays remarkably crisp, even under all that juicy fruit.
What I’ve found over years of testing is that the balance between tart and sweet matters more than you’d think. Too much sugar and you lose the bright lemon flavor. Too little and it’s puckeringly sour. This recipe nails that sweet spot. The lingonberry jam adds a subtle tartness that complements the fresh raspberries beautifully, though you can swap in raspberry preserves if that’s what you have.
You’re going to love how straightforward these are. No complicated techniques, no special equipment. Just a bowl, a pan, and about 45 minutes of your time. Trust the process here.
Ingredients for Lemon Raspberry Bars
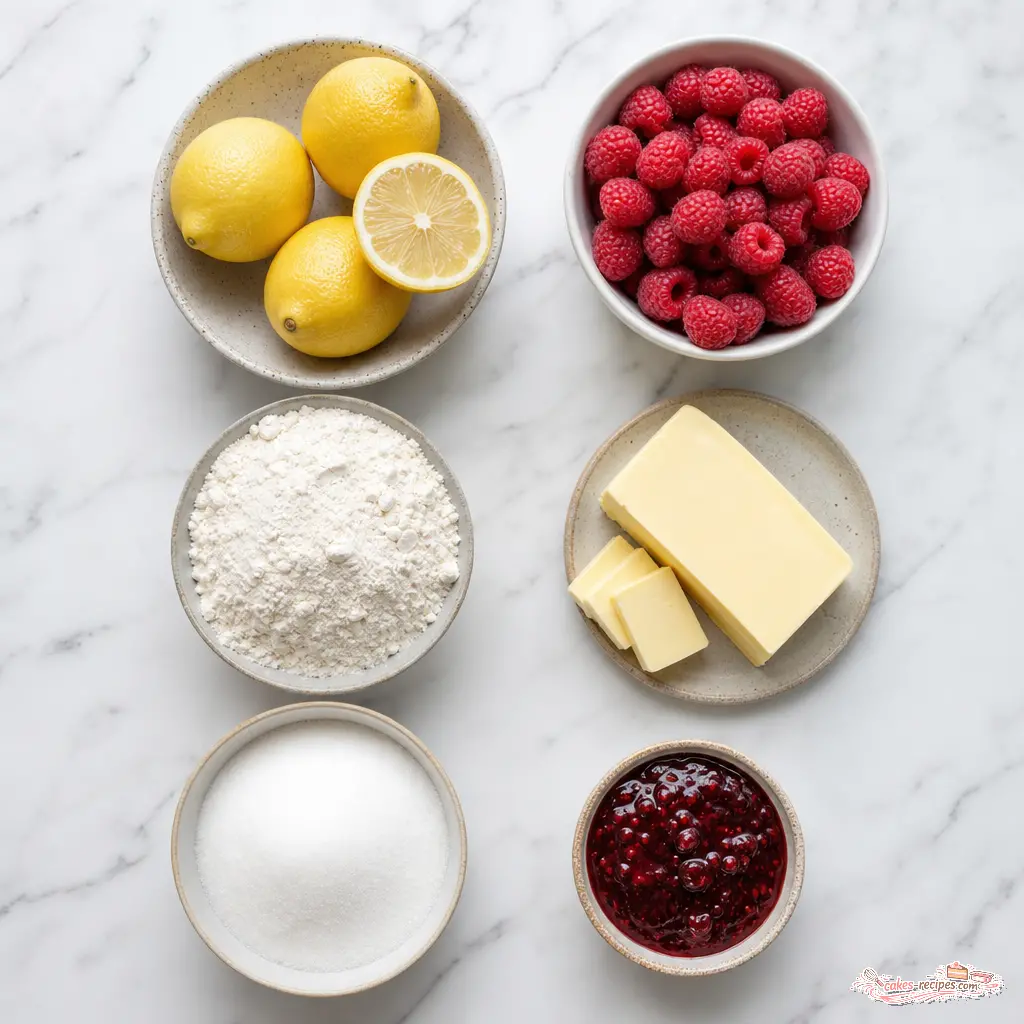
The ingredient list is short and sweet. That’s one of the things I love about this recipe. You probably have most of it already. Let’s break down what you’ll need.
For the crust and crumble:
- Granulated sugar just one cup for the whole crust. It adds sweetness and helps the crumble get golden and crisp.
- All-purpose flour three cups. This is the backbone of the crust. Don’t substitute self-rising flour here; the baking soda handles the lift.
- Baking soda just a teaspoon. It gives the crust a tiny bit of rise and helps it stay tender.
- Salt a quarter teaspoon, to balance the sweetness.
- Lemon zest two tablespoons. This is where the bright lemon flavor lives. Zest your lemons before juicing them. Seriously, it’s so much easier.
- Cold unsalted butter one cup, two sticks, cut into chunks. Cold butter is key here. It creates those flaky, buttery pockets in the crust.
- One large egg it binds the crumble together without making it tough.
For the filling:
- Fresh lemon juice a quarter cup. Use fresh, not bottled. Real talk, bottled lemon juice tastes flat and metallic. You want that bright, zingy flavor.
- Granulated sugar half a cup, to sweeten the tart fruit.
- Cornstarch two teaspoons. This is what thickens the filling so it sets properly. Don’t skip it.
- Lingonberry jam four tablespoons. This is my secret weapon. It adds a lovely tartness that pairs perfectly with lemon. Raspberry preserves work too.
- Fresh raspberries two cups, mashed with a fork. You want them broken up but not completely pureed. Little chunks of raspberry are what make these bars so beautiful.
How to Make Lemon Raspberry Bars
Making these lemon raspberry bars is surprisingly simple. I’ll walk you through each stage so you know exactly what to look for. No guessing, no crossed fingers.
Stage 1: Make the Crust and Crumble
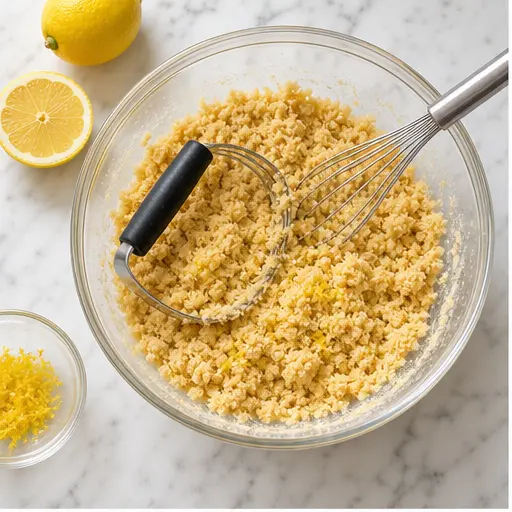
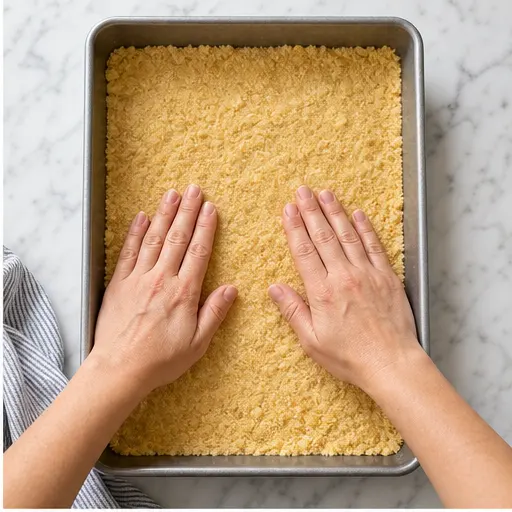
Start by whisking together the dry ingredients: sugar, flour, baking soda, salt, and that lovely lemon zest. Then cut in the cold butter and the egg using a pastry cutter or your fingers. You want the mixture to look like coarse crumbs. It should be quite crumbly, not like a dough. That’s exactly right. Don’t worry if it feels dry it’s supposed to. Press about two-thirds of this mixture firmly into the bottom of your greased 9×13 pan. Reserve the rest for the topping.
Stage 2: Prepare the Filling
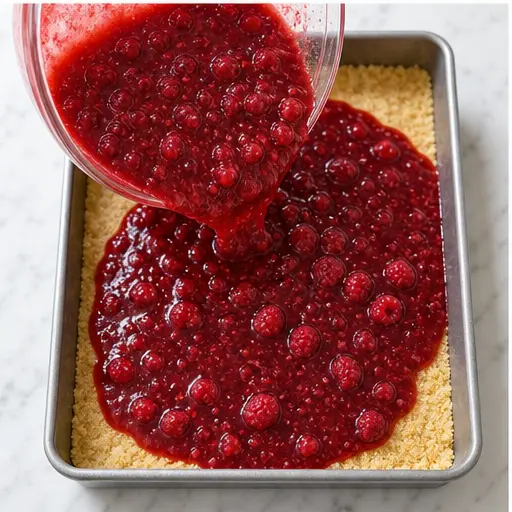
In a separate bowl, combine the fresh lemon juice, sugar, cornstarch, lingonberry jam, and the mashed raspberries. Stir until everything is well blended. The mixture will look quite liquidy at this point, and that’s fine. The cornstarch will thicken it as it bakes. Pour this over the crust in the pan, scraping every last bit of that beautiful red juice from the bowl.
Stage 3: Assemble and Bake
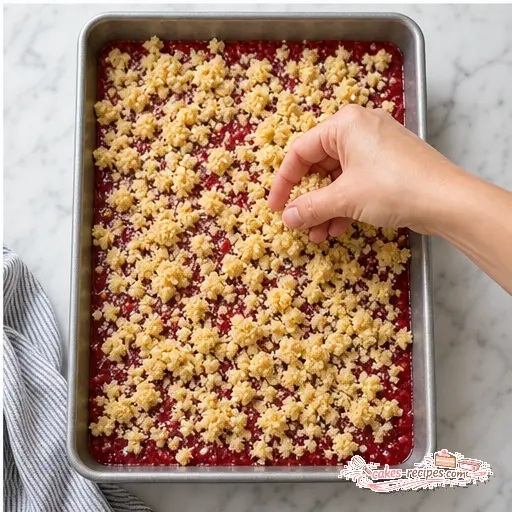
Sprinkle the reserved crumble mixture evenly over the raspberry filling. Don’t press it down. Just let it fall naturally. Some of the filling will peek through, and that’s what you want. Bake on the center rack of your preheated 375°F oven for 25 to 30 minutes. You’ll know it’s done when the top and edges are golden brown and the filling is bubbling around the edges. The smell alone will tell you it’s working.
Stage 4: Cool and Serve
This is the hardest part. You need to let these bars cool completely at room temperature before you even think about cutting them. I know, I know. But here’s the thing: if you cut them while they’re warm, the filling will run and you’ll have a mess. For the cleanest slices, pop the pan in the refrigerator for an hour or two after they’ve cooled. Then cut into neat bars. You’ve got this.
Tips for Perfect Bars
After making these lemon raspberry bars more times than I can count, I’ve picked up a few tricks. Here’s what really makes a difference.
- Prevent a soggy crust: The key is pressing the crust firmly into the pan. Really pack it down. That creates a solid barrier that the filling can’t soak through.
- Use fresh lemon juice: This isn’t negotiable. Fresh juice has a brightness that bottled juice just can’t replicate. Your bars will taste noticeably better.
- Zest before juicing: It’s so much easier to zest a whole lemon than a floppy, juiced half. Trust me on this one.
- Don’t overmix the crumble: You want coarse crumbs, not a smooth dough. Overmixing develops gluten and makes the crust tough.
- Chill before cutting: This is the secret to those beautiful, clean slices you see in photos. Patience pays off.
- Save a few raspberries: If you want that extra pop of color, press a few whole raspberries into the filling before adding the crumble topping.
Variations to Try
This recipe is surprisingly adaptable. I’ve tested several variations and they all work beautifully. Here are some ideas to switch things up.
Gluten-free version: Substitute the all-purpose flour with a 1-to-1 gluten-free baking blend. That’s it. Everything else stays the same.
Different berries: Raspberries are classic, but you can swap them for blueberries, blackberries, or sliced strawberries. Each brings its own personality. Blueberry-lemon is a particular favorite of mine.
Different jam: If you can’t find lingonberry jam, raspberry preserves work perfectly. Apricot jam is also lovely, though it’s sweeter and less tart.
Shortbread crust: Some folks prefer a graham cracker crust, but I’m partial to this buttery shortbread-style crust. It holds up better under the juicy filling.
Powdered sugar finish: Dust the cooled bars with powdered sugar just before serving. It adds a touch of elegance and a hint of extra sweetness.
Common Mistakes to Avoid
I’ve made every mistake in the book so you don’t have to. Here’s what to watch out for.
❌ Overbaking the bars: The edges should be golden brown, but the center should still look slightly soft. It will set as it cools. Overbaking makes the crust dry and the filling tough.
✅ Solution: Start checking at 25 minutes. Look for golden edges and a gently set center that still wobbles slightly when you shake the pan.
❌ Not chilling completely before cutting: This is the number one reason for messy bars. Warm filling is runny filling.
✅ Solution: Cool completely at room temperature, then refrigerate for at least an hour. Overnight is even better.
❌ Using bottled lemon juice: It tastes flat and artificial. Your bars deserve better.
✅ Solution: Buy fresh lemons. You need about two large ones for the zest and juice. Meyer lemons are especially lovely if you can find them.
❌ Folding raspberries too vigorously: You want some texture, not a complete puree.
✅ Solution: Mash the raspberries gently with a fork. Leave some chunks intact for those beautiful pockets of fruit.
Storage and Leftovers
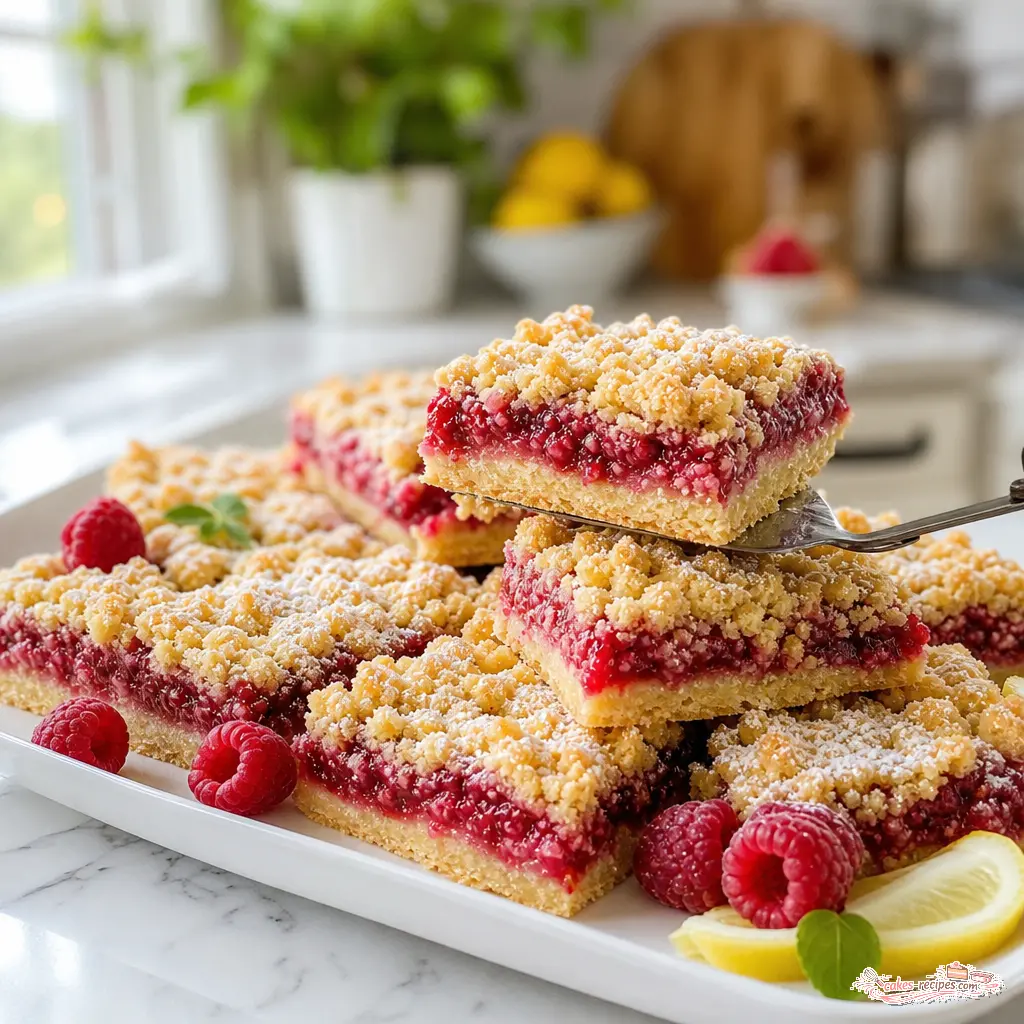
These lemon raspberry bars store beautifully, which makes them perfect for make-ahead desserts. Here’s what you need to know.
Room temperature: Store in an airtight container for up to 3 days. Keep them in a single layer if possible, separated by parchment paper.
Refrigerator: They’ll last 4 to 5 days in the fridge. The cold actually helps the bars set firmer, so the texture improves. Let them sit at room temperature for about 15 minutes before serving for the best flavor.
Freezer: Freeze in a single layer on a baking sheet, then transfer to a freezer-safe container. They’ll keep for up to 3 months. Thaw in the refrigerator overnight before serving.
Make-ahead tip: These bars actually taste better the next day. The flavors meld together beautifully. If you’re making them more than a day in advance, don’t slice until you’re ready to serve.
What not to do: Don’t add powdered sugar or any topping before storing. It will melt into the filling and get messy. Dust with powdered sugar just before serving.
Frequently Asked Questions
I hope you love these lemon raspberry bars as much as I do. They’ve become my go-to for summer potlucks, picnics, and anytime I need a dessert that travels well and disappears fast. The combination of buttery crumble, bright lemon, and jammy raspberries is just unbeatable.
If you make these, I’d love to hear about it. Tag me on Pinterest I’m @jaaralgertha and share your beautiful bars. There’s something so satisfying about seeing those golden crumble tops and knowing someone else is enjoying them too.
Happy baking, friends. These bars are worth every minute.
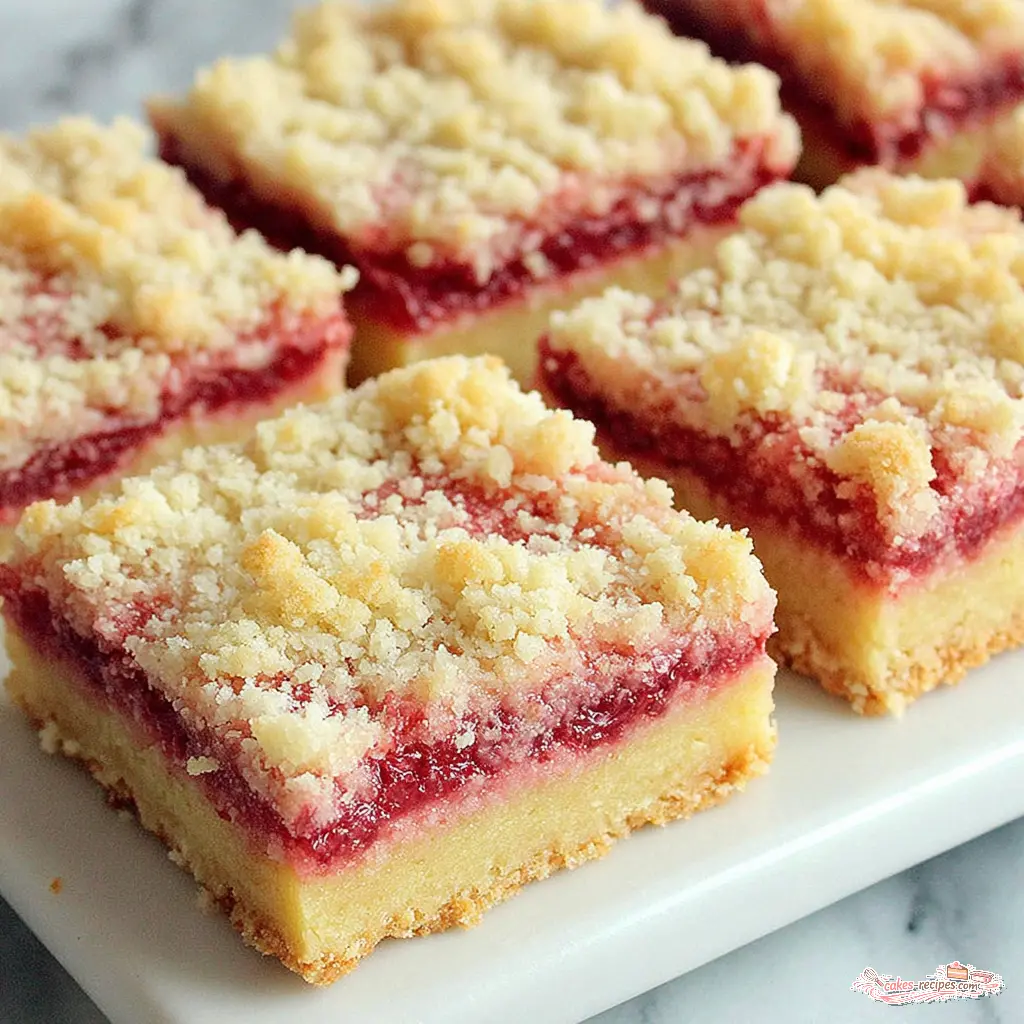
California Lemon Raspberry Bars
Ingredients
Method
- Preheat your oven to 375 degrees Fahrenheit. Lightly grease a 9x13-inch baking pan with cooking spray and set aside.
- In a large mixing bowl, whisk together the sugar, baking soda, flour, salt, and lemon zest. Using a pastry cutter or your fingers, cut in the cold butter and egg until the mixture resembles coarse crumbs. It should be quite crumbly.
- Press about two-thirds of the crumb mixture firmly into the bottom of the prepared pan in an even layer. Reserve the remaining one-third for the topping.
- In a separate bowl, combine the lemon juice, sugar, cornstarch, lingonberry jam, and mashed raspberries. Stir until well blended.
- Pour the raspberry mixture evenly over the crust in the pan, making sure to scrape any remaining juice from the bowl over the top.
- Sprinkle the reserved crumble mixture evenly over the raspberry filling.
- Bake on the center rack for 25 to 30 minutes, or until the top and edges of the crust are golden brown.
- Allow the bars to cool completely at room temperature before cutting. For cleaner slices, you can chill them in the refrigerator first. Cut into bars and serve.
Nutrition
Notes
Tried this recipe?
Let us know how it was!Source: Nutritional Information
What is the best way to cut and serve the lemon raspberry bars?
Cool the bars completely at room temperature first, then refrigerate for at least an hour. Use a sharp knife and wipe it clean between cuts. For the cleanest slices, run the knife under hot water and dry it before each cut. Serve at room temperature for the best texture.
Is it ok to eat raspberry seeds?
Absolutely. Raspberry seeds are perfectly safe to eat and actually contain fiber. Some people find them a bit crunchy, but they’re part of what makes raspberry desserts taste like real raspberries. If you prefer a smoother texture, you can strain the mashed raspberries through a fine mesh sieve before adding them to the filling.
Can I make these bars with other berries?
Yes, this recipe works beautifully with blueberries, blackberries, or sliced strawberries. Each berry brings its own flavor profile. Blueberries pair especially well with lemon. Just keep the total amount at 2 cups and mash them the same way you would the raspberries. No other adjustments needed.
Can I use frozen raspberries?
Yes, you can use frozen raspberries. Thaw them first and drain off any excess liquid before mashing. Frozen berries tend to release more juice than fresh, so you might need to add an extra teaspoon of cornstarch to the filling to help it set properly. Otherwise, the recipe works exactly the same.
Why didn’t my bars set?
This usually happens for one of three reasons: the bars weren’t baked long enough, the cornstarch was omitted or under-measured, or they were cut while still warm. The filling needs time to thicken and set. Make sure you’re using exactly 2 teaspoons of cornstarch and baking for the full 25 to 30 minutes. And please, let them cool completely.
Can I make these ahead of time?
Absolutely. These lemon raspberry bars are an ideal make-ahead dessert. Bake them a day ahead, cool completely, and refrigerate overnight. The flavors actually meld and deepen. If you’re making them more than a day in advance, store the whole pan in the fridge and don’t slice until you’re ready to serve.















4 Responses
I made these for a family picnic last weekend and they were gone in minutes! The lingonberry jam really does add something special. I used raspberry preserves instead because that’s what I had, and it still turned out perfectly. Next time I’ll try the lingonberry for sure.
These are delicious but I think I overbaked mine slightly—the edges were a bit dark. I’ll check them at 35 minutes next time. Still, the flavor is amazing and the texture is perfect in the middle.
Great recipe, but I found the crust a bit too crumbly. Any tips for getting it to hold together better when pressing it into the pan? I followed the instructions exactly but it kept falling apart.
Thanks for the feedback, Mark! A crumbly crust usually means the butter wasn’t fully incorporated. Next time, make sure your butter is very cold and cut into small chunks, then pulse in a food processor until it looks like coarse sand and holds together when squeezed. You can also add a tablespoon of ice water if needed.