
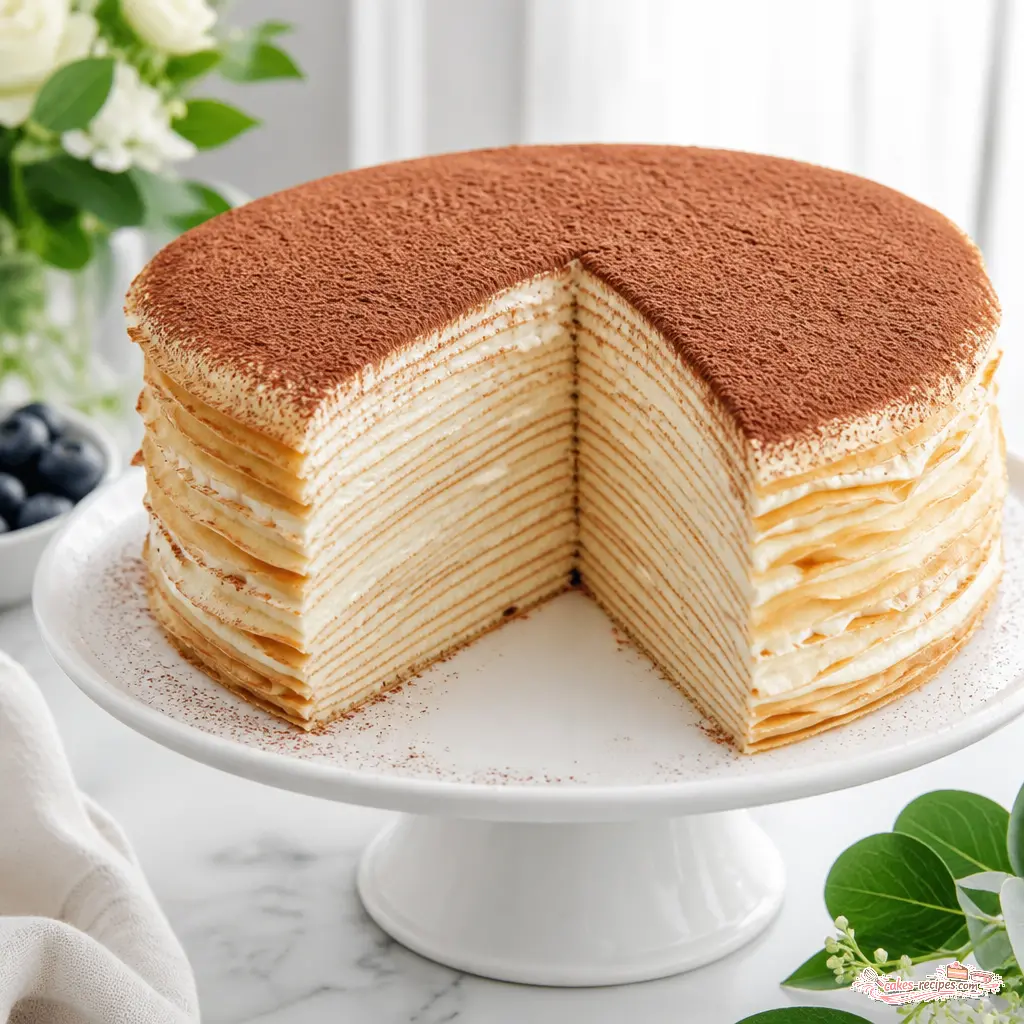
California-Style Mille Crepe Cake with Espresso Cream
Ingredients
Method
- Prepare 30 crepes following your favorite recipe; 8-inch crepes work perfectly for this cake.
- In a large mixing bowl, combine the softened cream cheese, sweetened condensed milk, and cooled espresso. Whisk until the mixture is smooth and creamy.
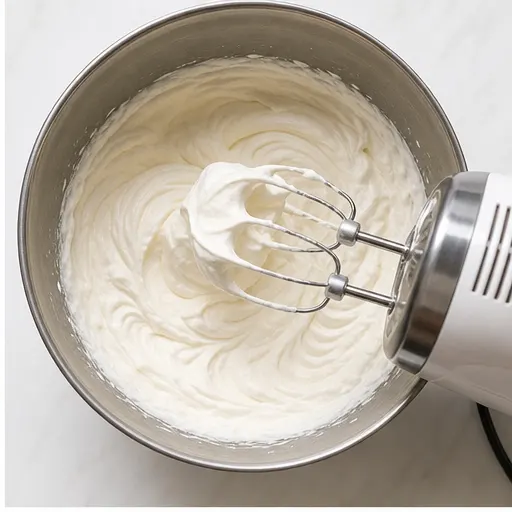
- Add the heavy whipping cream to the bowl and whisk until the cream is light and fluffy. Watch carefully to avoid overmixing, which can cause lumps. Set aside 2 cups of this cream in a sealed container in the refrigerator for frosting the outside of the cake.
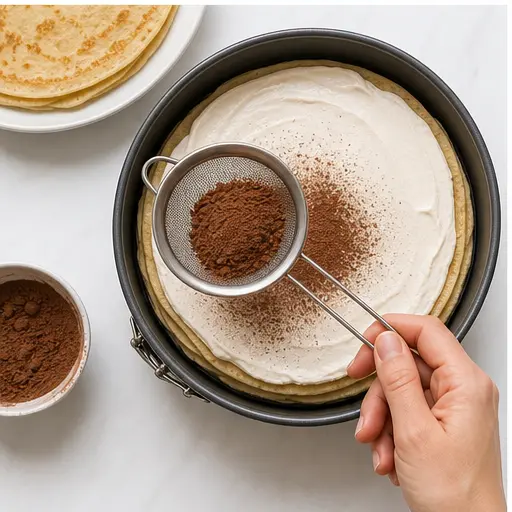
- Use a springform pan as a mold. Line the bottom with plastic wrap. Place a crepe in the pan, spread a thin layer of the cream mixture over it, and dust with cocoa powder. Repeat layers until all crepes and cream are used.
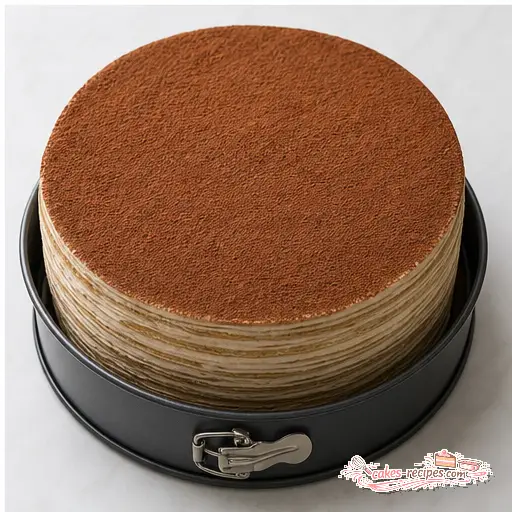
- Let the assembled cake rest in the refrigerator for at least 24 hours. After resting, flip the cake so the bottom side is up, then remove the springform pan sides.
- Frost the top and sides of the cake with the reserved cream mixture.
- Dust the top with cocoa powder and serve. Enjoy!
Nutrition
Notes
Tried this recipe?
Let us know how it was!What Is a Mille Crepe Cake?
Let’s start with the basics. A mille crepe cake is exactly what it sounds like a thousand crepes. Well, not literally a thousand. Usually it’s more like 20 to 30 paper-thin crepes stacked with a creamy filling between each layer. The result? A cake that’s part French pastry, part architectural marvel.
I first encountered one at a tiny patisserie in San Francisco. I remember thinking, “That’s a stack of crepes.” Then I took a bite. The way the fork glided through those delicate layers, the cream binding everything together it was pure magic. Honestly, I was intimidated. It looked like something only a pastry chef could pull off.
But here’s the thing: you don’t need a pastry degree. You just need patience, the right technique, and a good recipe. This mille crepe cake with espresso cream is my California-inspired take. It’s bold, it’s elegant, and it’s totally achievable in your home kitchen.
Think of it as a tiramisu and a crepe cake had a beautiful baby. The espresso cream cheese filling is rich but not heavy, and the cocoa dusting on top adds that perfect bitter edge. It’s the kind of dessert that makes people stop mid-conversation and just say, “Wow.”
Why You’ll Love This California-Style Mille Crepe Cake
What makes this version special? It’s the filling. Instead of the classic pastry cream or plain whipped cream, I’m using a cream cheese and espresso mixture that’s stabilized with sweetened condensed milk. The result is a filling that’s:
- Sturdy enough to hold up 30 layers without sliding
- Rich and tangy from the cream cheese
- Boldly coffee-forward (real talk: this tastes like actual espresso, not coffee flavoring)
I learned the importance of real coffee flavor from my mentor, Rosa. She ran a coffee roastery in Colombia, and she taught me that coffee in dessert should taste like coffee. Not coffee-flavored candy. Real extraction, proper roasting, balanced bitterness. That’s what this filling delivers.
Plus, this mille crepe cake is a showstopper. It’s tall, it’s elegant, and it slices beautifully. Perfect for birthdays, anniversaries, or any occasion where you want to impress without spending all day in the kitchen.
Ingredients You’ll Need
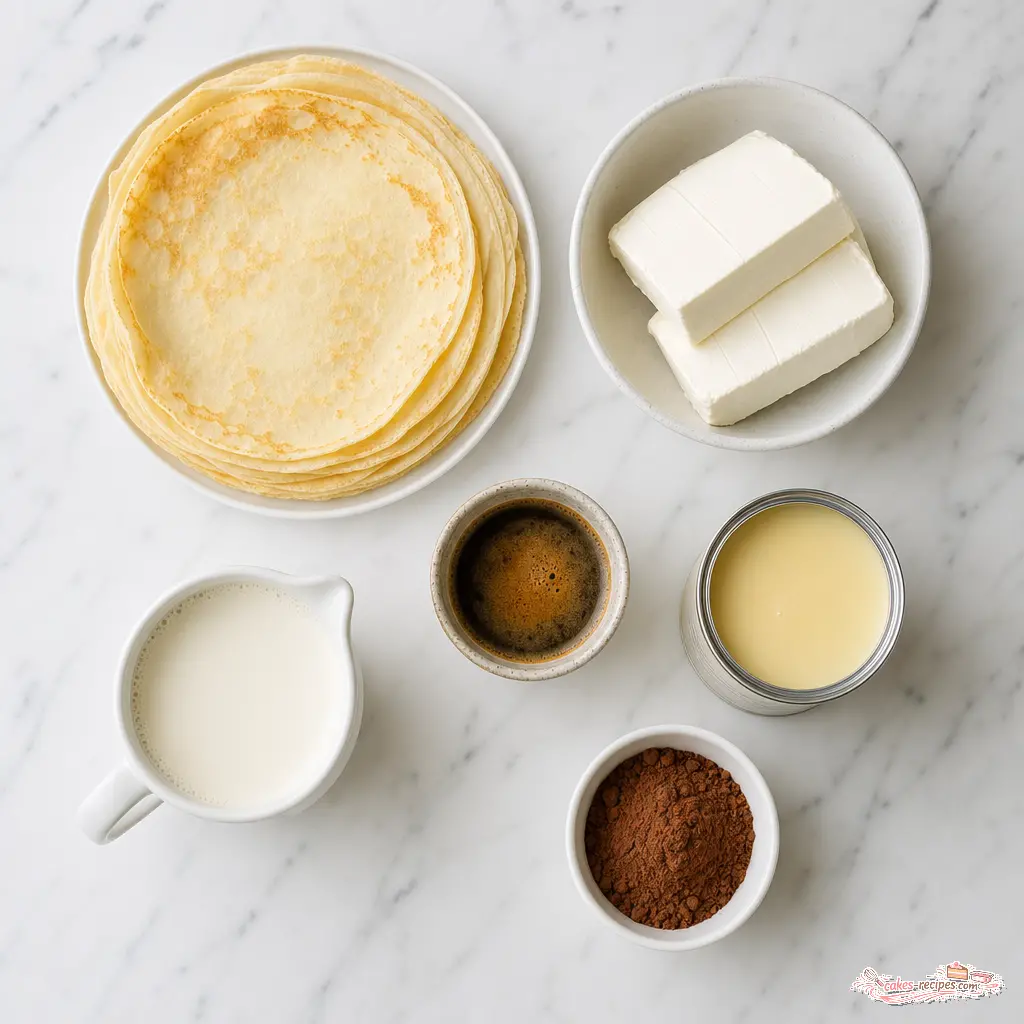
Here’s what you need to make this homemade crepe cake. The ingredient list is short, but quality matters.
- 30 crepes (8-inch): You can make your own or buy them. I prefer homemade for the best texture, but store-bought works in a pinch.
- 24 oz cream cheese: Make sure it’s softened to room temperature. Cold cream cheese will leave lumps in your filling.
- 2 cups heavy whipping cream: Divided. You’ll use most in the filling and reserve 2 cups for frosting the outside.
- 1/3 cup espresso: Strongly brewed and cooled. Fresh espresso is the gold standard. If you don’t have an espresso machine, use strongly brewed coffee.
- 1 cup sweetened condensed milk: This adds sweetness and helps stabilize the cream.
- 1/3 cup cocoa powder: Unsweetened. For dusting between layers and on top.
That’s it. Six ingredients. No fancy extracts, no complicated stabilizers. Just simple, high-quality components that come together beautifully.
Tips for Perfect Crepes
Making thin, even crepes is the foundation of any great crepe cake recipe. Here’s what I’ve learned from dozens of batches.
Use a non-stick crepe pan. An 8-inch pan is ideal for this recipe. The non-stick surface makes flipping a breeze. If you don’t have a crepe pan, a small non-stick skillet works fine.
Rest your batter. This is non-negotiable. After mixing your crepe batter, let it rest in the fridge for at least 30 minutes. This allows the gluten to relax and the flour to fully hydrate. The result? Tender, flexible crepes that won’t tear when you stack them.
Get the heat right. Medium heat is your friend. Too hot and your crepes will brown too quickly. Too low and they’ll be pale and rubbery. The first crepe is always a test don’t worry if it’s not perfect.
Use a small ladle. A 1/4-cup ladle gives you just the right amount of batter for an 8-inch crepe. Pour it into the center of the pan, then quickly tilt and swirl to coat the bottom evenly.
Flip with confidence. When the edges start to lift and the bottom is lightly golden, slide a thin spatula under the crepe and flip it. Cook for another 15-20 seconds. Stack them on a plate with parchment paper between each one.
Pro Tip from Rosa
Make the crepes a day ahead. They actually improve overnight. The texture becomes more pliable, and they’re easier to handle when assembling the cake. Just wrap the stack tightly in plastic wrap and refrigerate.
Step-by-Step Instructions
Now let’s walk through the assembly. This is where the mille crepe cake comes to life. Take your time. Trust the process.
Stage 1: Make the Espresso Cream Filling
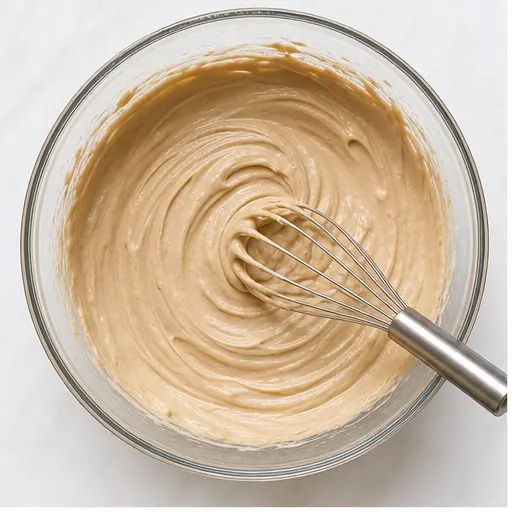
In a large mixing bowl, combine the softened cream cheese, sweetened condensed milk, and cooled espresso. Whisk until the mixture is smooth and creamy. No lumps allowed. This should take about 2 minutes.
Add the heavy whipping cream to the bowl. Whisk until the cream is light and fluffy. Watch carefully to avoid overmixing, which can cause lumps. You’re looking for soft peaks that hold their shape but still look silky.
Set aside 2 cups of this cream in a sealed container in the refrigerator. This will be your frosting for the outside of the cake.
Stage 2: Start Layering
Use a springform pan as a mold. Line the bottom with plastic wrap. This makes it easier to remove the cake later. Place a crepe in the pan, spread a thin layer of the cream mixture over it, and dust with cocoa powder.
Repeat. And repeat. And repeat. Layer by layer, crepe by crepe. This is meditative work. I usually put on a podcast and zone out. The key is to keep the cream layer thin and even. You want just enough to bind the crepes without making the cake soggy.
Stage 3: The Long Chill
Let the assembled cake rest in the refrigerator for at least 24 hours. I know, I know. Waiting is the hardest part. But this step is crucial. The cream needs time to set and the flavors need time to meld. A chilled crepe cake slices much cleaner than one that’s just been assembled.
After resting, flip the cake so the bottom side is up. Remove the springform pan sides. The plastic wrap should peel away easily.
Stage 4: Frost and Finish
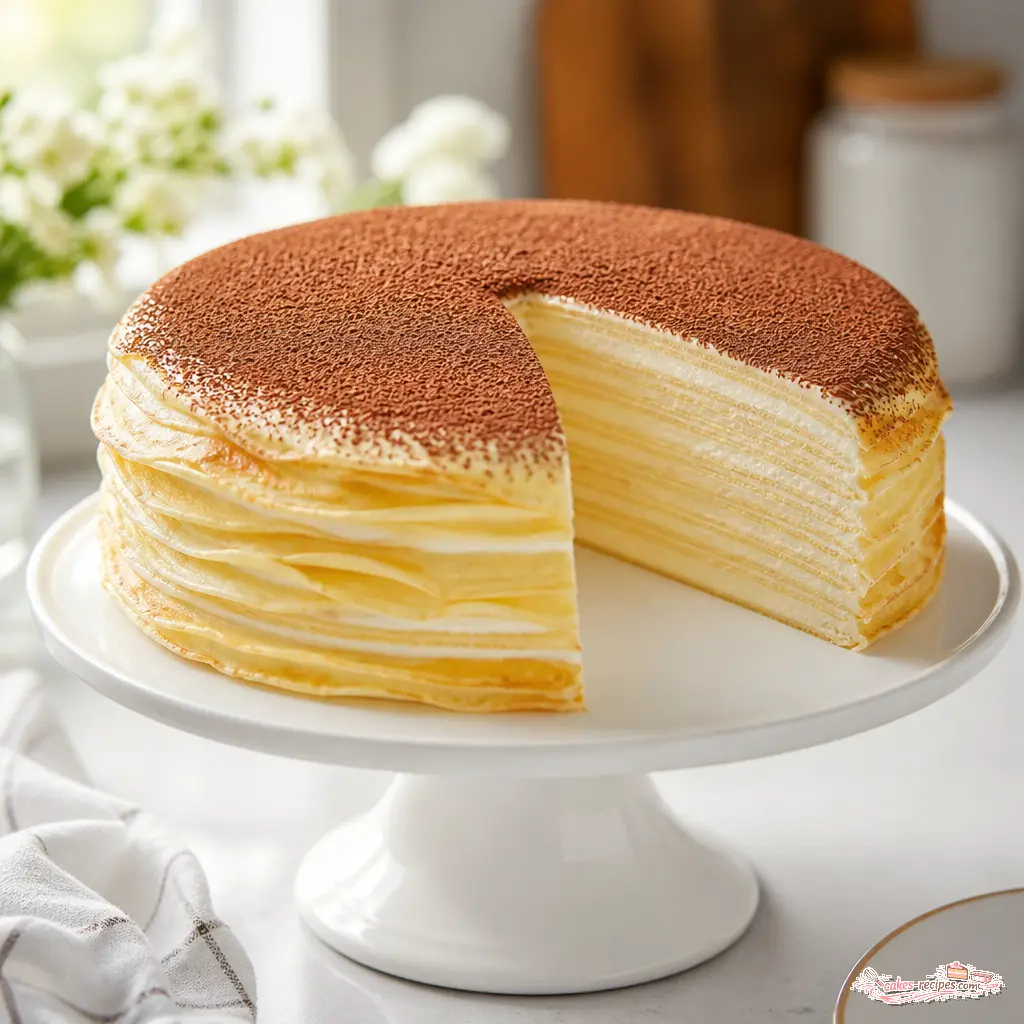
Frost the top and sides of the cake with the reserved cream mixture. Don’t worry about making it perfect a rustic look is part of the charm. Dust the top with cocoa powder.
Slice and serve. The first cut is always the most satisfying. Those 30 layers, perfectly stacked, creamy and tender. That’s the payoff.
Variations to Try
Once you’ve mastered the basic mille crepe cake, feel free to experiment. Here are some ideas:
- Raspberry crepe cake: Add a thin layer of raspberry jam between the cream and crepe. The tartness cuts through the richness beautifully.
- Chocolate mille crepe: Add 2 tablespoons of cocoa powder to the cream mixture. Use chocolate crepes for an extra decadent version.
- Matcha mille crepe: Whisk 2 tablespoons of matcha powder into the cream. The earthy flavor pairs surprisingly well with the coffee notes.
- Fruit mille crepe: When in season, add thin slices of strawberries or peaches between layers. Just pat them dry first to avoid excess moisture.
These are just starting points. The beauty of a crepe cake is its versatility. Change the filling, change the crepe flavor, change the toppings. It’s a blank canvas.
How to Store and Serve
Storage is straightforward. Wrap the cake or put it in an airtight container and refrigerate for up to a week. The flavors actually improve after day two. The coffee becomes more pronounced, the cream sets firmer.
For serving, let the cake sit at room temperature for about 15 minutes before slicing. This takes the chill off and makes the cream more luscious. Serve with fresh berries for a bright contrast. The acidity of raspberries or strawberries cuts through the richness perfectly.
Can you freeze it? Yes. Wrap the unfrosted cake tightly in plastic wrap, then foil. Freeze for up to 2 months. Thaw in the refrigerator overnight before frosting and serving.
Common Mistakes to Avoid
I’ve made every mistake in the book so you don’t have to. Here’s what to watch out for:
❌ Overmixing the cream can cause a grainy texture. Stop whipping as soon as it reaches soft peaks. If you see it starting to separate, you’ve gone too far.
❌ Crepes too thin can tear when flipping. If your crepes are tearing, your batter might be too thin. Add a tablespoon of flour to thicken it slightly.
❌ Why is my crepe cake leaning? Uneven layers. Make sure each crepe is centered in the pan and each cream layer is the same thickness. Use a small offset spatula to spread the cream evenly.
❌ Cream too soft to spread. Pop the bowl in the fridge for 10 minutes. The cream will firm up and become much easier to work with.
Frequently Asked Questions
I hope this guide gives you the confidence to tackle this mille crepe cake. It’s a project, sure. But it’s also one of the most rewarding desserts you can make. The first time you slice into those 30 perfect layers, you’ll understand why it’s worth every minute.
If you make this, I’d love to hear about it. Follow me on Pinterest for more coffee-inspired desserts and baking inspiration. I’m always posting new recipes and tips there.
Source: Nutritional Information
How to store mille crepe cake?
Wrap the cake tightly in plastic wrap or place it in an airtight container. Refrigerate for up to a week. The flavors actually deepen after a day or two. For longer storage, freeze the unfrosted cake for up to 2 months.
Why is my crepe cake leaning?
Leaning usually means your layers are uneven. Make sure each crepe is centered in the springform pan and each cream layer is the same thickness. Use a small offset spatula to spread the cream evenly. A level cake is all about consistent technique.
What to serve with a mille crepe cake?
Fresh berries are my go-to. The tartness of raspberries or strawberries cuts through the richness of the cream. A dollop of lightly sweetened whipped cream works too. For a coffee lover’s dream, serve with a small cup of espresso on the side.















One Response
Loved the California twist with the espresso—it really elevates the classic tiramisu flavors. I used decaf since I’m sensitive to caffeine and it still worked perfectly. Will definitely make again!