Why These Are the Best Soft Center Cookies
Look, I’ll be honest with you. For years, my cookies came out like hockey pucks. Hard, flat, sad little discs that nobody wanted to eat. I’d follow recipes to the letter, and every time disappointment. The edges would burn, the centers would be dry, and I’d be left wondering what on earth I was doing wrong.
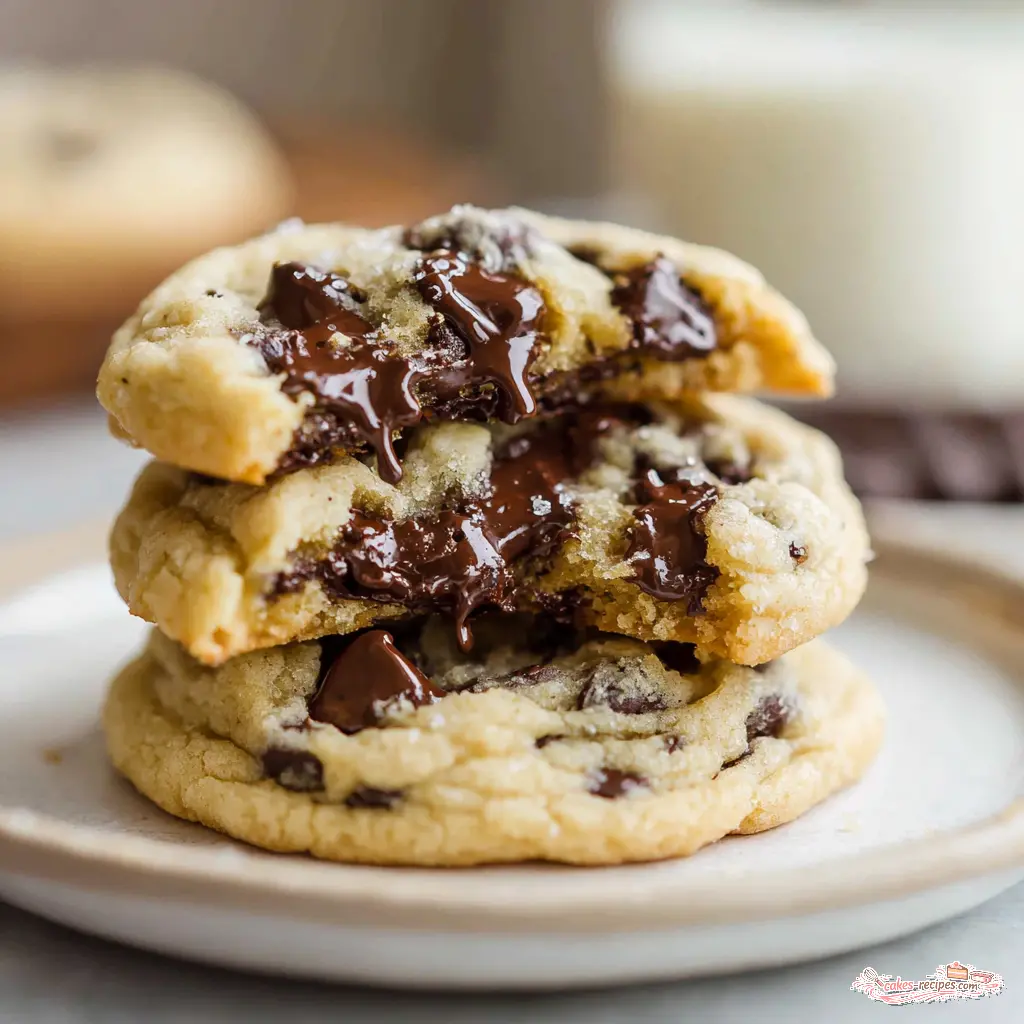
Then I started paying attention to the cookie science behind it all. Not in a complicated way, but in a “why does this actually work” kind of way. And let me tell you, once you understand a few key principles, making soft center cookies becomes almost foolproof. These aren’t just any cookies. These are the ones that stay soft for days. The ones where you bite in and the center is practically gooey chocolate chip cookies perfection.
What I’ve found is that the secret isn’t some fancy ingredient you have to hunt down at a specialty store. It’s all about technique. The right ratio of brown sugar to white. The way you handle the butter. And the most important thing chilling the dough. Trust the process on that one.
Real talk: I’ve tested this recipe more times than I can count. My friends have become my unofficial taste testers, and they’re always asking when I’m bringing cookies to the next gathering. That’s the kind of reaction you want. And honestly? You’re going to love this.
Key Ingredients for Soft Center Cookies
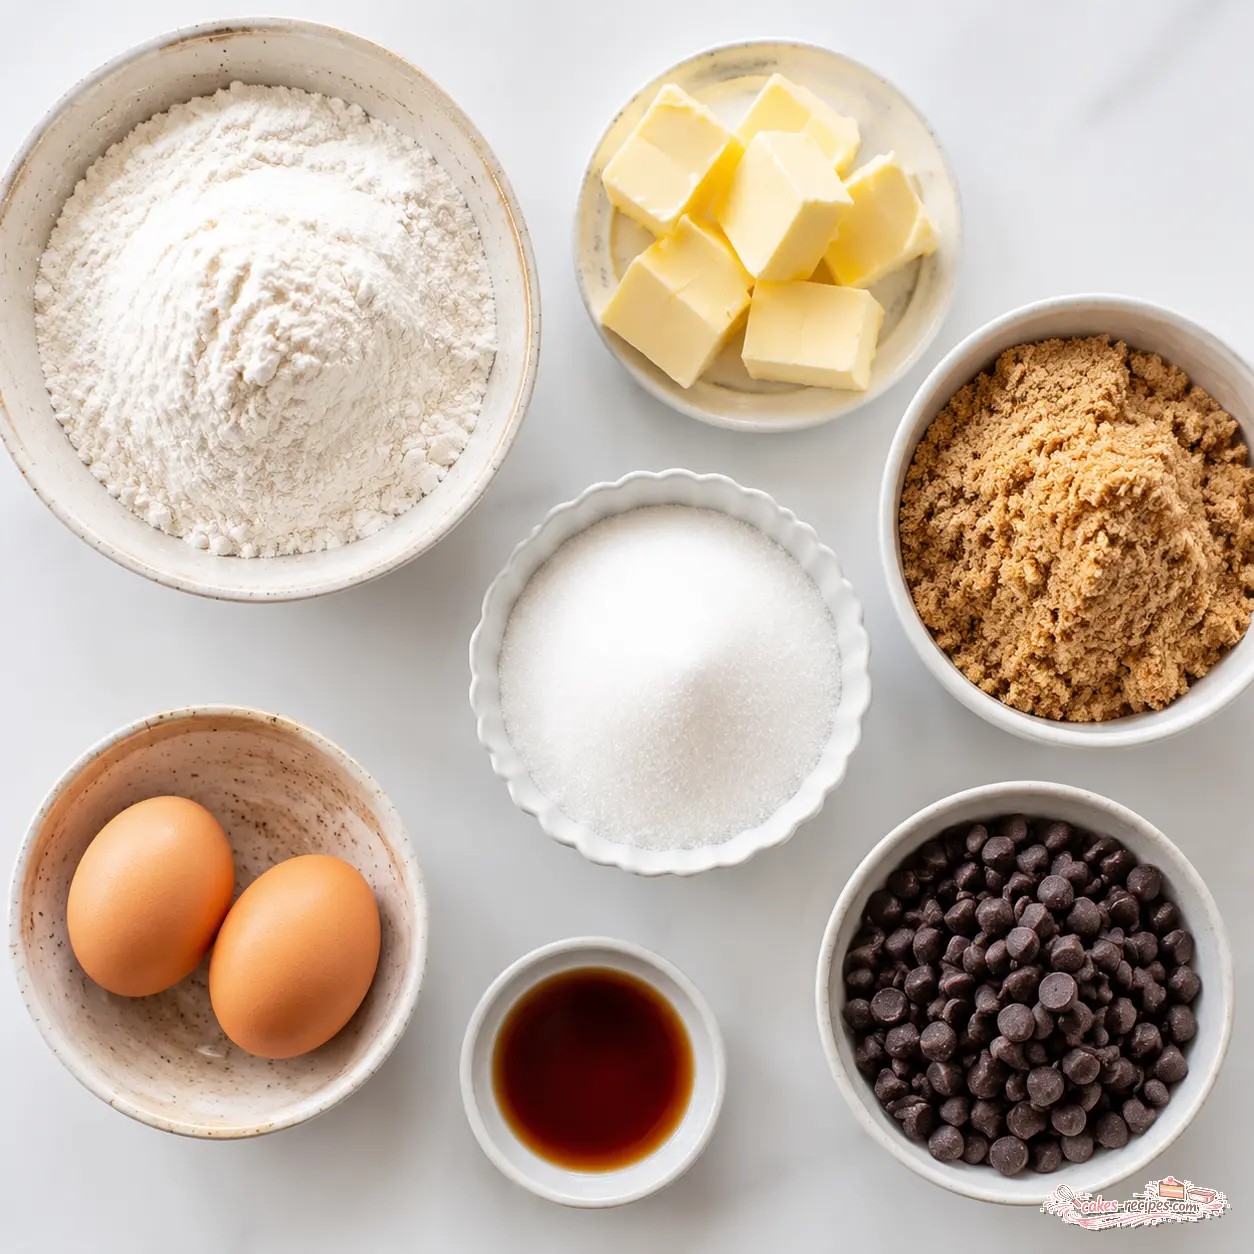
Every ingredient in this recipe has a job. And when they all work together, magic happens. Let me walk you through what each one does, because understanding the cookie texture tips makes you a better baker.
The Butter Situation. We’re using unsalted butter here, and it needs to be properly softened. Not melted, not cold softened enough that when you press it, it leaves an indent. This is crucial for the creaming process. If your butter is too cold, you’ll end up with clumps. Too warm, and your cookies will spread into flat puddles.
Sugar: The Brown Advantage. Here’s the thing about brown sugar cookies brown sugar contains molasses, which is hygroscopic. That means it attracts and retains moisture. By using more brown sugar than white, we’re building in a moisture safety net. The granulated sugar helps with spreading and gives those edges a nice golden color, but the brown sugar is what keeps the centers soft.
Eggs and Vanilla. Two large eggs at room temperature. If you forget to take them out of the fridge (I do this all the time), just place them in a bowl of warm water for five to ten minutes. The vanilla adds depth, but it’s not just for flavor it also contributes to the overall chemistry.
Flour, Baking Soda, Salt. The structure team. All-purpose flour gives us the right amount of chew without making things tough. Baking soda helps with spread and browning. Salt balances the sweetness and enhances the chocolate flavor.
The Chocolate. A full 12-ounce package of semi-sweet chocolate chips. I like using a mix of chips and chopped chocolate bars sometimes, but chips work perfectly. The semi-sweet gives you that nice balance not too sweet, not too bitter.
Quick Ingredient Tips
- Butter: 2 sticks (230 grams), softened but not melted
- Brown sugar: Pack it firmly into the measuring cup
- Eggs: Room temperature is non-negotiable for proper emulsification
- Flour: Spoon into your measuring cup and level off don’t scoop directly
Step-by-Step Instructions
Alright, let’s get into the actual process. I’m going to break this down into four major stages. Each one matters, so don’t rush through them.
Stage 1: Creaming the Butter and Sugars
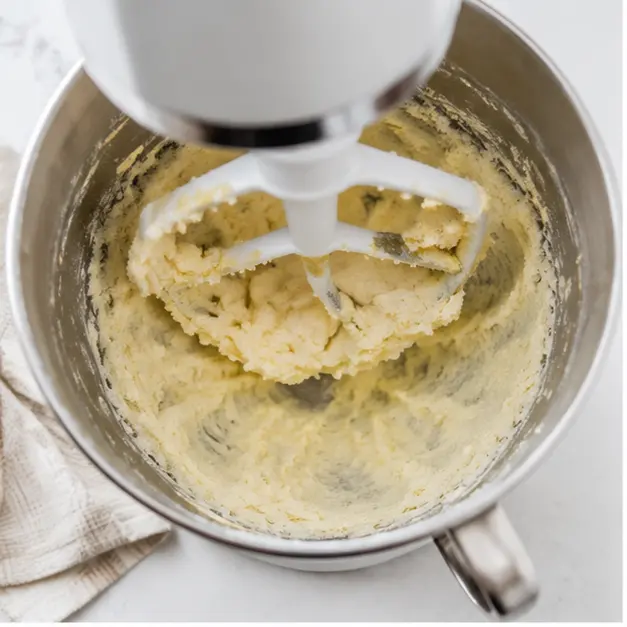
This is where it all starts. In a stand mixer with the paddle attachment, or a large bowl with a hand mixer, cream together your softened butter, light brown sugar, and granulated sugar. You want to do this for about 1 to 2 minutes. The mixture should look well combined, slightly lighter in color, and fluffy.
Here’s the thing don’t over-cream it. If you go too long, you incorporate too much air, and that can lead to cakey cookies. We want chewy cookie recipe texture, not cake. Just until it’s smooth and uniform.
Then add the eggs one at a time, followed by the vanilla. Mix thoroughly and scrape down the bowl between additions. You want everything fully incorporated before moving on.
Stage 2: Mixing the Dry Ingredients
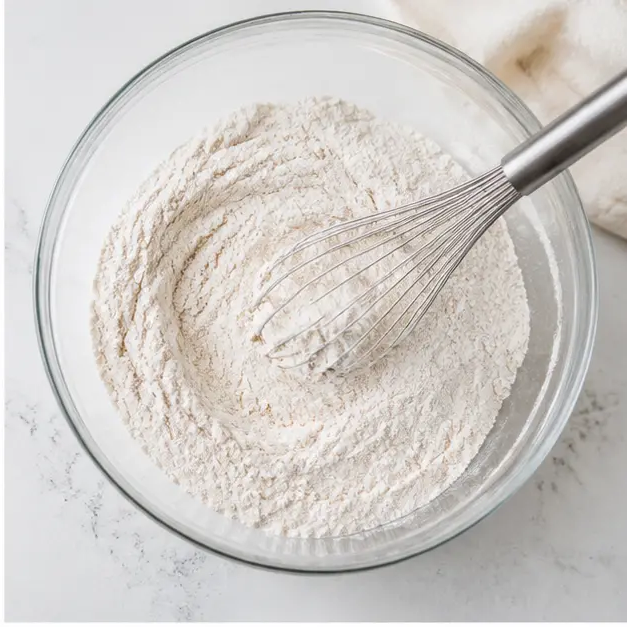
In a separate bowl, whisk together the flour, baking soda, and salt. This ensures everything is evenly distributed. No one wants a pocket of baking soda in their cookie.
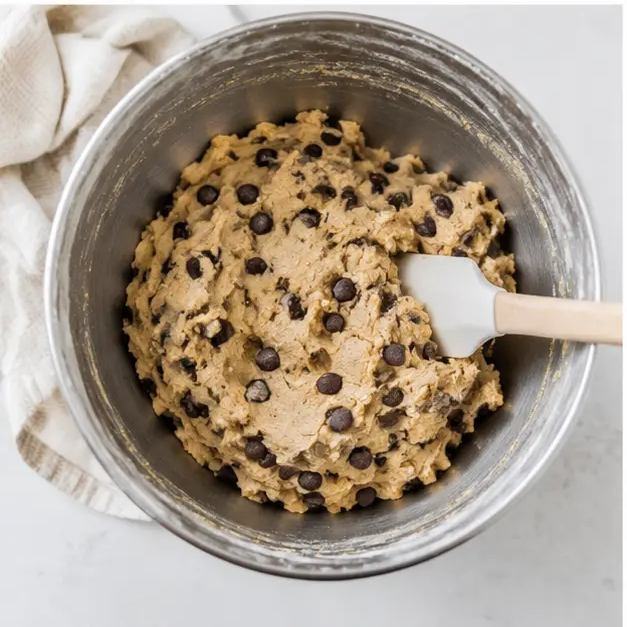
Gradually add the dry mixture to the wet ingredients on low speed. Mix until just combined. You don’t want to overwork the gluten here that’s what makes cookies tough. Stop when you can’t see any more streaks of flour.
Then stir in the chocolate chips. Use a spatula to fold them in if you want to be gentle. Just make sure they’re evenly distributed throughout the dough.
Stage 3: The Chilling Step (Don’t Skip This)
This is where most people go wrong. They want cookies NOW, so they skip the chill. But chilling dough for cookies is the secret to those thick, bakery-style results.
Cover the dough tightly and refrigerate for at least 2 hours. Overnight is even better up to 3 days. What happens during this time is the butter solidifies again, which means your cookies won’t spread into flat pancakes. The flavors also meld together, giving you a more complex taste.
If the dough is too firm after chilling to scoop easily, let it sit at room temperature for 20 to 30 minutes. That usually does the trick.
Stage 4: Baking to Perfection
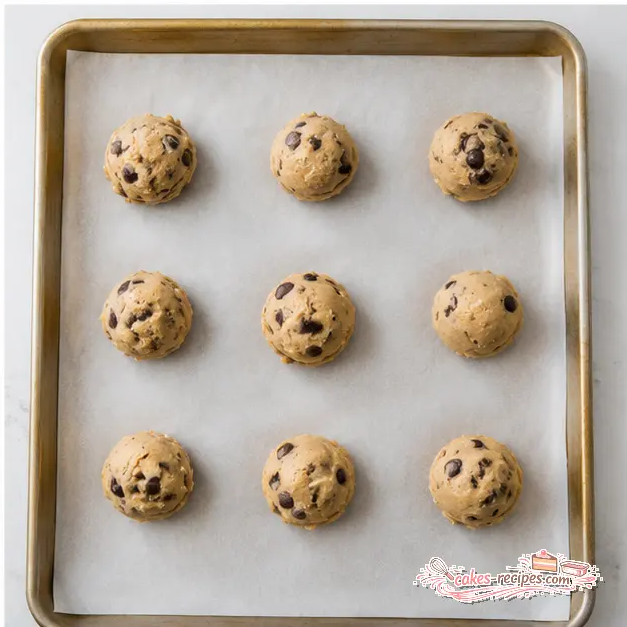
Preheat your oven to 350°F. Line your baking sheets with parchment paper or a silicone baking mat. Both work great, but silicone mats tend to give slightly softer bottoms.
Use a 1.5-tablespoon cookie scoop to portion the dough. This gives you uniform cookies that bake evenly. Space them about 2 inches apart they will spread, but not too much if the dough was properly chilled.
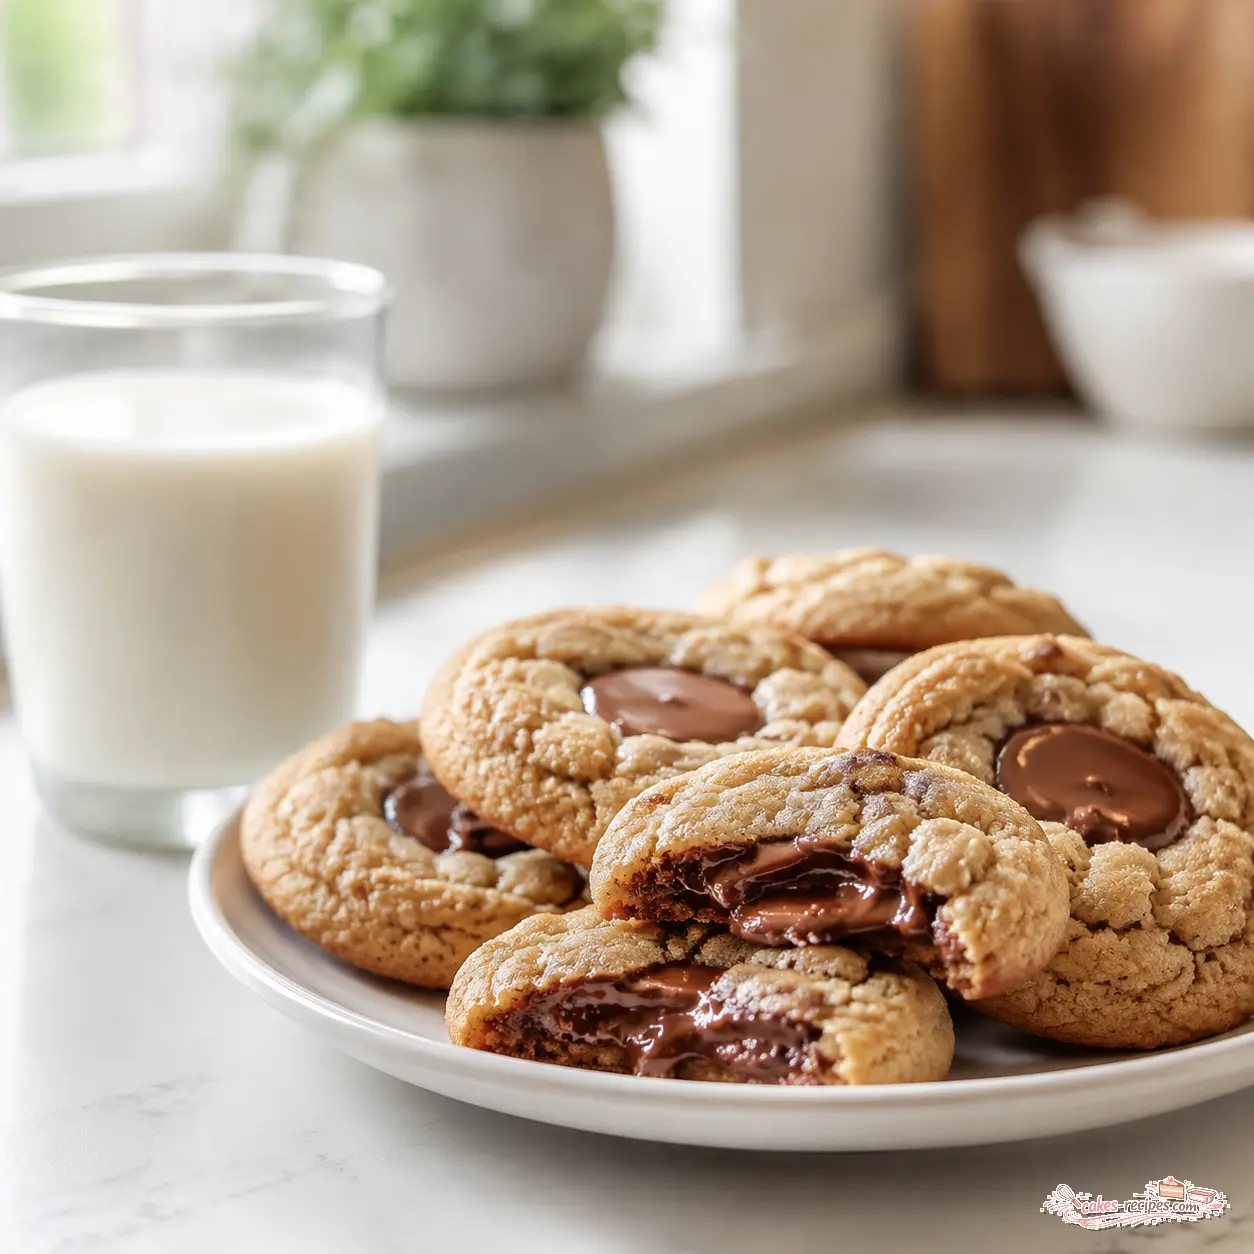
Bake for 10 to 12 minutes. Here’s the visual cue: the edges should be lightly golden and set, but the centers will still look slightly underdone. That’s exactly what you want. Those are the underbaked cookies that turn into perfect soft center cookies as they cool.
Let them cool on the baking sheet for 5 minutes. This allows the centers to continue setting up while staying soft. Then transfer to a wire rack to cool completely. Or, you know, eat one while it’s still warm. I won’t judge.
Tips for Perfect Soft Centers
I’ve learned these through trial and error. Lots of error. But now they’re second nature, and they’ll help you nail that gooey chocolate chip cookies texture every time.
- Don’t over-bake. This is the number one mistake. Take them out when the edges are set but the centers look slightly underdone. They’ll continue cooking on the hot sheet.
- Use a cookie scoop. Uniform size means uniform baking. No more some-burnt-some-raw situations.
- Roll the dough balls tall. Instead of smooth round balls, make them slightly taller and lumpier. This gives you thicker, more textured cookies.
- Let them rest on the pan. That 5-minute rest on the hot baking sheet is crucial for setting the centers without over-baking the edges.
- Room temperature eggs. Cold eggs can seize the butter and mess with the emulsion. Warm water trick works every time.
Common Mistakes and Fixes
- ❌ Cookies spread too much → ✅ Dough wasn’t chilled enough. Chill for at least 2 hours.
- ❌ Cookies are cakey → ✅ Too much flour or over-creamed butter. Measure flour correctly and cream just 1-2 minutes.
- ❌ Cookies are hard and dry → ✅ Over-baked. Take them out earlier when centers look underdone.
- ❌ Cookies are flat → ✅ Butter was too soft or dough wasn’t chilled. Start with properly softened butter and chill.
- ❌ Centers are raw → ✅ Dough balls were too large or oven temperature too low. Use a 1.5-tablespoon scoop and preheat properly.
Delicious Variations to Try
Once you’ve mastered the base recipe, feel free to experiment. Here are some variations that work beautifully with this soft center cookies recipe.
- Chocolate Chunks: Instead of chips, chop up high-quality chocolate bars. The irregular pieces create pools of melted chocolate.
- M&Ms: Swap half the chocolate chips for M&Ms. Great for holidays or when you want a pop of color.
- Chopped Nuts: Add a half cup of toasted pecans or walnuts. They add crunch and a nice earthy flavor.
- Dark or White Chocolate: Use dark chocolate chips (60-70% cacao) for a more intense flavor, or white chocolate for a sweeter cookie.
- Double Chocolate: Replace 1/4 cup of flour with cocoa powder and use white chocolate chips. Rich and decadent.
Just remember any additions should be about 1 to 1.5 cups total. Too many mix-ins can throw off the texture.
How to Store and Freeze
One of the best things about this recipe is that the cookies stay soft for days. But you have to store them properly.
Storing Baked Cookies: Place them in an airtight container at room temperature. They’ll stay soft for up to a week. If they start to firm up, toss a slice of bread in the container the cookies will absorb the moisture and soften again. That’s an old trick, but it works.
Freezing Baked Cookies: You can freeze the baked cookies for up to 3 months. Just layer them between sheets of parchment paper in a freezer-safe container. Thaw at room temperature when you’re ready.
Freezing Unbaked Dough: This is my preferred method. Scoop the dough into balls, place them on a lined baking sheet, and freeze until solid. Then transfer to a freezer bag. They’ll keep for up to 3 months. When you want fresh cookies, bake from frozen just add 1 to 2 extra minutes to the baking time.
This is perfect for when you want best cookies for lunchboxes or need a quick dessert for unexpected guests.
Frequently Asked Questions
I get these questions a lot. Here are the answers based on my experience with this recipe.
There you have it. A foolproof recipe for soft center cookies that will make you the hero of every bake sale, potluck, and late-night snack craving. I’d love to hear how yours turn out. Drop a comment below or tag me in your photos. Happy baking!
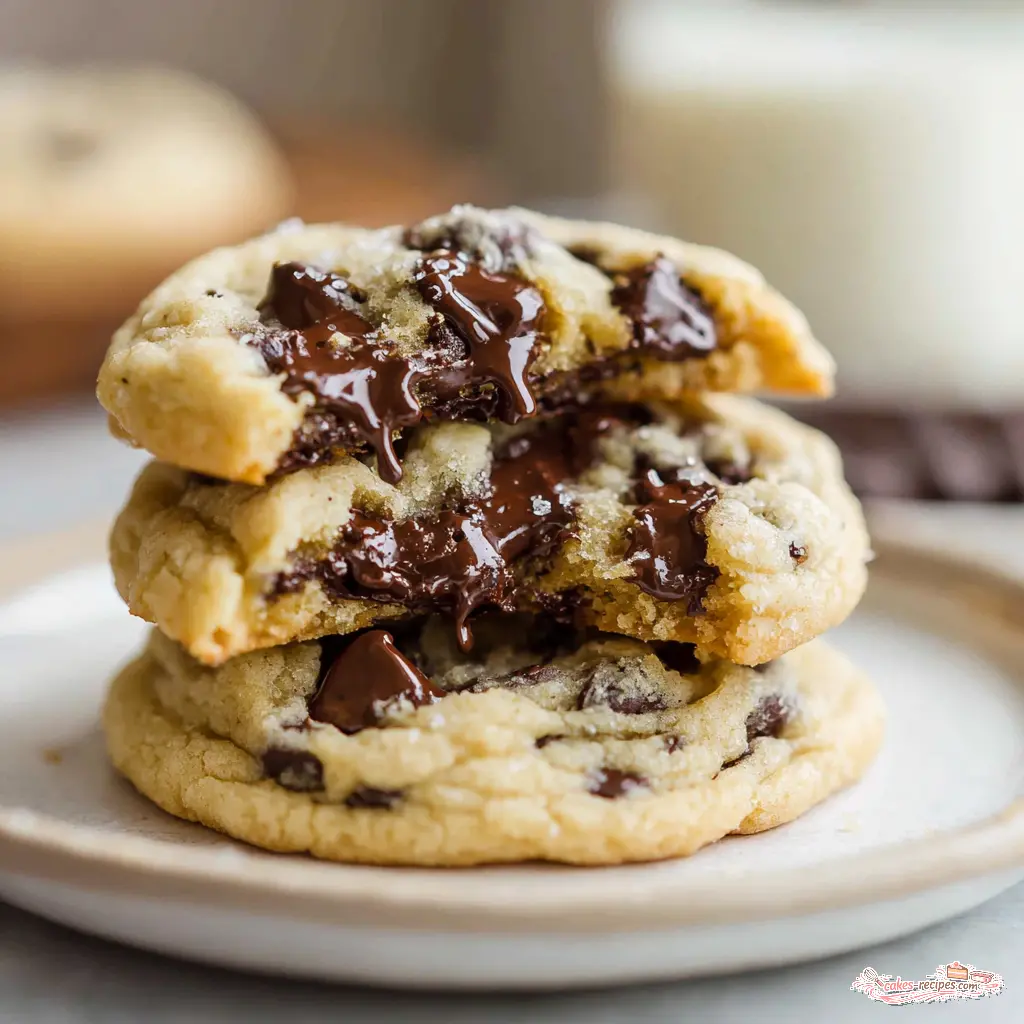
Ultimate Soft Center Cookies with Chocolate Chunks
Ingredients
Method
- In a large bowl, whisk together the flour, baking soda, and salt. Set aside.
- In a stand mixer with the paddle attachment (or a large bowl with a hand mixer), cream the softened butter, light brown sugar, and granulated sugar for 1 to 2 minutes until well combined. Add the eggs one at a time, then the vanilla, mixing thoroughly and scraping down the bowl as needed.
- Gradually mix in the dry ingredients on low speed until just combined. Stir in the chocolate chips until evenly distributed.
- Cover the dough tightly and refrigerate for at least 2 hours, or up to 3 days.
- Preheat the oven to 350°F (177°C). Line three large baking sheets with parchment paper or silicone baking mats.
- Using a 1.5-tablespoon cookie scoop, portion the chilled dough onto the prepared sheets, spacing them about 2 inches apart.
- Bake for 10 to 12 minutes, until the edges are lightly golden and the tops are set. Let cool on the baking sheet for 5 minutes, then transfer to a wire rack to cool completely.
Nutrition
Notes
Tried this recipe?
Let us know how it was!Source: Nutritional Information
Can I scoop and roll the dough before chilling, and chill the dough balls?
Absolutely. In fact, I often do this. Scoop the dough into balls first, then place them on a lined baking sheet and refrigerate. This saves time later and the dough balls chill faster since they’re smaller portions. Just make sure they’re spaced apart so they don’t stick together.
Can I chill the dough in the freezer instead of the refrigerator to speed up the chilling process?
You can, but be careful. Freezing works faster, but the dough can freeze unevenly. If you’re in a rush, 30 minutes in the freezer is roughly equivalent to 1 hour in the fridge. For best results with these soft center cookies, stick with the refrigerator for at least 2 hours.
What causes cakey cookies?
Cakey cookies usually come from too much flour, over-creaming the butter and sugar, or using too many eggs. For soft center cookies, you want a dense, chewy texture. Measure your flour correctly by spooning it into the cup, cream for just 1-2 minutes, and stick with 2 large eggs.