
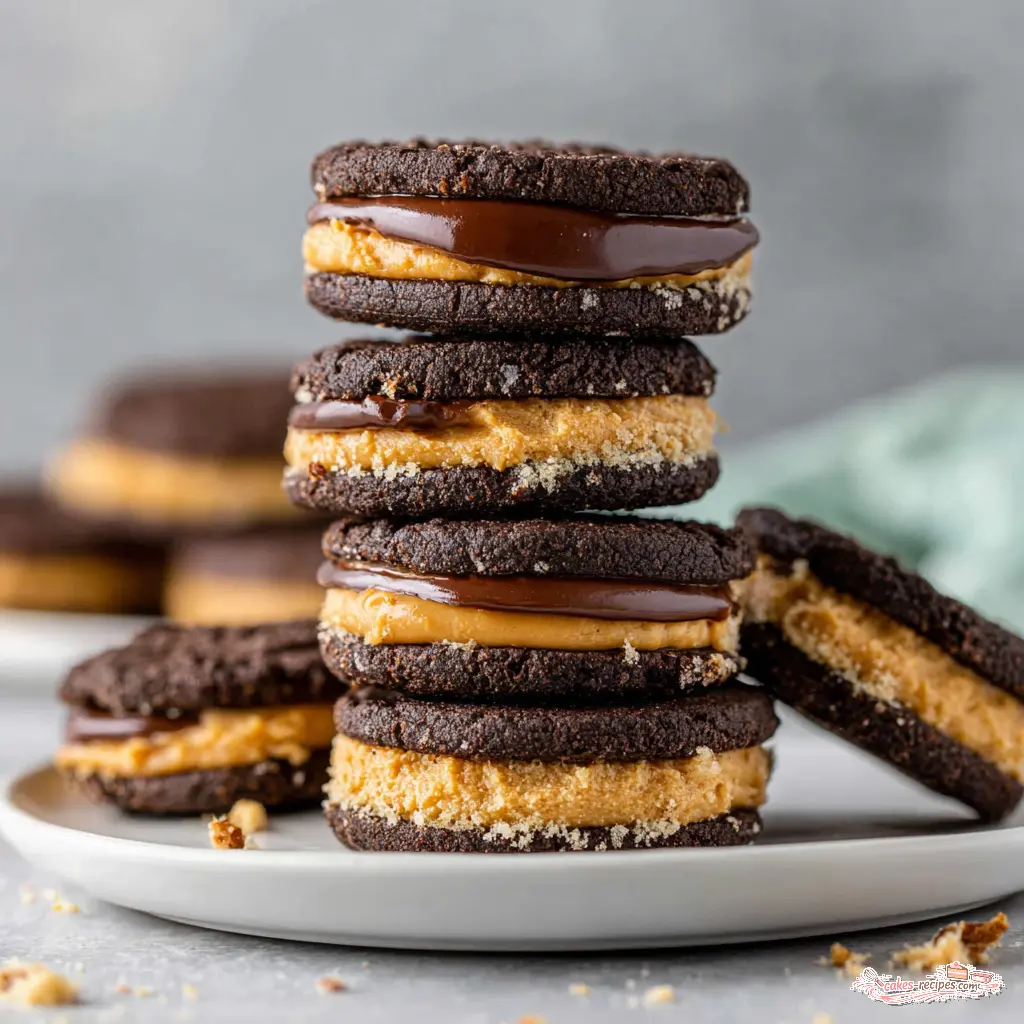
You know those cookie cravings that only peanut butter and Oreos can fix? This is that recipe. I’m talking about a soft, dark chocolate cookie that tastes like a homemade Oreo, but with a creamy peanut butter filling that takes it to a whole new level. These peanut butter Oreo cookies are the kind of treat that disappears fast at summer barbecues and family get-togethers.
I’ve tested this recipe more times than I can count. My eleven-year-old, who’s become the official cookie tester in our house, gave it a solid thumbs up after the first batch. She said they taste “better than the store-bought ones,” which is about the highest compliment she gives. Fair enough, kid. I’ll take it.
These Oreo peanut butter cookies are soft, chewy, and packed with rich chocolate flavor from dark cocoa powder. The filling is smooth, creamy, and just sweet enough to balance the dark cookie. Let’s get into it.
Why You’ll Love These Peanut Butter Oreo Cookies
Let me tell you why this recipe works. First, the cookie itself is made with Hershey’s Special Dark cocoa powder, which gives it that deep, almost fudgy chocolate flavor that regular cocoa just can’t match. It’s the same dark cocoa that makes Oreo cookies taste so distinctive.
Second, the filling is simple but perfect. Just butter, creamy peanut butter, powdered sugar, and a splash of heavy cream. That’s it. No complicated steps, no fancy equipment. You can whip it up in about five minutes.
Here’s what makes these cookies special:
- Soft and chewy texture – The brown sugar keeps them tender, and the dark cocoa adds richness without drying them out
- Bakery-quality appearance – These cookies look like they came from a fancy bakery, but they’re made in your home kitchen
- Kid-friendly baking – My eight-year-old helps me scoop the dough and spread the filling. It’s a perfect weekend activity
- Pantry-friendly ingredients – You probably have most of these on hand already
- Forgiving recipe – Don’t worry if the dough looks a little wet – it’s meant to be. This recipe is very forgiving
I remember standing on a step stool at Grandma Ruth’s bakery counter, watching her level cake layers with a serrated knife and a ruler. She’d measure from the counter up, mark with a toothpick, and cut perfectly level every time. I was seven and thought it was magic. Now I teach the same method, though I use a cake leveler because my hands aren’t as steady as hers were. But cookies? Cookies are different. They don’t need to be perfect. They just need to taste amazing.
Ingredients for Homemade Peanut Butter Oreos
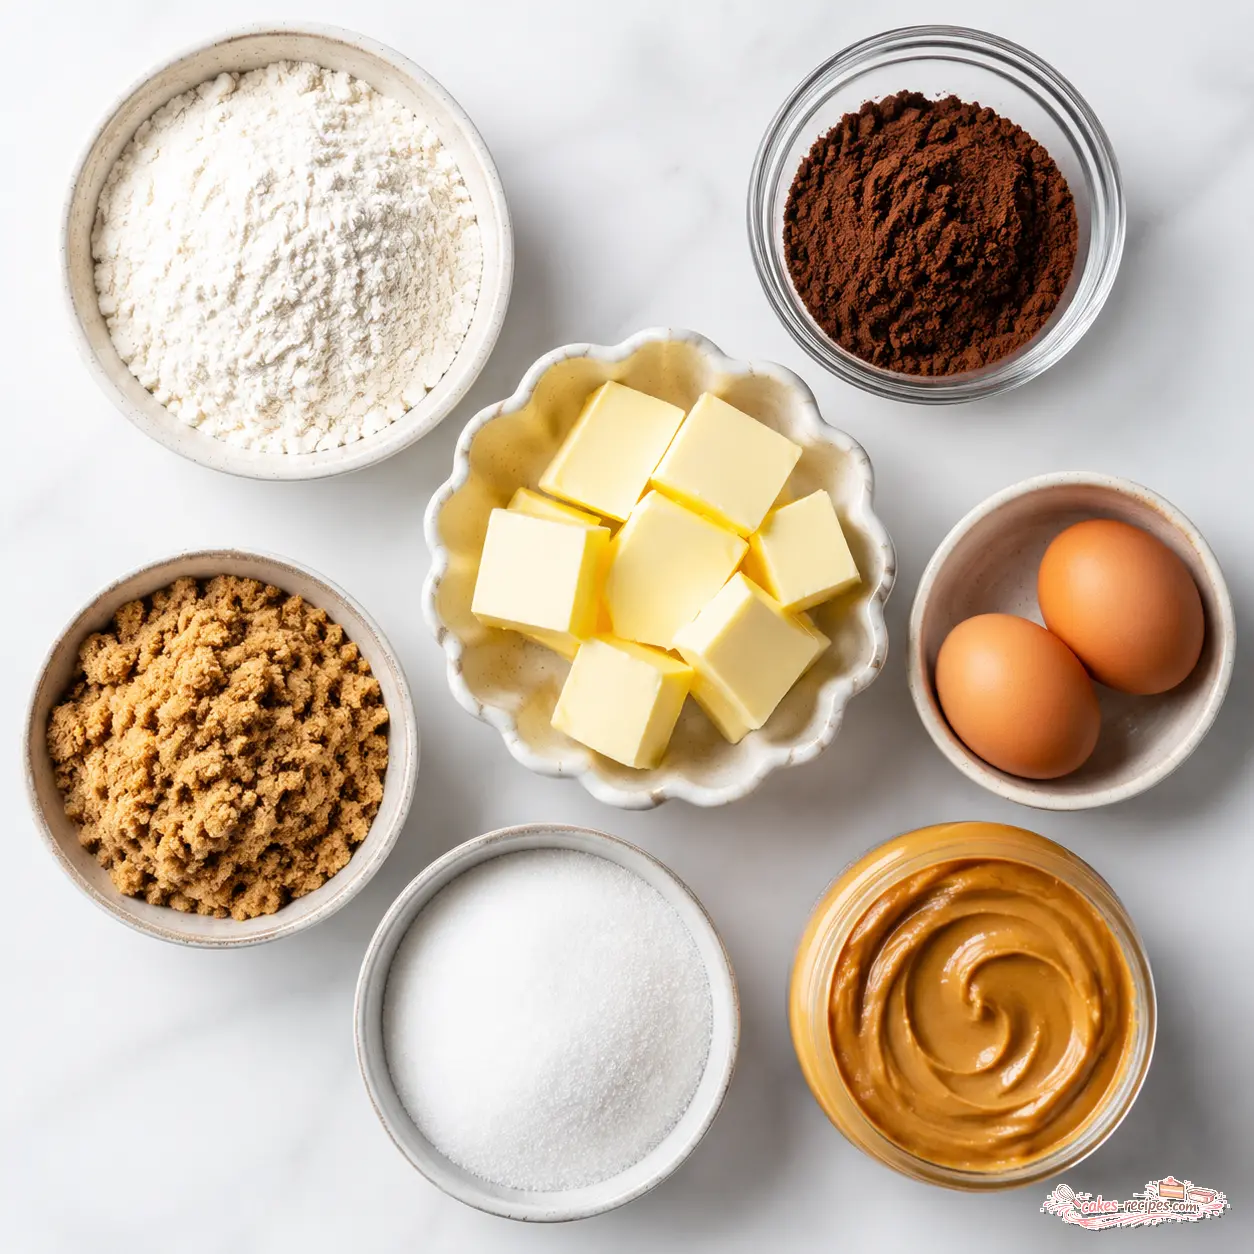
Here’s what you’ll need. I’ve broken it down into the cookie part and the filling part, because they’re made separately.
For the chocolate cookies:
- All-purpose flour – 1 ¼ cups (155g)
- Salt – ¼ teaspoon
- Baking soda – ½ teaspoon
- Dark cocoa powder – ⅓ cup (17g). I use Hershey’s Special Dark, but any dark cocoa works
- Unsalted butter – ½ cup (113g), softened
- Brown sugar – ⅔ cup (134g), packed
- Granulated sugar – ¼ cup (50g)
- Egg – 1 large
- Vanilla extract – 1 teaspoon
For the peanut butter filling:
- Unsalted butter – ¼ cup (57g), softened
- Creamy peanut butter – ½ cup (134g)
- Salt – ¼ teaspoon
- Powdered sugar – 1 ½ cups (170g)
- Vanilla extract – ½ teaspoon
- Heavy whipping cream – 1-3 tablespoons, as needed
One thing I want to mention about the peanut butter. Use creamy peanut butter for the smoothest filling. Natural peanut butter, the kind that separates and needs stirring, can make the filling dry and grainy. In my testing, though results may vary, the regular creamy stuff from Jif or Skippy works best here. It has the right consistency and sweetness.
How to Make Peanut Butter Oreo Cookies
This is where the magic happens. I’ll walk you through the four main stages, with tips I’ve learned from making these cookies at least a dozen times. Let’s think this through step by step.
Stage 1: Make the Cookie Dough
Start by preheating your oven to 350°F. Line two baking sheets with parchment paper or silicone baking mats. Trust me on the parchment paper – it makes cleanup so much easier.
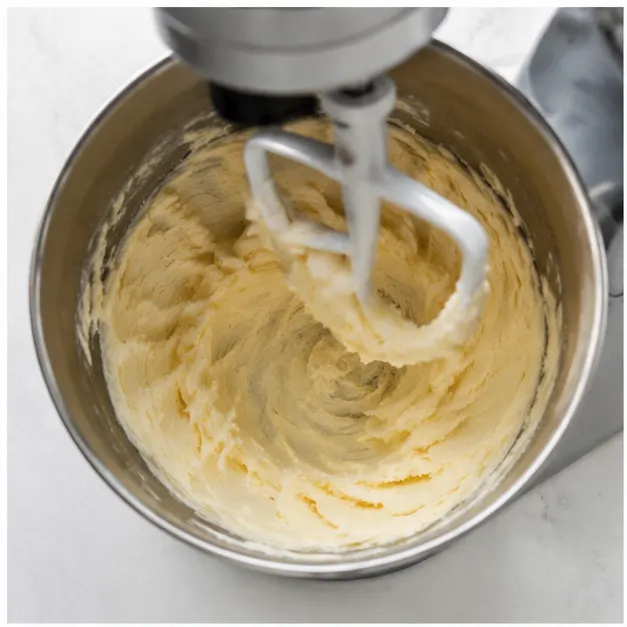
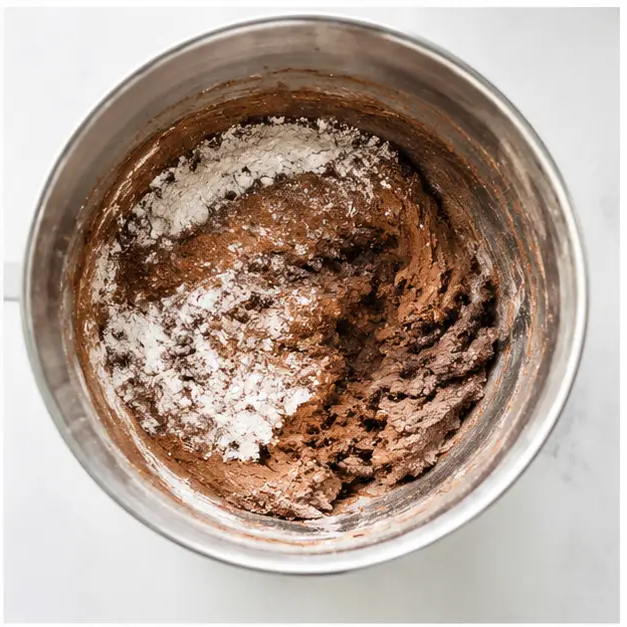
In a medium bowl, whisk together the flour, salt, baking soda, and cocoa powder. Set that aside. In the bowl of a stand mixer fitted with the paddle attachment (or using a hand mixer), cream together the softened butter, brown sugar, and granulated sugar until smooth. Scrape down the sides as needed. Beat in the egg and vanilla extract, then gradually add the dry ingredients, mixing until just combined. The dough will be sticky. That’s normal. Don’t panic.
Here’s a tip I learned the hard way: spoon and level your flour. Never pack it into the measuring cup, or your cookies will be dry and puffy. Just spoon the flour into the cup and level it off with a knife. Simple, but it makes a huge difference.
Stage 2: Scoop and Bake
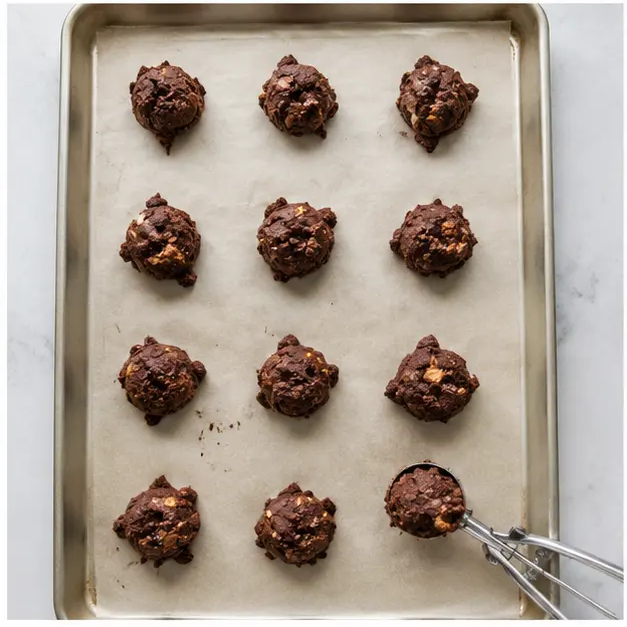
Scoop tablespoon-sized balls of dough onto the prepared baking sheets. Or go big with two-tablespoon-sized scoops if you want larger cookies. Just leave space between each for spreading – these cookies do spread a bit.
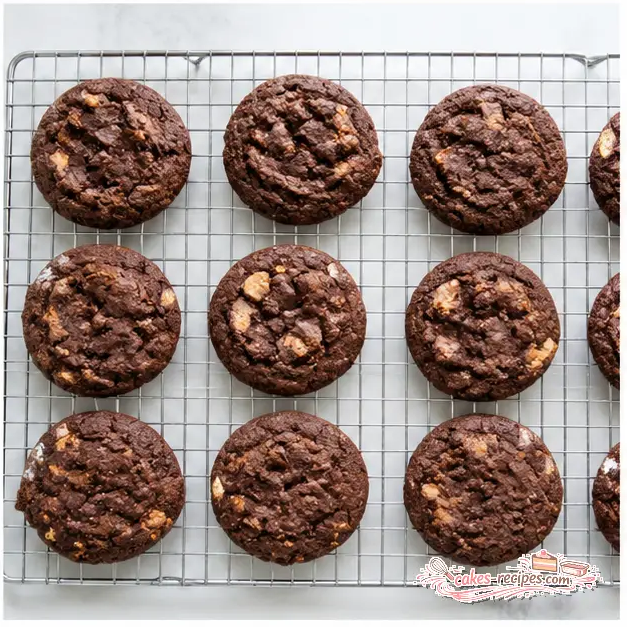
Bake small cookies for 8-11 minutes, or larger ones for 12-15 minutes. Here’s the key: don’t overbake them. The cookies are done when they just lose their glossy sheen on top. The centers should look slightly underdone when you pull them out. They’ll continue baking as they cool on the pan. If you wait until they look fully set in the oven, they’ll be too crisp.
For a flatter cookie, tap the hot baking sheet on the stovetop after removing from the oven. That little trick helps them settle into that perfect, slightly crinkled shape.
Stage 3: Make the Peanut Butter Filling
While the cookies cool completely, make the filling. In a large bowl, beat the softened butter, peanut butter, and salt with a hand mixer until smooth, about 1 minute. Gradually add the powdered sugar, mixing until thick and smooth. Add the vanilla extract and 1 tablespoon of heavy cream, beating for 30 seconds. Add more cream, 1 tablespoon at a time, until the filling is spreadable but not runny. I usually use 2 tablespoons total.
The texture should be like a thick frosting – smooth, creamy, and easy to spread. If it’s too thick, add a little more cream. Too thin? Add a bit more powdered sugar. This is a forgiving filling, which I love.
Stage 4: Assemble the Cookies
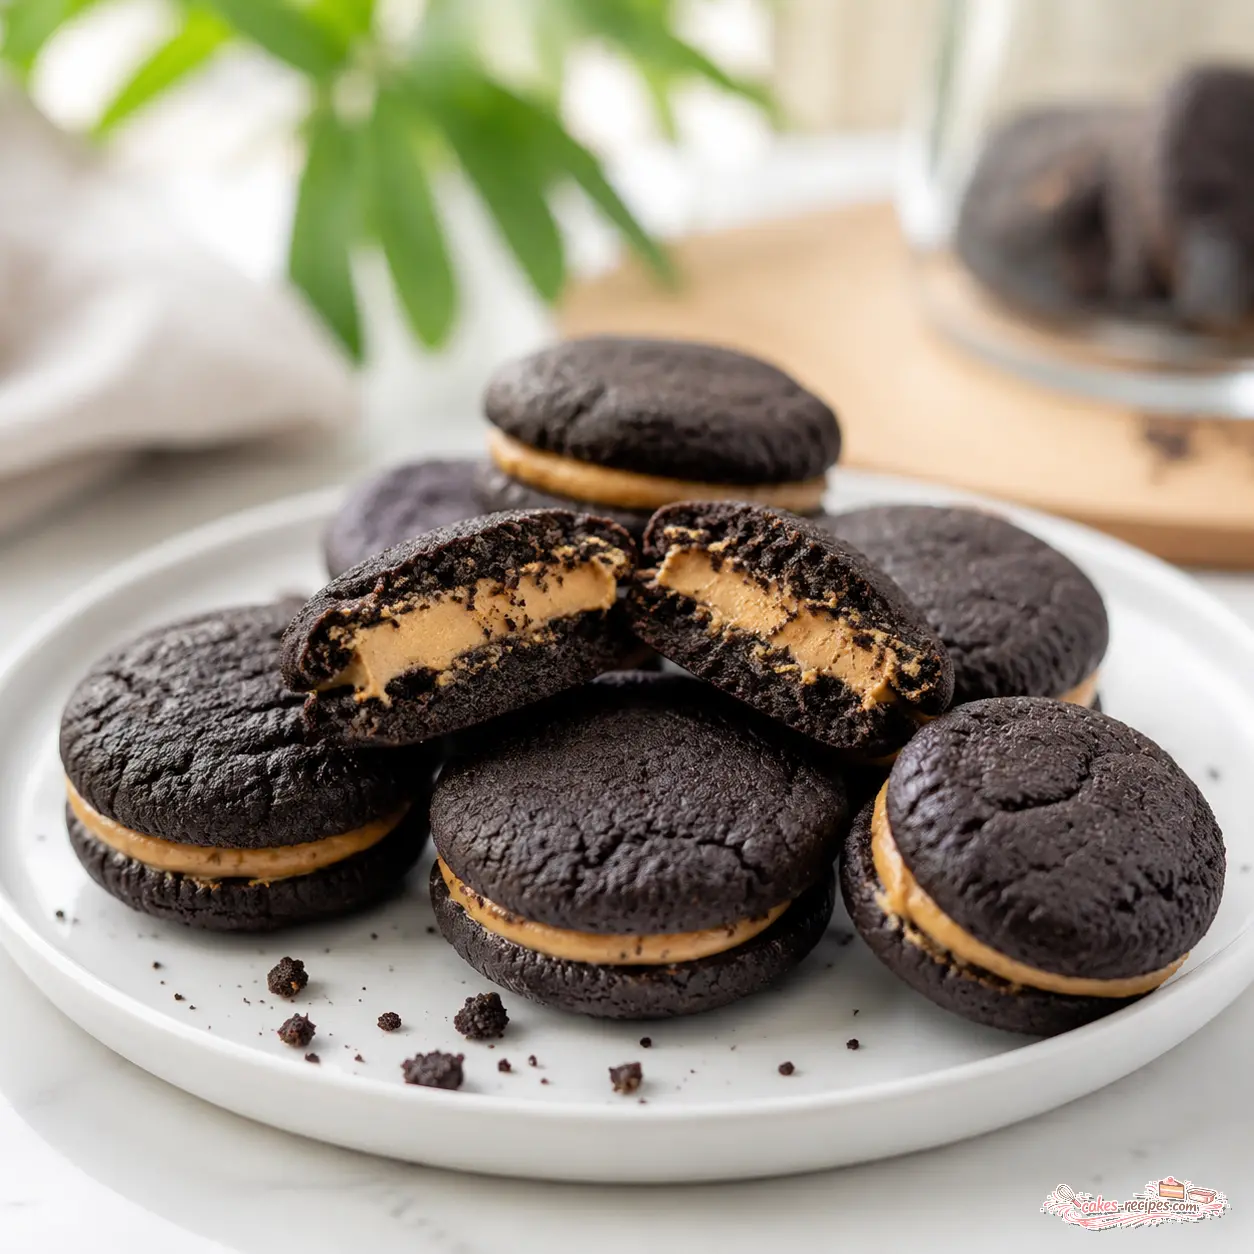
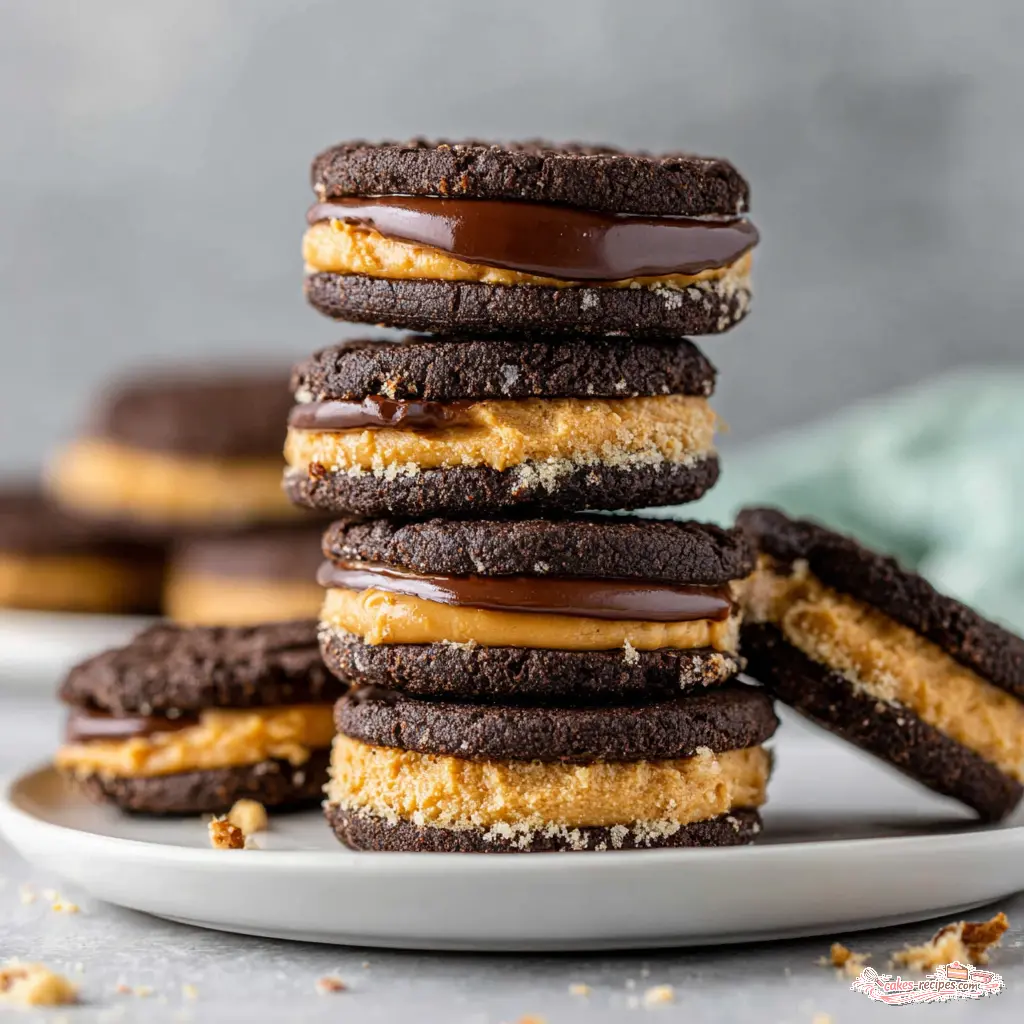
Pipe or spread the filling onto the flat side of half of the cooled cookies. Top with the remaining cookies to form sandwiches. Press gently to spread the filling to the edges.
That moment when you bite into one and the filling squishes out just a little? That’s the goal. That’s perfection.
Maria’s Cookie Tips
Okay, I’m Claire, not Maria, but I’ve picked up a few tips that make these cookies turn out perfectly every time. Here’s what I’ve found works:
- Use room-temperature butter – It should be soft but not greasy. When you press it, it should give slightly but hold its shape. Too warm, and your cookies will spread too much and become flat
- Don’t overbake – I know I said this already, but it’s worth repeating. Centers should look underdone when removed. They finish baking as they cool
- Sprinkle with sea salt – After baking, sprinkle a tiny bit of flaky sea salt on top of the cookies. That sweet-salty combination is magic
- Chill the dough – If you’re baking on a hot summer day, chill the dough for 20 minutes before scooping. It prevents excessive spreading and keeps the cookies thick
- Let cookies cool on the pan – For at least 5 minutes before transferring to a wire rack. They’re fragile when hot, and this gives them time to set
One more thing. If you want to add extra Oreo chunks, you can crush a few Oreo cookies and press the pieces into the tops of the cookie dough balls right before baking. It gives them that classic Oreo look. But honestly, the dark cocoa cookie already tastes like an Oreo, so it’s not necessary.
Variations and Substitutions
This recipe is flexible. Here are some ways to change it up, depending on what you have or what you’re craving.
Filling variations:
- Swap the peanut butter filling with Nutella for a chocolate-hazelnut version
- Use mint buttercream for a chocolate-mint combo that’s refreshing
- Try cream cheese frosting for a tangy twist
Cookie variations:
- Add up to 1 cup of chocolate chips or white chocolate chips to the cookie dough
- Use crunchy peanut butter in the filling for some texture
- Make smaller cookies (1 tablespoon dough) for bite-sized treats
Dietary substitutions:
- Gluten-free: Use a 1:1 gluten-free flour blend and gluten-free Oreos. The texture might be slightly different, but it works
- Dairy-free: Use vegan butter and a dairy-free cream alternative in the filling. The cookies will be a bit less tender, but still delicious
I tend to prefer the classic version, though that’s personal. The dark cocoa and peanut butter combo is just too good to mess with. But if you’re feeling adventurous, go for it.
How to Store and Freeze
These cookies store well, which is great because you’ll probably want to make a double batch.
At room temperature: Store assembled cookies in an airtight container for up to 3 days. I like to layer them with parchment paper between each layer so the filling doesn’t stick.
In the freezer: You have two options. Freeze the assembled cookies in a freezer-safe container for up to 1 month. Or freeze the unassembled cookies and filling separately – that way you can thaw and assemble fresh whenever you want.
Freezing cookie dough: Scoop the dough into balls and freeze on a baking sheet until solid, then transfer to a freezer bag. They’ll keep for up to 3 months. Bake from frozen, adding 2-3 minutes to the baking time.
For best results, let frozen assembled cookies thaw at room temperature for about 15 minutes before serving. They’ll taste freshly made.
These peanut butter Oreo cookies are the kind of recipe that becomes a family favorite. My kids ask for them every time we have a barbecue or a movie night. And honestly, I’m happy to oblige. They’re easy, they’re impressive, and they taste like something you’d buy from a fancy bakery.
If you make these, I’d love to hear how they turn out. Tag me on your photos or leave a comment below. And if you’re looking for more baking inspiration, follow me on Pinterest for more recipes like this one.
Homemade Peanut Butter Oreo Cookies
Ingredients
Method
- Preheat your oven to 350°F. Line two baking sheets with parchment paper or silicone baking mats.
- In a medium bowl, whisk together the flour, salt, baking soda, and cocoa powder. Set aside.
- In the bowl of a stand mixer fitted with the paddle attachment (or using a hand mixer), cream together the softened butter, brown sugar, and granulated sugar until smooth, scraping down the sides as needed. Beat in the egg and vanilla extract, then gradually add the dry ingredients, mixing until just combined. The dough will be sticky.
- Scoop tablespoon-sized (or two-tablespoon-sized) balls of dough onto the prepared baking sheets, leaving space between each for spreading. Bake small cookies for 8-11 minutes, or larger ones for 12-15 minutes, until they just lose their glossy sheen. Let the cookies cool on the baking sheets for a few minutes before transferring to a wire rack to cool completely.
- In a large bowl, beat the softened butter, peanut butter, and salt with a hand mixer until smooth, about 1 minute. Gradually add the powdered sugar, mixing until thick and smooth. Add the vanilla extract and 1 tablespoon of heavy cream, beating for 30 seconds. Add more cream, 1 tablespoon at a time, until the filling is spreadable but not runny (I usually use 2 tablespoons total).
- Pipe or spread the filling onto the flat side of half of the cooled cookies. Top with the remaining cookies to form sandwiches. Store in an airtight container at room temperature for up to 3 days, or freeze for up to 1 month.
Nutrition
Notes
Tried this recipe?
Let us know how it was!Frequently Asked Questions
Source: Nutritional Information
Can I use natural peanut butter?
I don’t recommend it for this recipe. Natural peanut butter, the kind that separates and needs stirring, can make the filling dry and grainy. Stick with creamy regular peanut butter like Jif or Skippy for the smoothest, most spreadable filling.
What kind of Oreos work best?
Regular Oreos or Double Stuf Oreos both work great. The cookie itself uses dark cocoa powder to mimic that classic Oreo flavor, so you don’t actually need Oreos in the dough. But if you want to add crushed Oreos on top, go for it.
What kind of chocolate chips should I use?
If you’re adding chocolate chips, semi-sweet or dark chocolate chips work best. They complement the dark cocoa cookie without making it too sweet. White chocolate chips are also a nice option for a sweeter contrast.
Can I make these gluten-free?
Yes. Use a 1:1 gluten-free flour blend, like King Arthur or Bob’s Red Mill, in place of the all-purpose flour. The texture might be slightly more tender, but they’ll still be delicious. Just make sure your cocoa powder is certified gluten-free too.
How do I store them?
Store assembled peanut butter Oreo cookies in an airtight container at room temperature for up to 3 days. Layer them with parchment paper so the filling doesn’t stick. You can also freeze them for up to 1 month.
Can I freeze the dough?
Absolutely. Scoop the cookie dough into balls, freeze on a baking sheet until solid, then transfer to a freezer bag. They’ll keep for up to 3 months. Bake from frozen, adding 2-3 minutes to the baking time.










3 Responses
I made these for a family picnic and they were a huge hit! The dark cocoa really does make a difference—so much richer than regular cocoa. I did find the cookies spread a bit more than I expected, any tips for keeping them thicker?
Hi Sarah! So glad they were a hit. For thicker cookies, try chilling the dough for 30 minutes before baking—that helps prevent spreading. You can also add an extra tablespoon of flour if they still spread too much. Happy baking!
These are dangerously good. I swapped the heavy cream for milk since that’s what I had on hand, and the filling still came out perfectly smooth. My kids devoured them before I could even take a photo for Instagram.